 WOWOW Faucets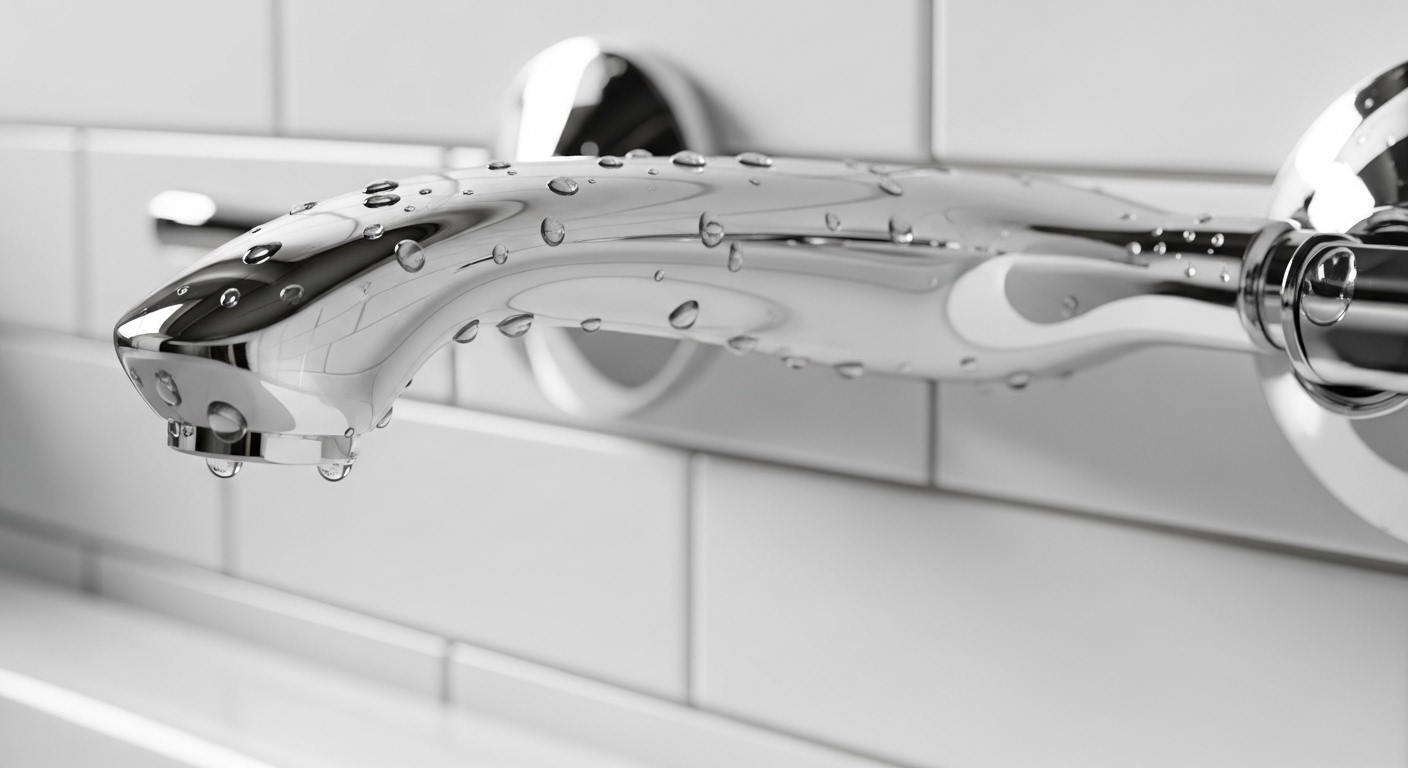
If you’ve crouched under your bathtub, phone flashlight in hand, hunting for that little screw everyone mentions in the removal videos — and found nothing — you’re looking at a tub spout with no set screw. Don’t worry, you didn’t break anything and yours isn’t defective. It’s simply a different mounting style, and once you know which type you have, taking it off (or picking a replacement) takes about five minutes. This guide walks through exactly how to identify, remove, and choose one, in plain language, with the numbers and fittings that actually matter.
What does “tub spout with no set screw” actually mean?
It means your spout attaches by threading onto a pipe (screw-on / IPS style) rather than clamping onto a smooth copper stub with a hidden Allen screw. Tub spouts come in two basic mounting families, and the “no set screw” version is the threaded one.
Here’s the quick mental model. Every tub spout has to grip something coming out of your wall — either a threaded galvanized/brass nipple, or a smooth ½-inch copper pipe. The mounting style follows from that:
- Threaded (screw-on / IPS): No set screw. The spout has internal threads and simply screws onto a ½-inch NPT threaded nipple. You twist it on until it’s snug and pointing down. This is the “no set screw” spout most people are asking about.
- Slip-on (slip-fit): Has a set screw — usually a 1/8-inch hex/Allen screw on the underside near the wall. It slides over a smooth copper pipe and the screw pinches it in place.
So when someone says “tub spout with no set screw,” they almost always mean a threaded spout. The confusion happens because slip-on spouts are extremely common in newer construction, so tutorials assume there’s a set screw — and then you go looking for one that isn’t there.
How do I remove a tub spout that has no set screw?
Just twist it counterclockwise — a threaded, no-set-screw spout unscrews by hand or with a little leverage. Grab the spout firmly near the wall and turn it left (righty-tighty, lefty-loosey). No tools required in most cases.
If it won’t budge by hand, that’s normal after years of mineral buildup and thread sealant. Here’s the reliable sequence:
- Confirm there’s truly no set screw. Shine a light on the underside near the wall. A slip-on spout hides its hex screw there. If you see a small recessed hole, that’s a set screw — loosen it with a 1/8-inch Allen key and pull the spout straight off instead.
- Get leverage. Slide the handle of a large screwdriver or a hammer into the spout’s mouth (where the water comes out) and use it as a lever to turn counterclockwise. Go slow so you don’t crack the spout.
- Protect the finish. If you’re reusing the spout, wrap a cloth around it and use a pipe wrench or channel-lock pliers gently.
- Watch for the nipple. Sometimes the whole threaded nipple unscrews from the wall fitting instead of the spout coming off the nipple. That’s fine — you can rethread a new nipple, or reuse it.
Once it’s off, look inside the spout at the back. If you see threads, you’ve confirmed a threaded spout and you need a threaded replacement. If the back is smooth and there’s a set screw hole, it’s slip-on.
Threaded vs. slip-on: which tub spout mount is better for my setup?
Neither is universally “better” — the right one is dictated by the pipe already in your wall. A threaded (no set screw) spout needs a threaded nipple; a slip-on spout needs a smooth copper stub. Buying the wrong style means it physically won’t attach. Here’s how they compare:
| Feature | Threaded (No Set Screw) | Slip-On (Set Screw) |
|---|---|---|
| Mounts to | ½” NPT threaded nipple (galvanized/brass) | ½” smooth copper pipe stub |
| Tools to install | Usually none (hand-tighten + tape) | 1/8″ Allen/hex key |
| Set screw? | No | Yes, on underside |
| Sealing method | Teflon tape / pipe dope on threads | O-ring inside spout against pipe |
| Common in | Older homes, standard retrofits | Newer construction, PEX/copper builds |
| Adjust final angle | Limited (must land pointing down) | Free — rotate then tighten screw |
| Leak risk if wrong length | Higher if nipple length is off | Lower, more forgiving |
The one real advantage of threaded spouts: fewer parts to fail and no tiny screw to strip. The trade-off is that getting the spout to stop pointing straight down at the perfect angle depends on your nipple length — sometimes you need a slightly shorter or longer nipple, or a wax/thread compound to fine-tune where it stops. Slip-on spouts win on adjustability because you rotate to any angle and lock it with the screw. If you’re replacing a diverter spout and struggling with the pull-up knob afterward, our guide on a new diverter valve not working covers the fixes.
How do I know which type I have before I buy a replacement?
Look under the spout at the wall end: a visible small hole or hex screw means slip-on; a smooth underside means threaded (no set screw). This 10-second check saves you a return trip to the store.
If you want to be 100% certain, remove the old spout using the steps above and inspect what’s behind it:
- You see threads on a nipple sticking out of the wall → you need a threaded (no set screw) spout. Note whether it’s a short “close” nipple or a longer one; measure the exposed length.
- You see a smooth copper pipe with no threads → you need a slip-on spout with a set screw.
- You see a threaded pipe but want a slip-on look → use a threaded-to-slip adapter, or better, just buy a threaded spout.
Also measure two things: the diameter of the pipe (residential tub spouts are almost always ½-inch) and, for threaded types, how far the nipple protrudes from the finished wall. Many universal spouts include a rear adapter so they work on either a threaded ½” IPS or a ¾” connection, which is why you’ll see “universal fit” on a lot of listings. If you’re doing a broader project — say connecting a handheld — pairing the right spout matters, and our roundup of a handheld shower head that connects to tub faucet explains how a diverter spout plays into that. For adapters specifically, see our breakdown of the bathtub faucet adapter you actually need.
How do I install a new threaded tub spout with no set screw?
Wrap the nipple threads with plumber’s tape, then hand-screw the spout on clockwise until it seats snug and points straight down. Total time is usually under ten minutes. Here’s the full process:
- Clean the threads. Wipe the nipple and remove old tape or debris so the new spout seats cleanly.
- Apply sealant. Wrap 3–4 turns of PTFE (Teflon) plumber’s tape clockwise around the threads, or use pipe-joint compound. This seals against leaks and lets the spout snug up smoothly.
- Thread it on. Turn the spout clockwise by hand. It should get firm as the back of the spout meets the wall.
- Aim it down. Stop when the spout points straight down. Never force it past snug just to reach the angle — over-tightening cracks spouts and strips threads. If it points up when tight, you need a slightly longer nipple or an extra wrap of tape; if it stops too early, a shorter nipple.
- Test. Run water and check for drips where the spout meets the wall. A little silicone caulk along the top edge keeps water from getting behind it.
A quick reality check on force: hand-tight plus a gentle quarter-turn with a padded wrench is plenty. Tub spouts are usually brass or zinc with a decorative finish, and the threads are the weak point. If you’re the type who likes watching the whole thing done start to finish, the same principles in our how to replace bathroom faucet YouTube-style guide apply to spouts — inspect first, buy to match, don’t overtighten.
Why is my new tub spout leaking or spinning after install?
A threaded spout that leaks or keeps spinning almost always means the nipple length is wrong or the threads need more sealant — not that the spout is defective. Diagnose it like this:
- Leaks behind the spout: Not enough Teflon tape, or the spout didn’t snug against the wall. Remove, add 2–3 more wraps, reinstall.
- Spout spins freely / won’t tighten: The nipple is too short — the spout runs out of thread before it grips. Swap in a longer ½” nipple.
- Spout points up when fully tight: The nipple is too long. Use a shorter nipple or add a spout-mount sealant/putty so it stops at the right angle.
- Water comes out both spout and showerhead: That’s a diverter issue, not a mounting issue — the internal diverter isn’t sealing.
Most “bad spout” complaints trace back to nipple length. Keep a short and a standard ½” nipple on hand and you can dial in almost any threaded install.
What should I look for when buying a tub spout with no set screw?
Prioritize solid brass construction, a universal rear adapter, and a finish rated for wet environments — those three things separate a spout that lasts 15 years from one that pits in two. Beyond that:
- Material: Solid brass body resists corrosion far better than thin zinc. It costs a few dollars more and is worth it.
- Diverter or non-diverter: If you have a shower above the tub, you need a diverter spout (with the pull-up knob). No shower? A plain spout is fine and more reliable.
- Universal fit: Look for spouts that include adapters for ½” IPS threaded and slip connections so you’re covered either way.
- Finish: Chrome and brushed nickel are the most forgiving for hard water; matte black and bronze look great but show water spots sooner. If hard water is your enemy, our tips on removing hard water stains on a stainless steel faucet apply to spouts too.
- Length: Standard spouts run about 6 inches; longer 8–10 inch spouts clear thicker wall tile or deeper tubs.
WOWOW tub spouts are built with solid-brass construction and multi-layer finishes tested against ASME A112.18.1 industry standards for durability and lead-free safety, and they ship with universal adapters so a single spout fits most threaded and slip connections. That’s the practical answer to “which one do I buy” — pick a brass, universal-fit spout in a finish that suits your water, and match the mount to your wall.
FAQ
Do all tub spouts have a set screw?
No. Only slip-on (slip-fit) spouts have a set screw — usually a 1/8-inch hex screw on the underside. Threaded (screw-on / IPS) spouts have no set screw at all; they simply screw onto a threaded nipple. If you can’t find a set screw, you almost certainly have a threaded spout that unscrews counterclockwise.
How do I remove a tub spout with no set screw without damaging the wall?
Turn the spout counterclockwise. If it’s stuck, insert a screwdriver handle or hammer into the spout’s mouth and use it as a lever, turning slowly. Support the wall pipe area and don’t yank sideways. If you feel the pipe inside the wall twisting, stop and apply penetrating oil to the threads first.
Can I put a threaded spout on a copper slip-fit pipe?
Not directly — a threaded spout needs threads to grip. If you have a smooth copper stub, you either need a slip-on spout with a set screw, or you thread a ½” male adapter onto the copper (soldered or push-fit) so a threaded spout can attach. When in doubt, match the spout to what’s already on your wall.
What size is a standard tub spout connection?
Residential tub spouts almost always connect to a ½-inch pipe — either ½” NPT threaded for screw-on spouts or ½-inch smooth copper for slip-on spouts. Some universal spouts also include a ¾” adapter. Measure your pipe’s outside diameter before buying to be sure.
Why won’t my new threaded tub spout point straight down when tight?
It’s a nipple-length problem. If the spout points up when fully snug, the nipple is too long — use a shorter one. If it stops short and points down too far or spins loose, the nipple is too short. Adjusting nipple length (or adding plumber’s tape and sealant) lets you land the spout pointing straight down.
Do I need plumber’s tape on a no-set-screw tub spout?
Yes. Threaded spouts rely on the threads for a watertight seal, so wrap 3–4 clockwise turns of PTFE plumber’s tape (or use pipe-joint compound) on the nipple before installing. Slip-on spouts don’t use tape — they seal with an internal O-ring against the smooth pipe instead.
A note on expertise
This guide was written by the WOWOW Faucet product team, drawing on hands-on testing of hundreds of tub spout installations across threaded and slip-fit plumbing. WOWOW is a dedicated faucet and bathroom-fixture manufacturer; our spouts are built from solid brass, finished for wet-environment durability, and tested to ASME A112.18.1 / cUPC lead-free standards, and are backed by a limited lifetime warranty on finish and function. When we say “match the mount to your wall,” it’s because the number-one support question we get on tub spouts is a mismatch between a threaded spout and a slip-fit pipe — a two-minute check under the spout prevents it.
\n
Related Guides
\n
- \n
- Six Different Types Of Shower Handles: Choose The Right For Your Bathroom
- Understanding Shower Valve Types: A Comprehensive Guide
- What Is The Standard Height Of A Shower Head
\n
\n
\n
\n