 WOWOW Faucets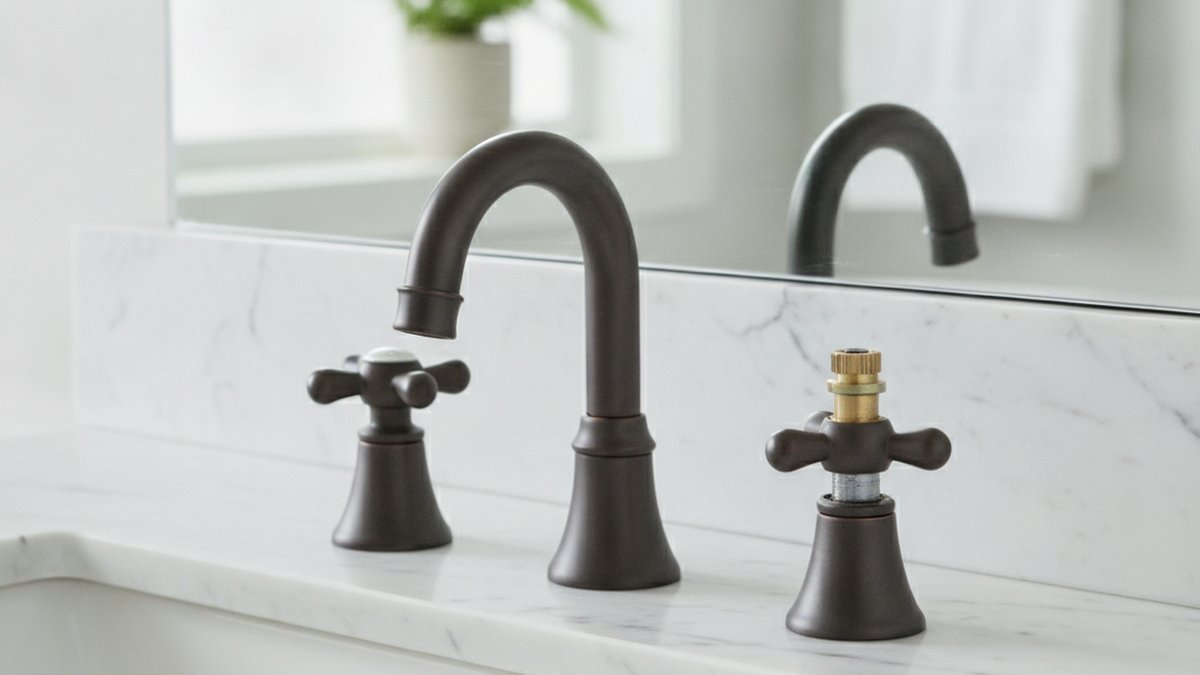
A randolph morris faucet cartridge replacement is the fix for the classic complaints these vintage-style faucets develop after a few years: a steady drip from the spout, a handle that spins loose, or hot and cold that won’t fully shut off. The cartridge is the little valve core inside the handle that starts and stops the water — when it wears out, no amount of tightening the handle will stop the drip, because the seal is inside the cartridge, not in the handle. Swap that one part and a faucet that felt “dead” behaves like new. Below I’ll walk you through exactly how, which cartridge to buy, and how to avoid the two mistakes that turn a 30-minute job into a weekend headache.
What exactly is failing when a Randolph Morris faucet drips or won’t shut off?
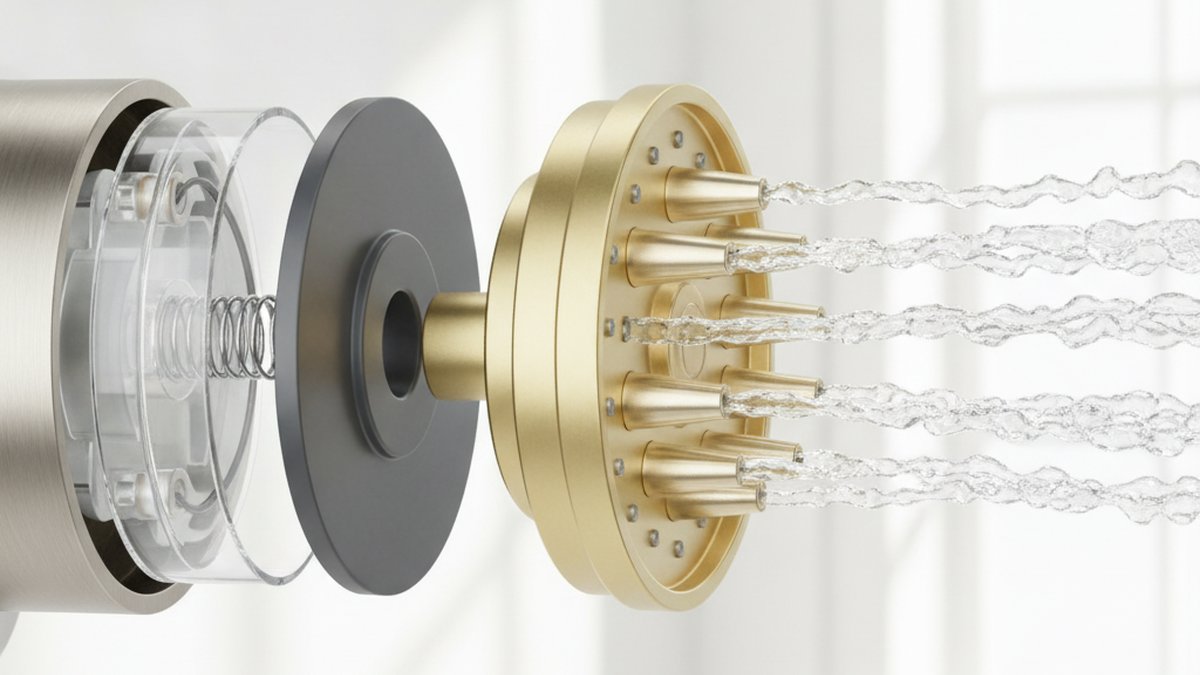
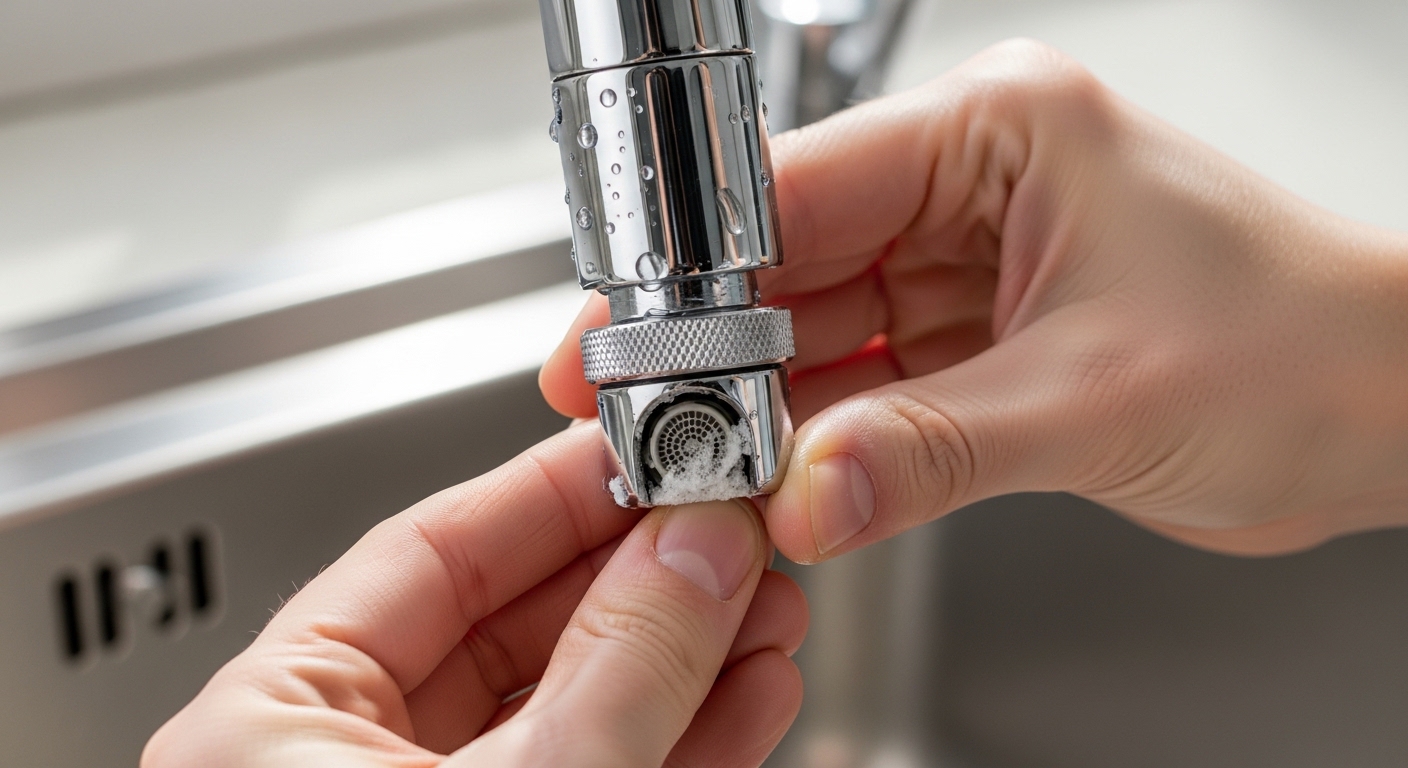
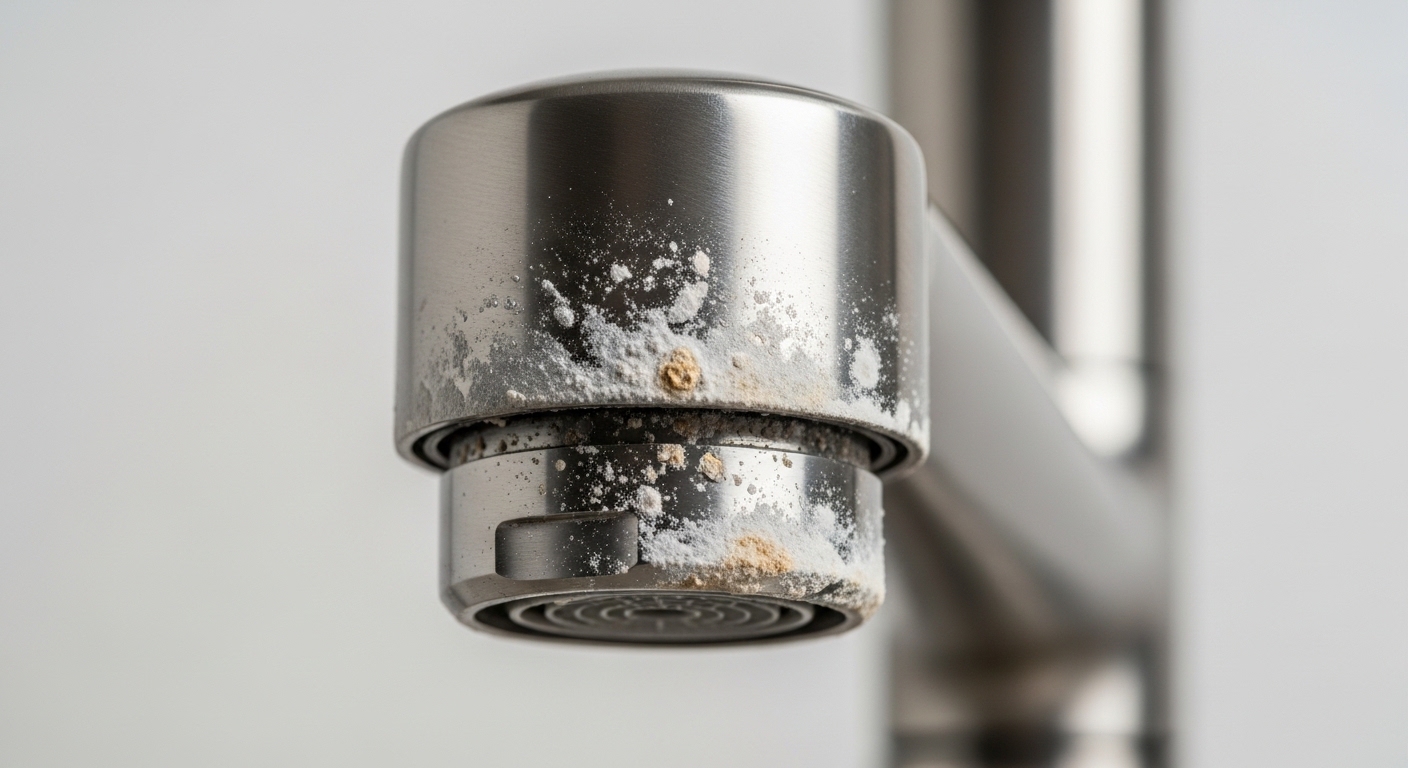
Ninety percent of the time it’s the cartridge, not the whole faucet. Randolph Morris faucets — the vintage-reproduction clawfoot tub fillers, widespread lavatory sets, and bridge kitchen faucets — mostly use ceramic-disc cartridges. Inside, two polished ceramic discs slide across each other; turning the handle lines up (or blocks) the openings. Over years, mineral scale, grit, and worn rubber seats let a trickle sneak through even when the handle is “off.” That’s your drip.
Here’s how to tell the cartridge is the culprit before you buy anything:
- Constant drip from the spout with the handle fully closed → worn cartridge seals. This is the #1 sign.
- Handle got stiff, gritty, or hard to turn → mineral buildup on the ceramic discs.
- Handle spins freely / feels loose with no water control → cracked or stripped cartridge stem.
- Water seeps out around the base of the handle, not the spout → the cartridge O-rings have failed.
- Only ONE side (hot or cold) drips on a two-handle faucet → replace just that side’s cartridge.
If instead water is pooling under the sink or leaking from the supply lines, that’s not a cartridge issue — that’s a connection or supply-hose problem, and you’ll want to look at a faucet valve replacement instead. And if you’re still fuzzy on what this part even is and why it matters, this quick primer on what the cartridge on a faucet actually does is worth two minutes before you start.
How do you replace a Randolph Morris faucet cartridge step by step?
You replace it in six steps: shut off water, cap the drain, remove the handle, pull the retaining nut/clip, extract the old cartridge, and install the matching new one. Here’s the full walkthrough for a standard single- or two-handle Randolph Morris faucet.
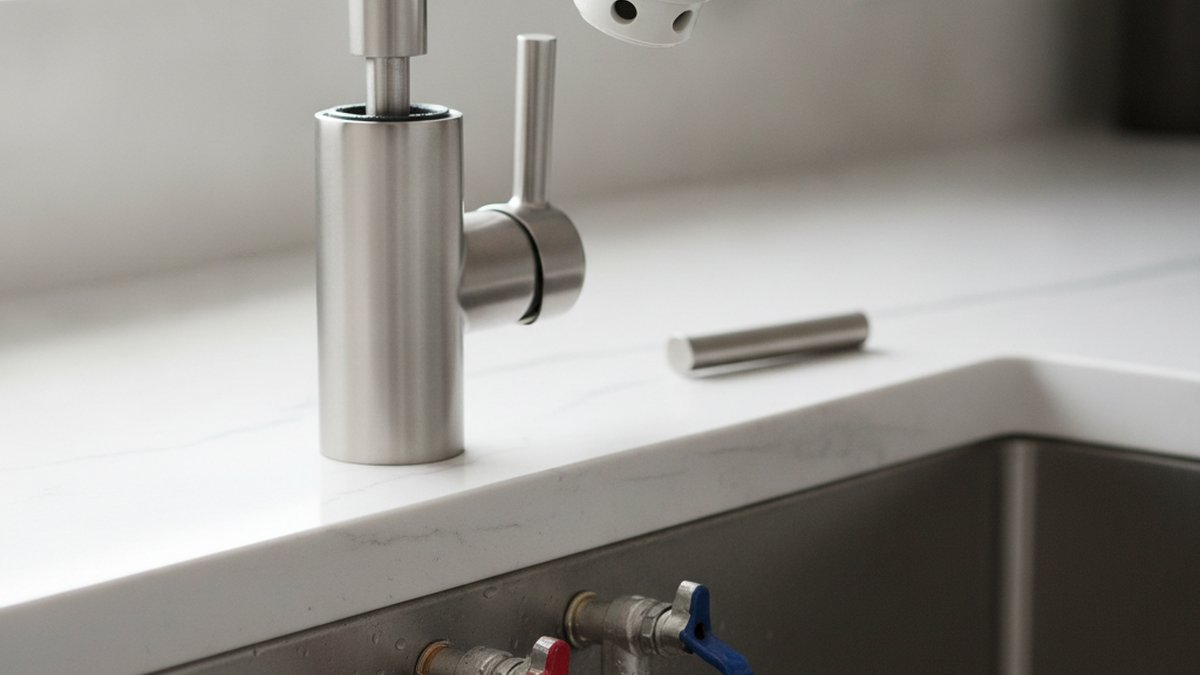
1. Shut off the water and open the faucet. Turn the two shutoff valves under the sink (or tub) fully clockwise. Then open the faucet handle to release pressure and drain the line. No under-sink valves? Shut the main water supply for the house.
2. Plug the drain and lay down a towel. The tiny screws and retaining clips love to disappear down an open drain. Cover it. This one habit will save you a trip to the hardware store.
3. Remove the handle. Most Randolph Morris handles hide the set screw under a decorative cap or button on top or on the side of the lever. Pry the cap off with a fingernail or flat screwdriver, loosen the set screw with an Allen (hex) key — usually 1/8″ or 3/32″ — and lift the handle straight up. If it’s stuck from limescale, wiggle gently; don’t pry against the finish.
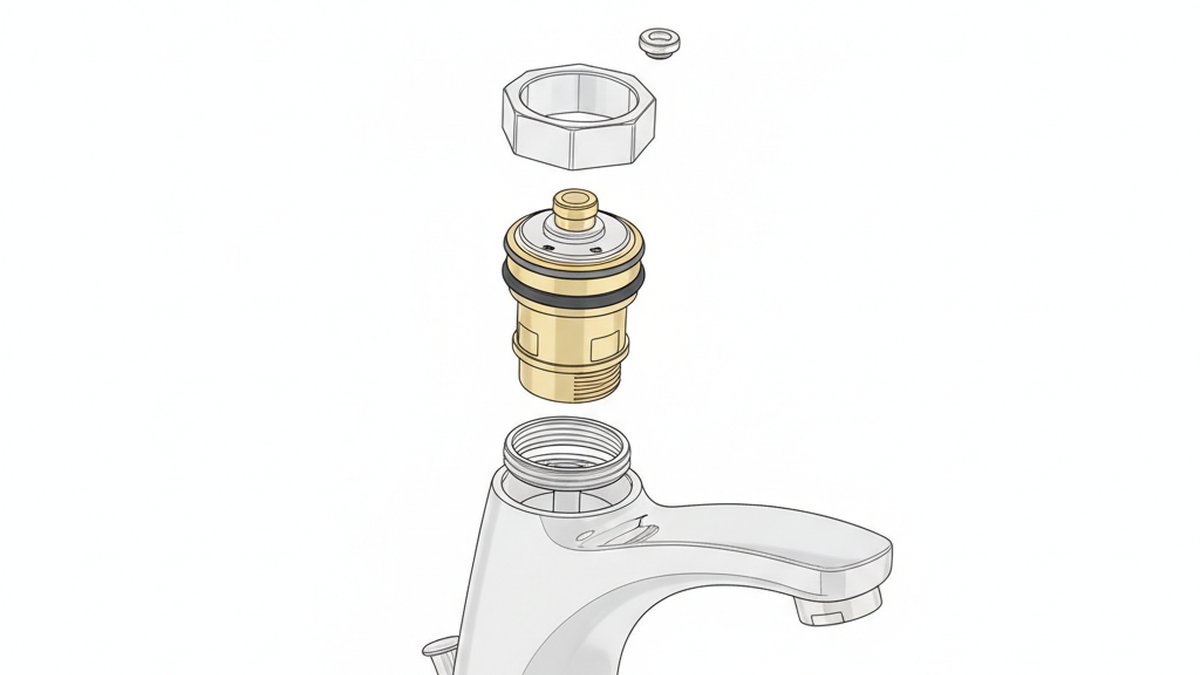
4. Remove the retaining nut or clip. Under the handle you’ll see a bonnet/retaining nut (turn counterclockwise with an adjustable wrench or deep socket) or, on some models, a horseshoe-shaped brass clip you pull out with needle-nose pliers. Keep this part — you’ll reuse it.
5. Pull the old cartridge. Grip the cartridge stem with pliers and pull straight up while gently twisting. If it’s seized with scale, an inexpensive cartridge-puller tool gives you the leverage to pop it out without cracking the faucet body. Note the orientation — many cartridges have a flat, notch, or tab that must face a specific way so hot and cold aren’t reversed.
6. Drop in the new cartridge. Smear a thin film of silicone plumber’s grease on the new cartridge’s O-rings. Push it in with the same orientation as the old one, seat it fully, then reverse steps 4–3: retaining nut, handle, set screw, cap. Turn the water back on slowly, let it run 15–20 seconds to clear air and debris, and check for drips.
The exact sequence mirrors any modern faucet — if you want a brand-agnostic reference with photos, our step-by-step guide to replacing a faucet cartridge covers the same moves in detail, and if yours is a single-lever design, the single-handle cartridge replacement walkthrough shows the one-handle variation cleanly.
Which replacement cartridge fits a Randolph Morris faucet — and where do you buy it?
Match the cartridge by the exact faucet model, not by looks — a cartridge that’s 2 mm too long or has a different spline count won’t seat or seal. Randolph Morris (the vintage-reproduction house brand sold through Vintage Tub & Bath) uses a handful of ceramic-disc cartridges depending on the collection, so the reliable path is to pull your old one and match it, or quote your faucet’s model number.
Three ways to get the right part:
- Take the old cartridge with you (or photograph it with a ruler). Measure overall length, stem shape (broach/spline count), and the diameter. This is the surest match.
- Contact Randolph Morris / Vintage Tub & Bath with your faucet’s model number. Their reproduction fixtures often have proprietary cartridges, so the OEM part is the safest bet for a perfect seal and to keep any warranty intact.
- Match a universal ceramic-disc cartridge only if the dimensions and broach are identical — acceptable in a pinch, but confirm the specs before you rely on it.
| What to check | Why it matters | How to confirm the match |
|---|---|---|
| Overall length | Too long/short = won’t seat or leaks | Measure old cartridge tip to base in mm |
| Stem broach (spline count) | Handle won’t fit or turn correctly | Count the teeth on the stem; compare |
| Hot vs. cold / left vs. right | Some cartridges are side-specific | Note tabs/notches and orientation on removal |
| Ceramic vs. compression | Different repair part entirely | Ceramic = quarter-turn; compression = multi-turn washer |
| O-ring diameter | Wrong size seeps at the base | Compare against the old O-rings |
Do you need to replace both cartridges, or just the one that’s leaking?
Replace only the side that’s failing — but if the faucet is 8+ years old and one cartridge just wore out, doing both at once is smart insurance. On a two-handle Randolph Morris lavatory or tub faucet, hot and cold each have their own independent cartridge. If only the cold side drips, the cold cartridge is what’s shot; the hot side can be perfectly fine.
That said, both cartridges have lived the same years in the same water. If one gave up to mineral wear, the other is usually not far behind. Since the labor (shutting off water, pulling handles) is already done, swapping both while you’re in there saves you from repeating the whole job in six months. For a faucet you rarely touch or one under warranty, do just the failed side and keep the receipt.
What tools and supplies does a Randolph Morris cartridge swap actually need?
You need about five common tools and one $6 tube of grease — nothing specialized unless the cartridge is seized. Here’s the realistic kit:
- Allen/hex key set — for the handle set screw (commonly 3/32″ or 1/8″)
- Adjustable wrench or deep socket — for the retaining/bonnet nut
- Needle-nose pliers — for retaining clips and gripping the stem
- Flat-head screwdriver — to pop the decorative cap
- Silicone plumber’s grease — to lubricate the new O-rings (never petroleum jelly; it degrades rubber)
- Cartridge puller — only if the old cartridge is scaled in and won’t budge (~$15, cheaper than a cracked faucet)
- White vinegar — to soak away limescale on the faucet body while the cartridge is out
One pro habit: while the cartridge is out, wrap a vinegar-soaked paper towel around the exposed valve seat for 10 minutes to dissolve scale. A clean seat helps the new ceramic discs mate perfectly and prevents an early re-leak.
How much does a Randolph Morris cartridge replacement cost — DIY vs. plumber?
DIY runs about $15–$60 for the cartridge plus a few dollars in grease; a plumber typically charges $150–$300 for the same job once you add a service-call fee. The cartridge itself is the main variable — OEM Randolph Morris parts cost more than generic ceramic cartridges, but they guarantee fit.
| Route | Typical cost | Time | Best for |
|---|---|---|---|
| DIY, generic ceramic cartridge | $15–$35 | 30–45 min | Confident DIYer, exact-match part confirmed |
| DIY, OEM Randolph Morris cartridge | $35–$60 | 30–45 min | Guaranteed fit, warranty-sensitive fixtures |
| Licensed plumber | $150–$300 | 1 visit | Seized cartridge, no tools, or rental property |
For most people the DIY route wins easily — the hardest part isn’t the wrenching, it’s ordering the correct cartridge. Get that right and the physical swap is genuinely a half-hour job.
What are the most common mistakes to avoid?
The two big ones: forcing a mismatched cartridge, and turning the water back on at full blast. A cartridge that’s close-but-not-exact will either refuse to seat or leak within weeks, so confirm every dimension first. And when you restore water, crack the shutoff valves open slowly — a full-force surge can blow air and grit into the fresh ceramic discs and cause an instant drip that feels like the new part is defective when it isn’t.
A few more traps worth naming:
- Skipping the plumber’s grease — dry O-rings tear on installation and seep at the base.
- Reversing hot and cold — install the new cartridge in the same orientation you removed the old one.
- Over-tightening the retaining nut — snug is enough; cranking it can crack a cartridge or the faucet body.
- Prying against the finish — on oil-rubbed bronze or brushed nickel, scratches are permanent. Wrap wrench jaws with tape.
- Losing parts down the drain — plug it before you touch a screw.
Author note, brand credibility, and standards
This guide was written by the WOWOW Faucet product and repair team — the same people who spec, pressure-test, and warranty faucets and cartridges for a living. WOWOW builds faucets and fixtures certified to cUPC standards and using NSF/ANSI-compliant, lead-free brass, and our ceramic-disc cartridges are cycle-tested to withstand years of daily use (industry endurance testing routinely runs cartridges through 500,000+ open/close cycles). We back our faucets with a limited lifetime warranty on the finish and function. While Randolph Morris is a separate brand, the ceramic-disc cartridge repair principles here are the same ones our technicians use across the industry — and if you ever replace the whole faucet rather than the cartridge, our step-by-step bathroom faucet replacement guide takes you the rest of the way.
FAQ
Are Randolph Morris faucet cartridges universal or proprietary?
Mostly proprietary. Randolph Morris reproduction fixtures often use collection-specific ceramic-disc cartridges, so the safest match is the OEM part quoted by faucet model number, or a universal cartridge that matches the exact length, broach, and O-ring diameter of the one you removed. Never assume “ceramic looks like ceramic” — confirm the measurements.
How long does a Randolph Morris cartridge replacement take?
About 30–45 minutes for a confident DIYer with the right cartridge already in hand. Most of that is removing the handle and retaining nut; the actual cartridge swap takes a couple of minutes. A seized, scaled-in cartridge can add 15 minutes and may require a cartridge-puller tool.
Why does my faucet still drip after I replaced the cartridge?
Usually one of three things: the cartridge isn’t an exact match, the valve seat had scale or grit that stopped the discs from sealing, or you turned the water on too fast and lodged debris in the new cartridge. Pull it again, clean the seat with vinegar, confirm the part number, grease the O-rings, and restore water slowly.
Can I use a generic ceramic cartridge instead of the Randolph Morris part?
Only if every dimension matches — overall length, stem spline/broach count, and O-ring size. A generic ceramic-disc cartridge that’s identical in spec will work fine, but even a 1–2 mm difference in length can prevent a full seal. When in doubt, buy the OEM cartridge; the small extra cost beats a repeat leak.
Do I need to turn off the whole house water to replace the cartridge?
No, if your faucet has under-sink shutoff valves — just close those two. Only if there are no local shutoffs (common with some tub fillers) do you need to close the main house supply. Either way, open the handle afterward to bleed pressure before you disassemble anything.
Is it a ceramic cartridge or a compression washer I need to replace?
If the handle turns a quarter- to half-turn from off to full, it’s a ceramic-disc cartridge. If the handle turns several full rotations, it’s an older compression design that uses a rubber washer and seat instead — a different repair part. Randolph Morris reproductions are typically ceramic-disc.