 WOWOW Faucets
Here is the complete, publish-ready HTML article:
“`html
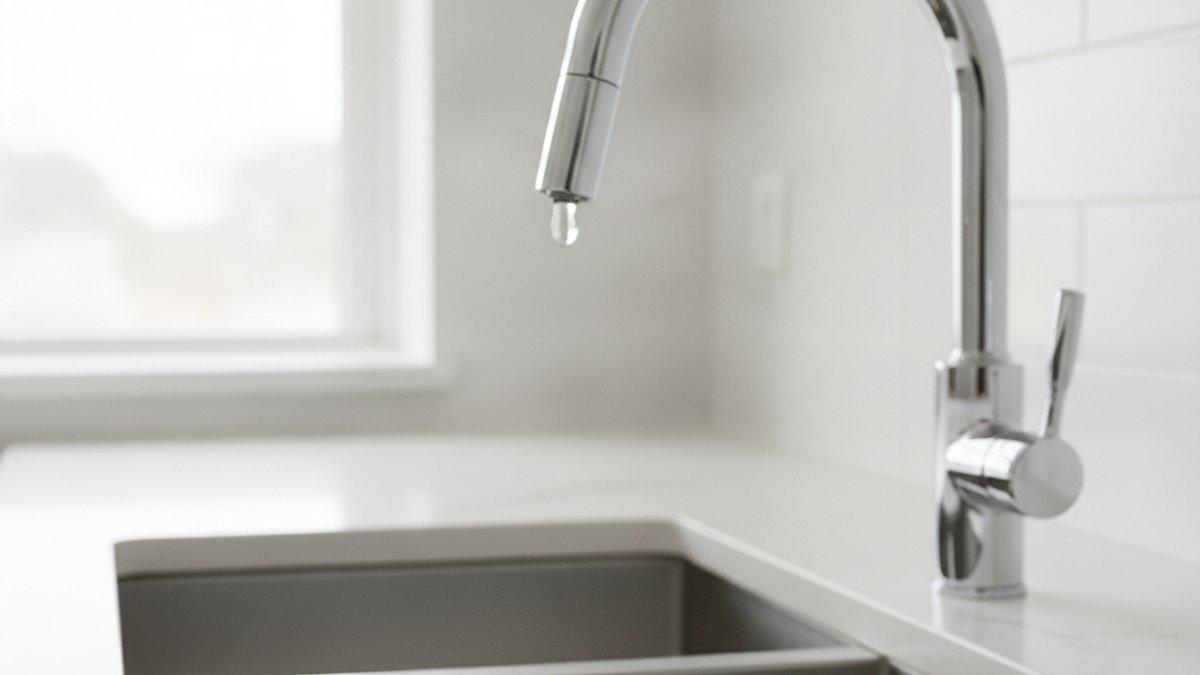
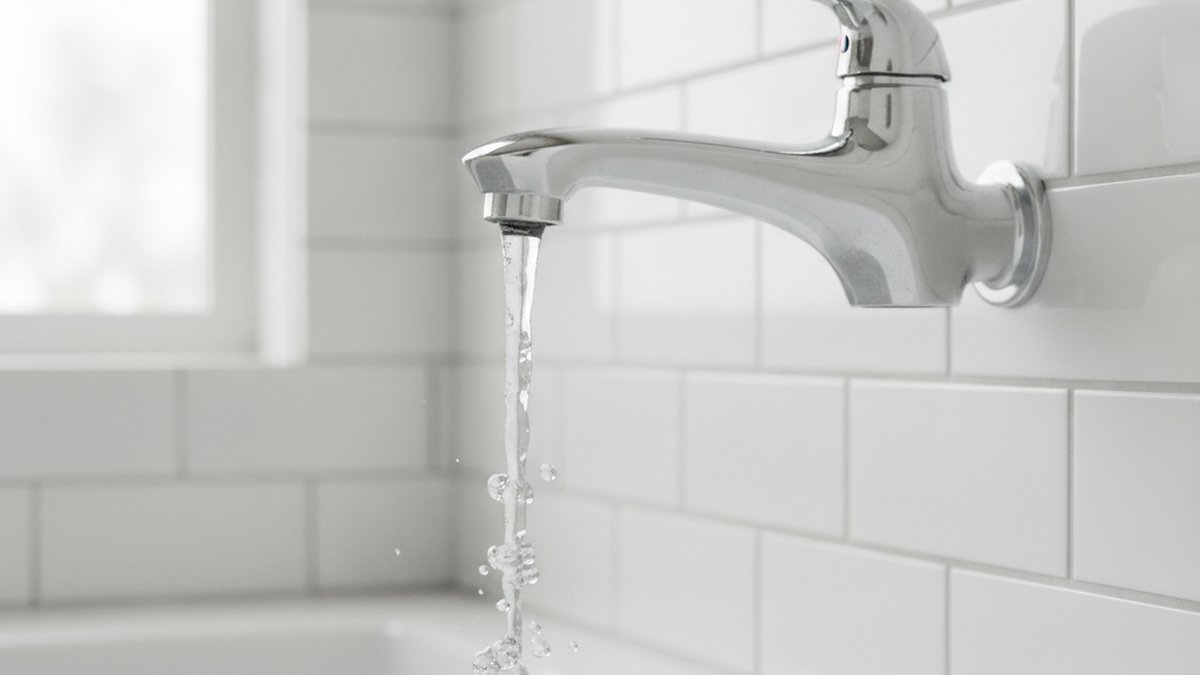
A leaking kitchen faucet repair is one of the most common — and most fixable — plumbing jobs in any home. Before you pay a plumber $150–$300 for a service call, know this: the vast majority of kitchen faucet leaks trace back to three cheap, replaceable parts. The trick is figuring out where the water is actually coming from, because the spot it drips tells you almost exactly which part failed. This guide walks you through diagnosing it, fixing it, and knowing the one moment it’s smarter to replace the whole faucet instead.
I’ve torn down and rebuilt hundreds of kitchen faucets — single-handle, two-handle, pull-down sprayers, the works — and I promise you the tools list is shorter and the job is less scary than you think. Let’s get your sink dry.
Why Is My Kitchen Faucet Leaking in the First Place?
Your kitchen faucet is leaking because a part that’s supposed to create a watertight seal has worn out, dried up, or come loose. Faucets have moving parts and rubber seals that flex every single time you turn the water on — thousands of cycles a year — so wear is normal, not a sign you bought a lemon.
Here are the usual culprits, in order of how often I see them:
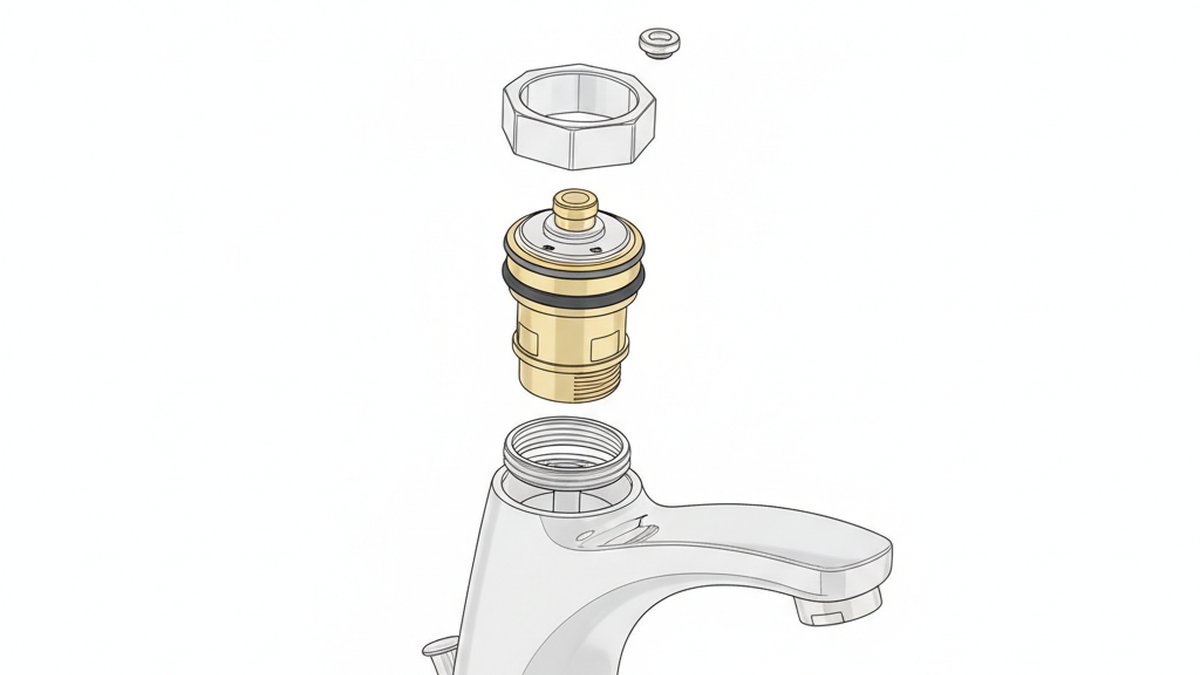
- Worn cartridge (the #1 cause): The cartridge is the internal valve that controls hot/cold mixing and flow. When its internal seals wear, water sneaks past and drips from the spout even when the handle is off.
- Cracked or hardened O-rings: These small rubber rings seal the spout to the body. When they dry out and crack, you get a leak at the base of the faucet, often only when the water is running.
- Loose or corroded supply-line connections: The braided hoses under the sink can loosen over time or corrode at the nut, causing a slow drip that pools in the cabinet.
- Worn valve seat or washer (older/two-handle faucets): Compression faucets use a rubber washer that gets chewed up against a brass seat, leading to a steady handle-area drip.
- Mineral buildup: Hard water leaves scale that prevents seals from seating properly. If you have hard water, expect to service seals a little more often.
The good news: every one of these is a low-cost part. The most expensive thing about a leaking faucet is usually the water bill it quietly runs up — a faucet dripping once per second wastes roughly 3,000 gallons a year. That alone pays for the repair many times over.
How Do I Figure Out Where My Kitchen Faucet Is Leaking From?
Watch exactly where the water appears, because each location points to a specific failed part. Dry the whole faucet with a towel, run it, turn it off, and watch for 60 seconds. Then match what you see to the table below — this diagnosis is 90% of the battle.
| Where it leaks | When it leaks | Most likely cause | Typical fix & part cost |
|---|---|---|---|
| Drips from the spout tip | Even when handle is off | Worn cartridge or washer | Replace cartridge — $10–$40 |
| Base of the spout | Only while water runs | Cracked O-rings | Replace O-rings — $5–$12 |
| Around/under the handle | When running or lifting handle | Cartridge seal or handle O-ring | Replace cartridge/seal — $10–$40 |
| Inside the cabinet, at hoses | Slow constant pooling | Loose/corroded supply line | Tighten or replace hose — $8–$20 |
| Sprayer head or hose | While spraying | Worn sprayer gasket/quick-connect | Replace gasket/hose — $10–$25 |
If you’re getting a dribble from the spout while the sprayer diverter is engaged, that’s usually normal residual water — not a leak. And if water is pooling in the cabinet, always feel the hoses and connection nuts first; a five-second wrench turn fixes a surprising number of “leaks.” For a running-flow drop rather than a leak, the culprit is different — see our guide on what to do when your kitchen faucet has low water flow.
What Tools and Parts Do I Need for a Leaking Kitchen Faucet Repair?
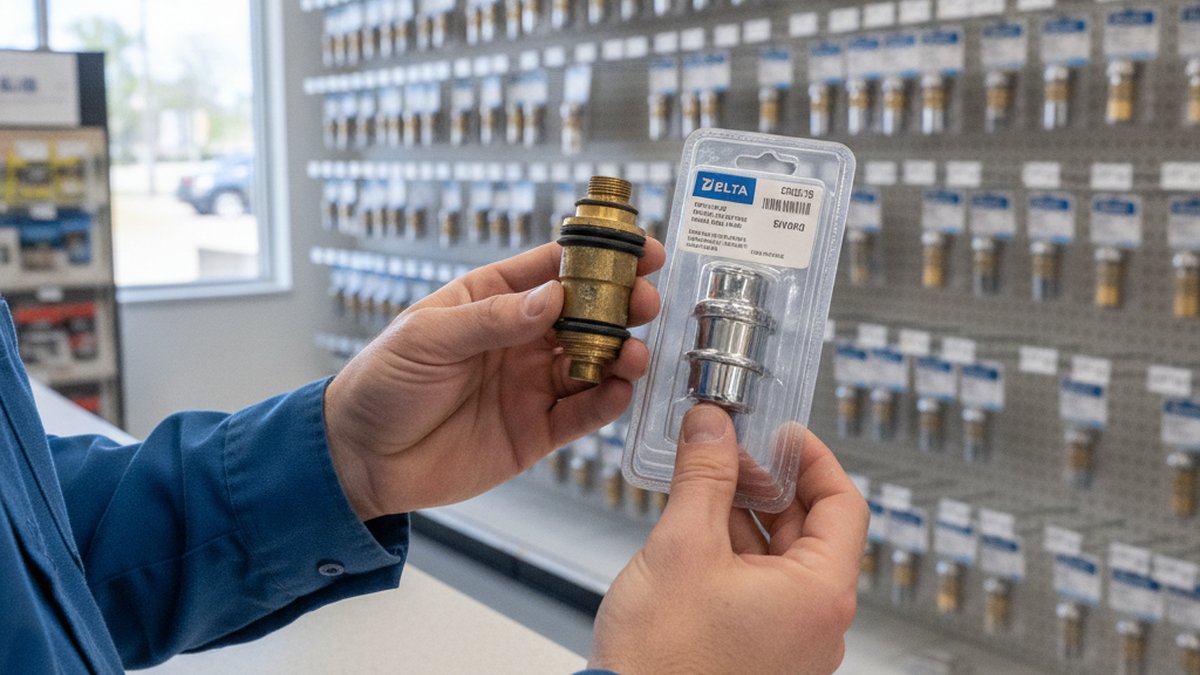
You need surprisingly little: a hex/Allen key, an adjustable wrench or channel-lock pliers, a Phillips screwdriver, and the correct replacement part for your specific faucet model. Buying the right part matters far more than having fancy tools.
Here’s the complete kit for a typical single-handle cartridge repair:
- Replacement cartridge or O-ring/seal kit — matched to your faucet brand and model number (find it on the original box, the underside spec, or the manufacturer’s site).
- Hex/Allen key set — most single-handle faucets use a small set screw hidden under or behind the handle.
- Adjustable wrench or channel-lock pliers — for the retaining nut and supply-line connections.
- Phillips and flathead screwdrivers.
- Plumber’s grease (silicone-based) — to lubricate new O-rings and seals so they seat cleanly and last.
- Plumber’s tape (PTFE) — for re-sealing threaded supply connections.
- An old towel and a flashlight — the two most underrated plumbing tools ever.
One pro tip that saves a second trip to the store: take a clear photo of your faucet and note the brand before you shop. If you can’t find a model number, many brands (Delta, Moen, Kohler, and quality alternatives) offer a universal cartridge lookup. Not sure what a cartridge even is or why it’s the heart of the faucet? Our explainer on what the cartridge on a kitchen faucet is and why it matters is worth two minutes before you start.
How Do You Fix a Leaking Single-Handle Kitchen Faucet Step by Step?
To fix a leaking single-handle kitchen faucet, shut off the water, remove the handle and retaining nut, pull out the old cartridge, drop in the new one, and reassemble — about 30–45 minutes for a first-timer. Here’s the exact sequence.
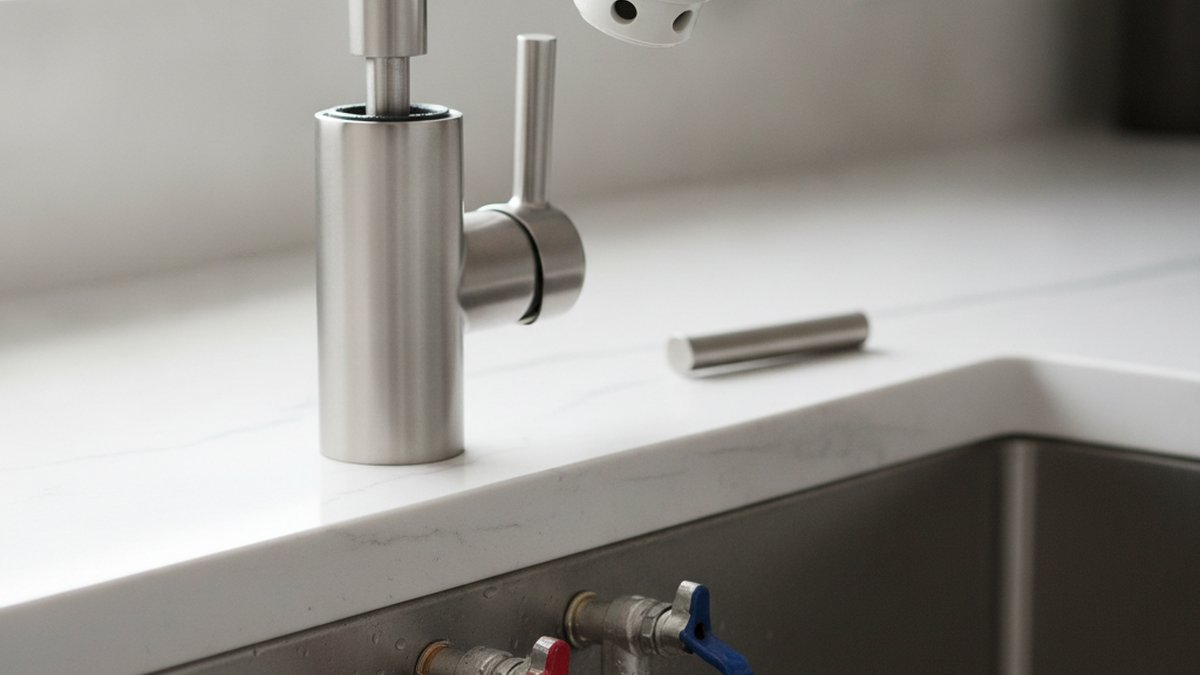
- Shut off the water. Turn the two valves under the sink clockwise until they stop. Then open the faucet to release pressure and confirm the water is truly off.
- Plug the drain. Small screws and clips love to disappear down open drains. Cover it with a rag or the stopper.
- Remove the handle. Find the set screw (usually under a decorative cap or behind the handle) and loosen it with your hex key. Lift the handle straight up.
- Remove the retaining nut/clip. Underneath you’ll find a dome nut or a horseshoe-shaped retaining clip holding the cartridge. Unscrew the nut with pliers, or pull the clip straight up with needle-nose pliers.
- Pull the old cartridge. Grip it and pull straight up. If it’s stuck from mineral buildup, wiggle gently or use a cartridge-puller tool. Note its orientation — the new one must go in the same way.
- Inspect and clean. Wipe scale out of the faucet body with a cloth and a little vinegar. Replace the O-rings while you’re in there — they’re cheap and you’re already halfway.
- Install the new cartridge. Lightly grease the seals with plumber’s grease, align the tabs/notches correctly, and press it firmly into place.
- Reassemble in reverse. Retaining clip/nut, then handle, then set screw.
- Turn the water back on slowly and check for leaks at every joint. Run hot and cold to confirm the mix is correct — if hot and cold are reversed, the cartridge went in rotated 180°.
If you get to the cartridge step and want a deeper, photo-by-photo walkthrough, we have a dedicated guide on how to replace a cartridge in a kitchen faucet — including how a beginner can do it in under an hour. Delta owners specifically should check the Delta single-handle cartridge replacement steps, since Delta’s clip and RP-part system is a little different from the rest.
How Do I Repair a Leaking Two-Handle Kitchen Faucet?
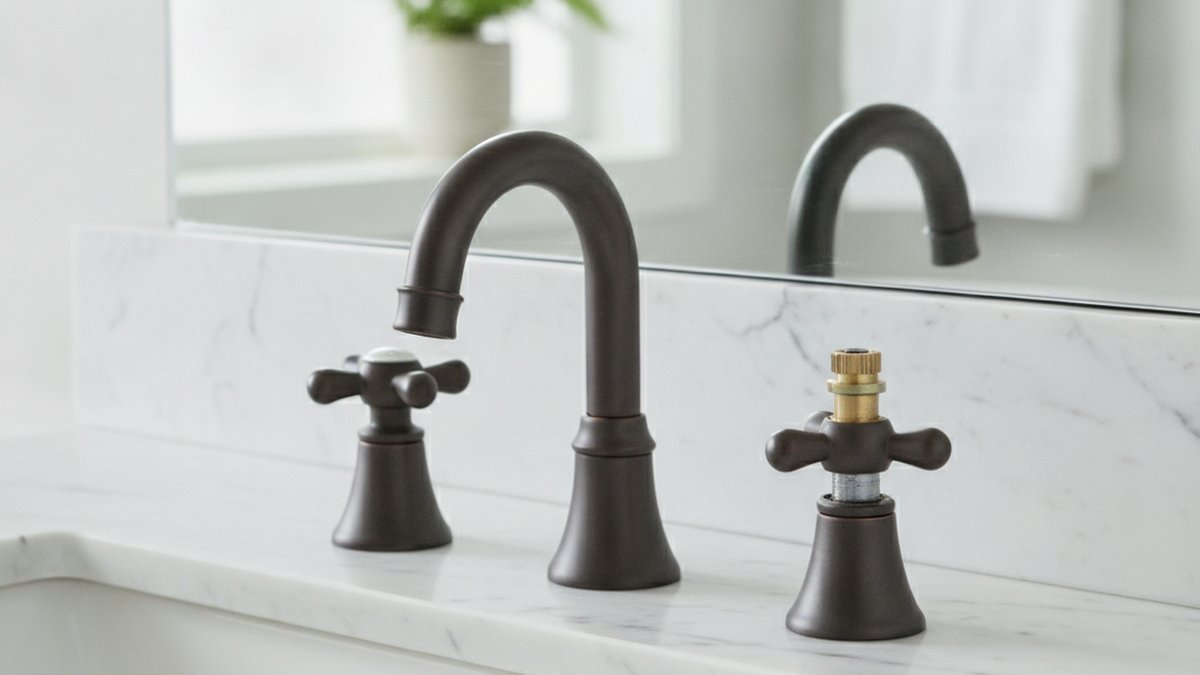
A leaking two-handle kitchen faucet is fixed the same way, but you repair only the side that leaks — hot or cold — by replacing that handle’s cartridge, stem, or washer. Two-handle faucets are usually easier because the parts are smaller and the design is simpler.
Run each handle separately to identify which side drips. Then shut off the water, pop the decorative cap off the leaking handle, remove the handle screw, and pull the stem or cartridge. Older compression-style two-handle faucets use a rubber washer at the bottom of the stem held by a small brass screw — if that washer is flat, cracked, or grooved, replace it and check the valve seat it presses against. If the seat is pitted, it needs re-dressing with a seat tool or replacing entirely, otherwise the new washer will chew up fast.
Modern two-handle faucets use ceramic-disc cartridges instead of washers, and those simply swap out as a unit. Either way, budget $6–$20 per side. While you’re at it, replace both sides even if only one leaks — the other is the same age and usually not far behind.
When Should I Just Replace the Faucet Instead of Repairing It?
Replace the whole faucet — rather than repairing it — when the body is cracked or corroded, when replacement parts are discontinued, or when repair parts would cost more than about half the price of a new faucet. For a faucet under 10 years old from a reputable brand, repair almost always wins. For a corroded 20-year-old builder-grade unit, a new faucet is the smarter money.
Signs it’s time to replace rather than repair:
- The faucet body itself is cracked or heavily corroded — no seal will fix a leaking metal casting.
- You can’t get parts. Discontinued cartridges make repair a dead end.
- You’ve already repaired it two or three times in the last couple of years.
- The finish is peeling or pitting and you were considering an upgrade anyway.
- You want new features — a pull-down sprayer, touchless operation, or better flow.
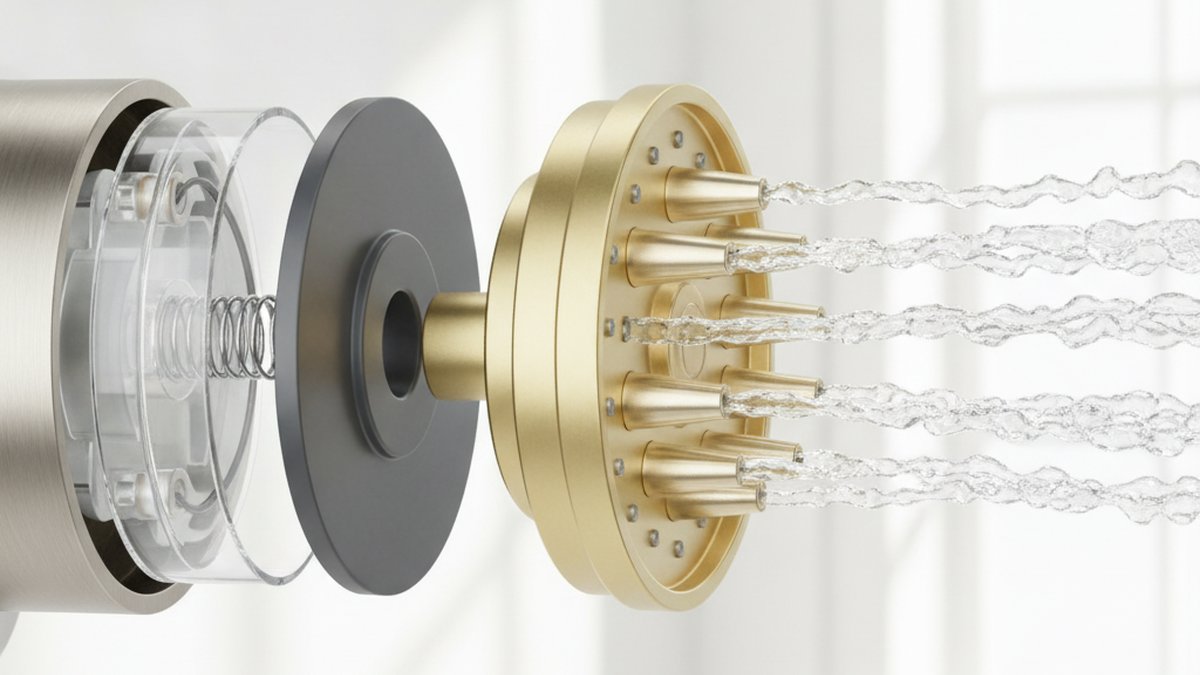
If you land in the “replace it” camp, choosing the right one is its own decision — spout height, hole count, and mounting all matter. Our full guide on how to choose a kitchen faucet covers fit, features, and installation, and if you’re dealing with an unusual setup, the 4-hole kitchen faucet buying guide explains how to match the number of deck holes you already have. At wowowfaucet, our kitchen faucets are built with solid brass bodies and ceramic-disc cartridges rated for 500,000+ open/close cycles precisely so that repairs stay this simple for years.
How Do I Stop My Kitchen Faucet From Leaking Again?
Prevent future leaks by using the faucet gently, controlling hard-water scale, and replacing seals proactively rather than waiting for a drip. Faucets don’t fail randomly — they fail from wear, force, and mineral buildup, all of which you can manage.
- Don’t crank the handle shut. Ceramic cartridges only need a light touch. Forcing them wears the discs and seals faster.
- Tame hard water. If you have mineral-heavy water, clean the aerator every few months and consider a whole-home or point-of-use softener. Scale is the silent killer of seals.
- Clean the aerator regularly. Unscrew it, soak it in vinegar, and rinse. This also keeps your flow strong.
- Replace O-rings during any teardown. They’re pennies; do it every time you’re already in there.
- Check under-sink connections twice a year. A 30-second inspection catches slow drips before they warp your cabinet floor.
Handle it gently and keep scale in check, and a quality cartridge faucet can go 5–7 years or more between any service at all.
FAQ
Can I fix a leaking kitchen faucet without turning off the main water supply?
You don’t need the main shutoff — just the two local shutoff valves under the sink. Turn them clockwise until they stop, then open the faucet to relieve pressure. If those valves are seized or missing (common in older homes), then yes, shut off the main to the house before you start.
How much does it cost to fix a leaking kitchen faucet myself versus hiring a plumber?
DIY typically costs $5–$40 for the part, since you already have basic tools. A plumber usually charges $150–$300 for the same job once you factor in the service call and labor. For a straightforward cartridge or O-ring swap, doing it yourself saves the vast majority of that cost.
Why does my kitchen faucet still drip after I replaced the cartridge?
The three usual reasons are: the cartridge wasn’t seated fully (press it firmly and confirm the clip is fully engaged), you got the wrong cartridge model, or debris/scale is caught on the seal. Also check the O-rings and the valve seat — if the seat is pitted, even a perfect new cartridge will still weep. Turn the water off and reinspect.
How long does a leaking kitchen faucet repair take for a beginner?
Plan on 30–60 minutes for your first time. The actual part swap is 10–15 minutes; the rest is diagnosing the leak, finding the set screw, and going slowly. Once you’ve done it once, you can repeat it in about 20 minutes.
Is a dripping faucet actually worth fixing, or can I ignore it?
Fix it. A faucet dripping once per second wastes roughly 3,000 gallons of water a year, and a leak at the base or under the sink can quietly rot your cabinet or countertop. A $10 part now prevents a much larger repair bill later.
What if the shutoff valves under my sink don’t fully stop the water?
Old shutoff valves often leak by even when closed. If you get a trickle, shut off the water at the main and consider replacing those quarter-turn valves while you’re under there — it’s a small job and makes every future repair far easier. Never force a corroded valve; it can snap.
About the author: This guide was written by the wowowfaucet product and installation team, who spend their days testing, disassembling, and rebuilding kitchen and bath fixtures. wowowfaucet designs faucets to meet cUPC and NSF/ANSI 61 standards for safe drinking water, backs its kitchen faucets with a limited lifetime warranty on the finish and function, and pressure-tests every cartridge before it ships. When we tell you a repair is doable at home, it’s because we’ve done it on the same parts hundreds of times.
“`