 WOWOW Faucets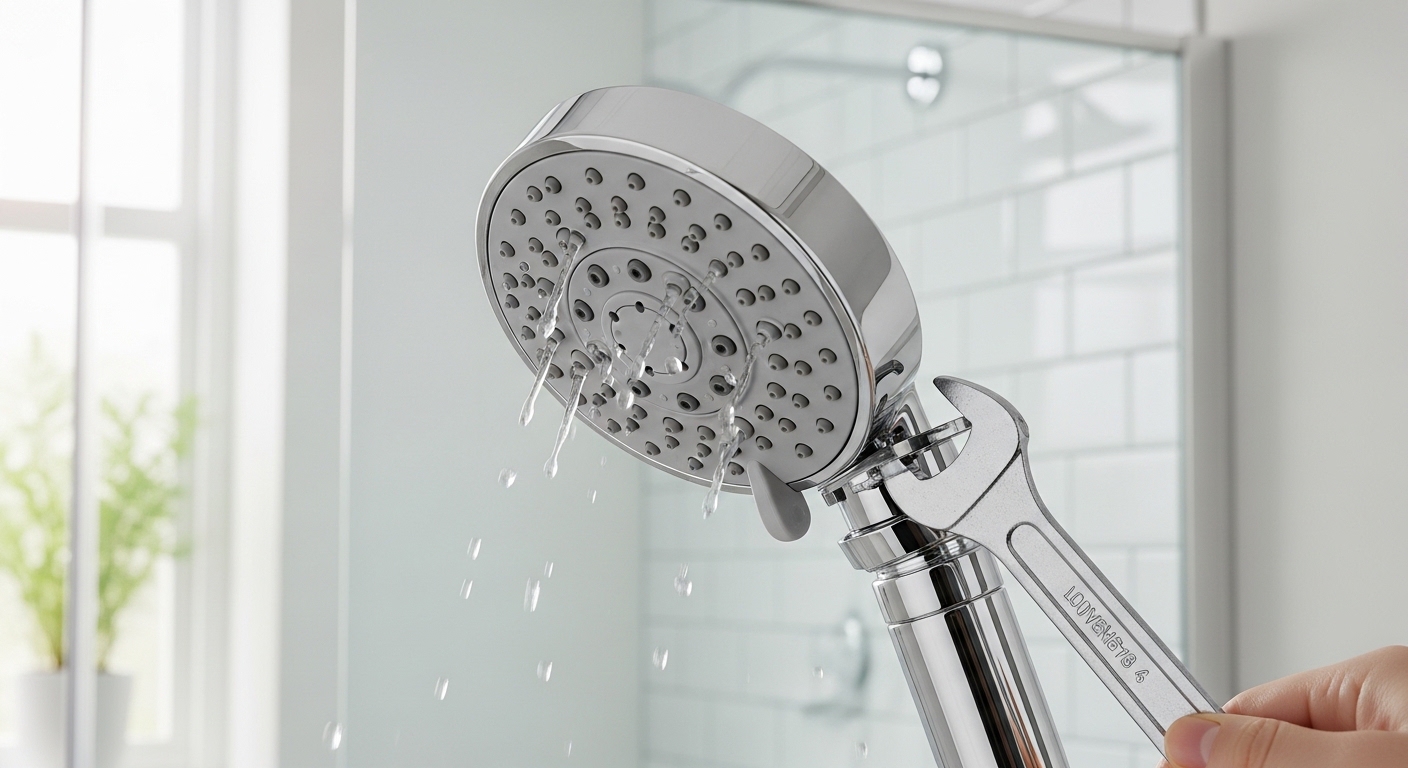
If your morning rinse has turned into a sad trickle, the right shower head low water pressure fix is usually faster, cheaper, and easier than you think. In most bathrooms, the culprit is not the city water main or your home’s pipes — it’s a clogged nozzle, a crusted filter screen, or a factory-installed flow restrictor doing its job a little too well. Below, we’ll diagnose the real cause and then walk through nine concrete fixes, ranked from simplest to most involved, so you can stop guessing and start enjoying a strong, even spray again.
Wowowfaucet engineers test shower heads and bathroom fixtures against real-world water conditions every day, and we’ve distilled that bench experience into a practical, do-it-yourself sequence anyone can follow with basic tools.
Why You Need a Shower Head Low Water Pressure Fix in the First Place
Before you unscrew anything, it helps to understand what “low pressure” actually means at the shower head. True water pressure is measured in PSI (pounds per square inch) and is set by your municipal supply or well pump. What you feel in the shower is flow rate — gallons per minute (GPM) — which depends on pressure and on how freely water can move through the head.
That distinction matters. A whole-home pressure problem affects every faucet, toilet, and appliance at once. A single weak shower almost always points to a localized blockage or restriction inside the shower head or the arm feeding it. The good news: localized problems are exactly the kind you can solve yourself.
Common Causes, From Most to Least Likely
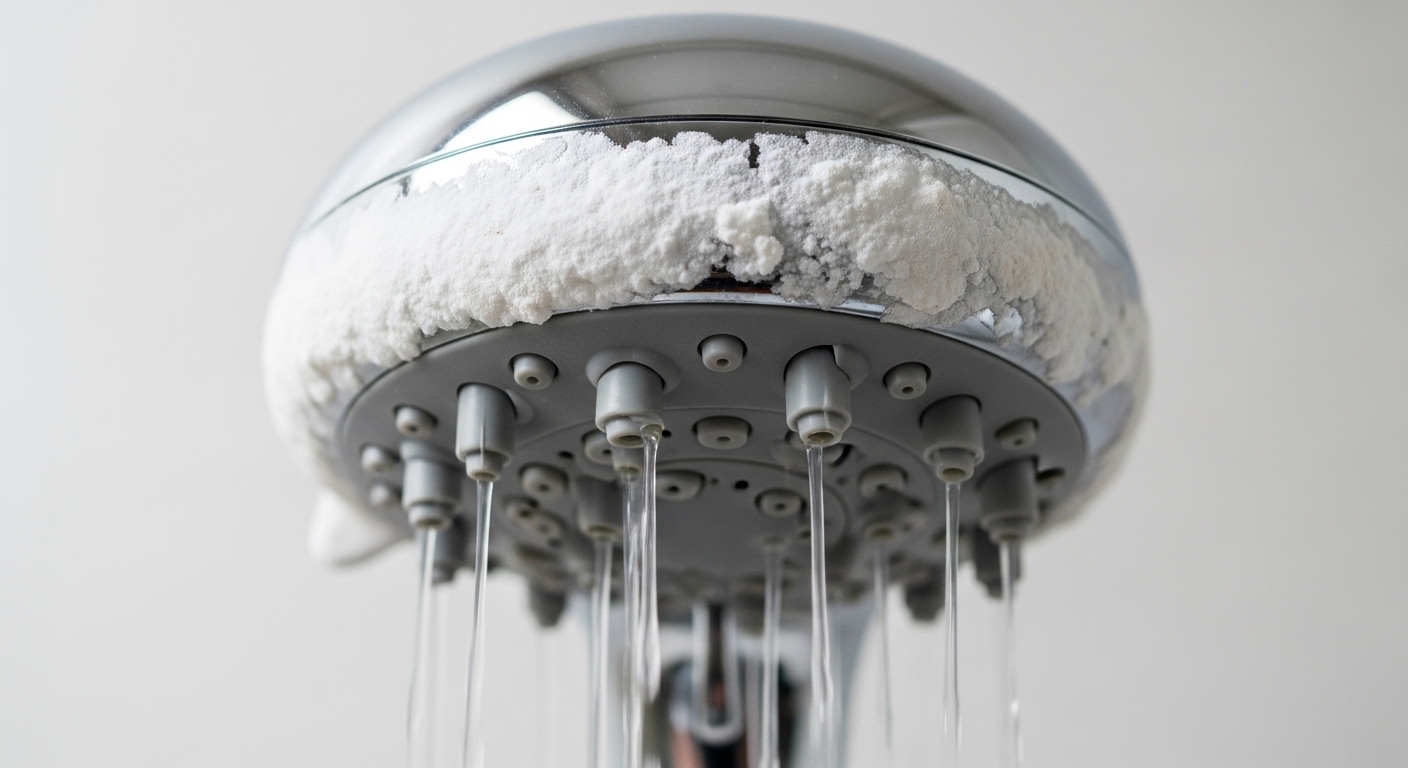
- Mineral and limescale buildup on the nozzles and inside the head (the #1 cause in hard-water regions).
- A clogged filter screen or washer where the head meets the shower arm.
- A flow restrictor — a small plastic disc required by federal water-efficiency rules — that has partially clogged or that you simply want to adjust.
- Sediment or pipe scale dislodged after plumbing work, settling in the head.
- A kinked or undersized hose on handheld and slide-bar models.
- A worn or stuck shower valve cartridge that no longer opens fully.
- A partially closed shut-off valve behind the wall or at the main.
If you’ve noticed weak or fluctuating flow at more than one fixture, the issue may live upstream rather than in the head itself. Our deep dive on why your faucet water is inconsistent covers whole-home pressure swings and supply-side gremlins in detail and is worth a read before you start disassembling hardware.
Step-by-Step Shower Head Low Water Pressure Fix
Work through these in order. Most people solve the problem by step three and never need the rest. Turn off the shower and lay a towel in the tub to catch dropped parts before you begin.
Fix 1: Clean the Nozzles by Hand (2 Minutes)
Modern shower heads use soft silicone or rubber “nubs” around each spray hole specifically so you can clear them without tools. With the water running on a gentle setting, rub your thumb firmly across every nozzle. Limescale flakes off, and you’ll often see individual jets snap back to life. It’s the lowest-effort shower head low water pressure fix there is, and on a lightly scaled head it can recover 20–30% of your flow instantly.
Fix 2: Soak the Head in White Vinegar (Overnight)
For stubborn buildup, vinegar is your best friend. White distilled vinegar dissolves calcium carbonate — the chalky white scale — without harming chrome, brushed nickel, or most PVD coatings.
- Fill a sturdy plastic bag with enough white vinegar to submerge the head.
- Wrap the bag around the shower head and secure it to the neck with a rubber band or zip tie.
- Let it soak 4–8 hours (overnight for heavy scale). Avoid leaving brass or specialty finishes longer than 30 minutes — see the caution below.
- Remove the bag, run hot water for a minute, and scrub the nozzles with an old toothbrush.
Finish caution: Prolonged vinegar contact can dull uncoated brass, oil-rubbed bronze, and certain matte-black surfaces. If you own a premium-finish head, limit the soak and rinse thoroughly. Our guide to faucet coating types compared explains which finishes tolerate acidic cleaners and which ones need a gentler touch — the same rules apply to shower heads.
Fix 3: Remove and Clear the Filter Screen
Nearly every shower head has a small mesh filter screen (and a rubber washer) tucked inside the connector that threads onto the shower arm. This screen catches grit so it doesn’t clog the nozzles — which means it slowly clogs itself instead.
- Unscrew the head from the shower arm by hand, or use a wrench with the jaws padded by a cloth to protect the finish.
- Pop out the rubber washer, then gently pry out the mesh screen with a flathead screwdriver or needle-nose pliers.
- Rinse the screen under a strong stream, brushing away any sediment, hair, or scale.
- Reinstall the screen and washer, wrap the threads with fresh PTFE (plumber’s) tape, and reattach.
A caked filter screen is one of the most overlooked causes of weak flow, and clearing it is genuinely a two-minute job once you know it exists.
Fix 4: Locate and Adjust the Flow Restrictor
By U.S. federal standard, shower heads sold today are capped at 2.5 GPM at 80 PSI, and WaterSense-labeled models go further at 2.0 GPM or less. A small flow restrictor — usually a colored plastic disc with a star-shaped center — enforces that limit. When it partially clogs, flow plummets.
You can clean the restrictor (recommended) or remove it to boost flow. Removing it increases water and energy use and may technically void WaterSense compliance, so think it through before you do. If you live in a drought-conscious region or care about utility bills, cleaning it is the smarter move. For context on why these limits exist and how efficient fixtures are certified, see our overview of faucets that meet green building standards.
To access the restrictor, unscrew the head, remove the washer and filter screen, and you’ll typically find the disc seated just behind them. Pry it out carefully, rinse it free of scale, and either reinstall it (clean) or set it aside (max flow). Keep the part — you may want it back when you sell the home.
Fix 5: Check the Handheld Hose for Kinks and Scale
If you have a handheld or slide-bar shower, the flexible hose is a frequent weak point. Stainless-steel braided hoses can kink internally, and the inner liner collects scale just like the head. Run your hand along the full length, straighten any bends, and if flow is still weak, detach the hose at both ends and flush it with hot water. A replacement hose is inexpensive and often restores full flow on its own.
Fix 6: Inspect the Shower Arm and Wall Connection
Older galvanized shower arms corrode from the inside, narrowing the passage over decades. Unscrew the arm (you’ll need a wrench) and shine a light through it. If you see heavy rust scale or a visibly reduced opening, swap it for a new brass or stainless arm. While you’re there, replace the PTFE tape on every threaded joint to prevent leaks — a related issue we cover in why your new faucet still leaks, where bad thread sealing is a recurring offender.
Fix 7: Test and Open the Shut-Off Valves
It sounds obvious, but a partially closed valve is a surprisingly common cause. Check the main water shut-off (often near the meter or where the supply enters the home) and any in-line shower valves to confirm they’re fully open. After any plumbing repair, valves are sometimes left half-turned. This costs nothing to verify and can end your search instantly.
Fix 8: Service or Replace the Shower Valve Cartridge
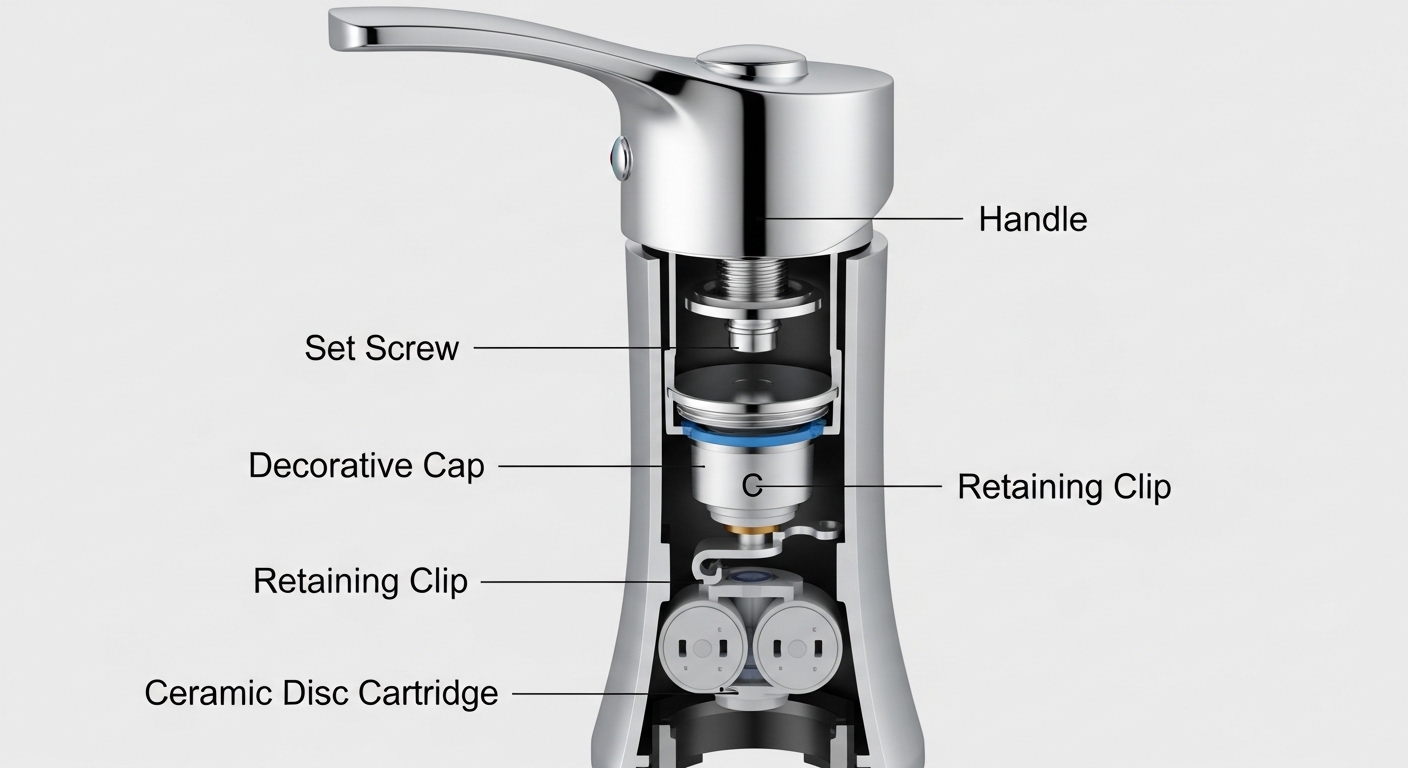
Behind your shower handle sits a cartridge that mixes hot and cold and controls volume. Over years, the cartridge collects scale or its internal seals wear, and it stops opening fully — choking flow even when everything downstream is spotless. Many cartridges can be pulled, cleaned, and reseated; badly worn ones should be replaced with the manufacturer’s matching part.
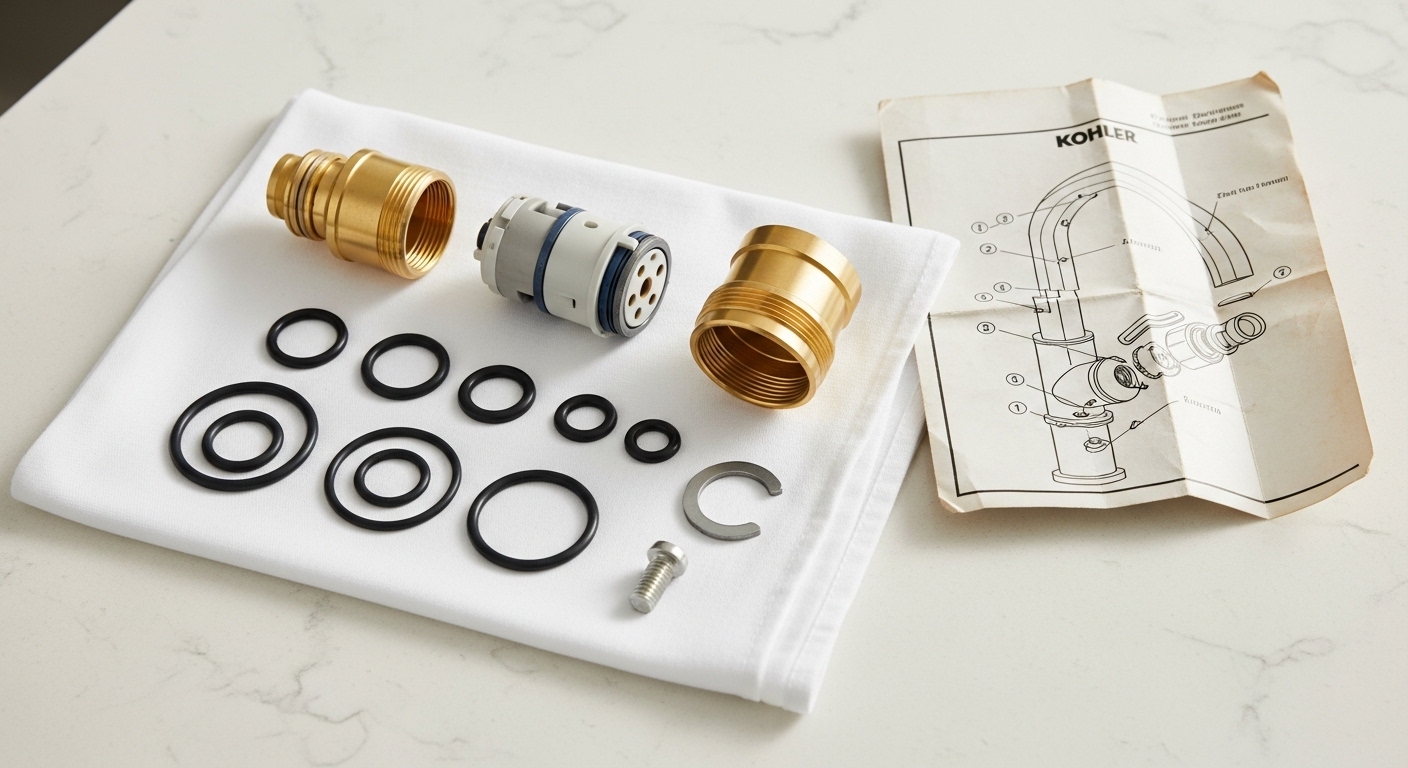
This repair is a notch more advanced because you’ll shut off water to the shower and remove the trim. The seal-and-cartridge skills carry over from other fixtures — our walkthroughs on how to repair faucet O-rings and general limescale and buildup removal are useful companions if you’re new to disassembling valve hardware.
Fix 9: Upgrade to a Pressure-Optimized Shower Head
If your head is old, cracked, or hopelessly scaled, replacing it is often the most satisfying shower head low water pressure fix of all. Look for designs engineered to feel powerful at lower flow rates — narrower nozzle channels, air-injection technology that boosts droplet velocity, and turbo or “pressure boost” spray settings. A quality 1.8–2.0 GPM head with smart nozzle geometry can feel stronger than an old, unrestricted 2.5 GPM head that’s half clogged.
Comparison: Which Fix Matches Your Symptom?
Use this table to jump straight to the most likely solution based on what you’re experiencing.
| Symptom | Most Likely Cause | Recommended Fix | Difficulty | Est. Time |
|---|---|---|---|---|
| A few nozzles spray sideways or not at all | Localized limescale | Rub nozzles + vinegar soak (Fixes 1–2) | Easy | 5 min – overnight |
| Weak flow overall, head is otherwise clean | Clogged filter screen or restrictor | Clear screen + restrictor (Fixes 3–4) | Easy | 10 min |
| Handheld shower weaker than expected | Kinked or scaled hose | Straighten or replace hose (Fix 5) | Easy | 10 min |
| Flow dropped after plumbing work | Half-closed valve or loosened sediment | Check valves, flush head (Fixes 3, 7) | Easy | 10 min |
| Old home, gradual decline over years | Corroded galvanized shower arm | Replace arm (Fix 6) | Moderate | 30 min |
| Weak flow and temperature trouble | Worn valve cartridge | Service or replace cartridge (Fix 8) | Advanced | 45–60 min |
Tools and Supplies You’ll Need
None of these fixes require specialty equipment. Keep this short kit on hand:
- White distilled vinegar and a plastic bag with a rubber band
- An old toothbrush and a sewing pin or toothpick for clearing nozzles
- An adjustable wrench plus a soft cloth to protect finishes
- PTFE (plumber’s) thread-seal tape
- Needle-nose pliers and a small flathead screwdriver
- A replacement washer, filter screen, or cartridge if yours is worn
How to Prevent Low Shower Pressure From Coming Back
The same hard-water minerals that clogged your head once will do it again. A little maintenance keeps your fix permanent:
- Wipe nozzles weekly. Ten seconds of thumb-rubbing prevents scale from anchoring.
- Do a quarterly vinegar soak if you have hard water.
- Consider a whole-home water softener if scale plagues every fixture — it protects faucets, the water heater, and appliances too.
- Choose quality hardware. Heads with silicone nozzles and corrosion-resistant internals scale far more slowly than budget models. Our look at the hidden problems with low-quality faucets explains why cheap internals fail first.
When to Call a Professional Plumber
DIY handles the vast majority of cases, but call a licensed plumber if: every fixture in the home has weak pressure (a possible main-line, regulator, or pump issue), you find leaks inside the wall when removing trim, your pressure regulator is failing, or you’re uncomfortable shutting off and reopening supply lines. There’s no shame in it — protecting your plumbing is worth a service call.
Author Note & Brand Credibility
Written by the Wowowfaucet Product & Education Team. Our writers work alongside the engineers and quality-control technicians who design, pressure-test, and certify our shower heads and faucets. Every fixture we ship is tested for flow consistency and durability against recognized industry benchmarks — including flow-rate verification at standard supply pressure and finish testing for corrosion resistance — and our shower heads are backed by a manufacturer’s limited warranty. We’ve spent years helping homeowners diagnose flow problems, and the sequence above reflects what actually works on real bathroom hardware, not theory. As always, follow your product’s specific manual, and confirm any modification (like restrictor removal) against your local water-efficiency rules.
FAQ
What is the single most common shower head low water pressure fix?
Descaling. In hard-water areas, mineral buildup on the nozzles and inside the head is responsible for the majority of weak-flow complaints. An overnight white-vinegar soak plus a nozzle scrub resolves it most of the time and costs almost nothing.
Is it safe to remove the flow restrictor from my shower head?
Physically, yes — it’s a small plastic disc you can pry out. But removing it increases your water and energy use and may void WaterSense compliance. Try cleaning the restrictor first; only remove it if your supply pressure is genuinely low and you accept the higher usage. Keep the part in case you reinstall it later.
Why is only my shower weak when the rest of the house is fine?
That pattern points to a localized blockage — a clogged filter screen, scaled nozzles, a partially clogged restrictor, or a corroded shower arm — rather than a whole-home pressure issue. Start with the filter screen and a vinegar soak. If multiple fixtures are weak, the problem is likely upstream at the regulator or main.
Will a new shower head fix low water pressure?
Often, yes — especially if your old head is cracked or heavily scaled. Look for air-injection or pressure-boost designs that feel powerful even at efficient 1.8–2.0 GPM flow rates. A well-engineered low-flow head frequently outperforms an old, half-clogged high-flow one. It won’t help, however, if the real problem is a closed valve or a failing regulator.
How often should I clean my shower head to prevent low pressure?
Wipe the nozzles weekly with your thumb, and do a full vinegar soak every three months if you have hard water (twice a year for soft water). Regular maintenance prevents scale from hardening into the kind of deposit that chokes flow in the first place.
Can a worn shower cartridge cause weak flow?
Yes. The cartridge behind your handle controls how much water passes through. As it scales up or its seals wear, it may stop opening fully, reducing flow even when the head and screen are spotless. Cleaning or replacing the cartridge with the manufacturer’s matching part restores proper volume.