 WOWOW Faucets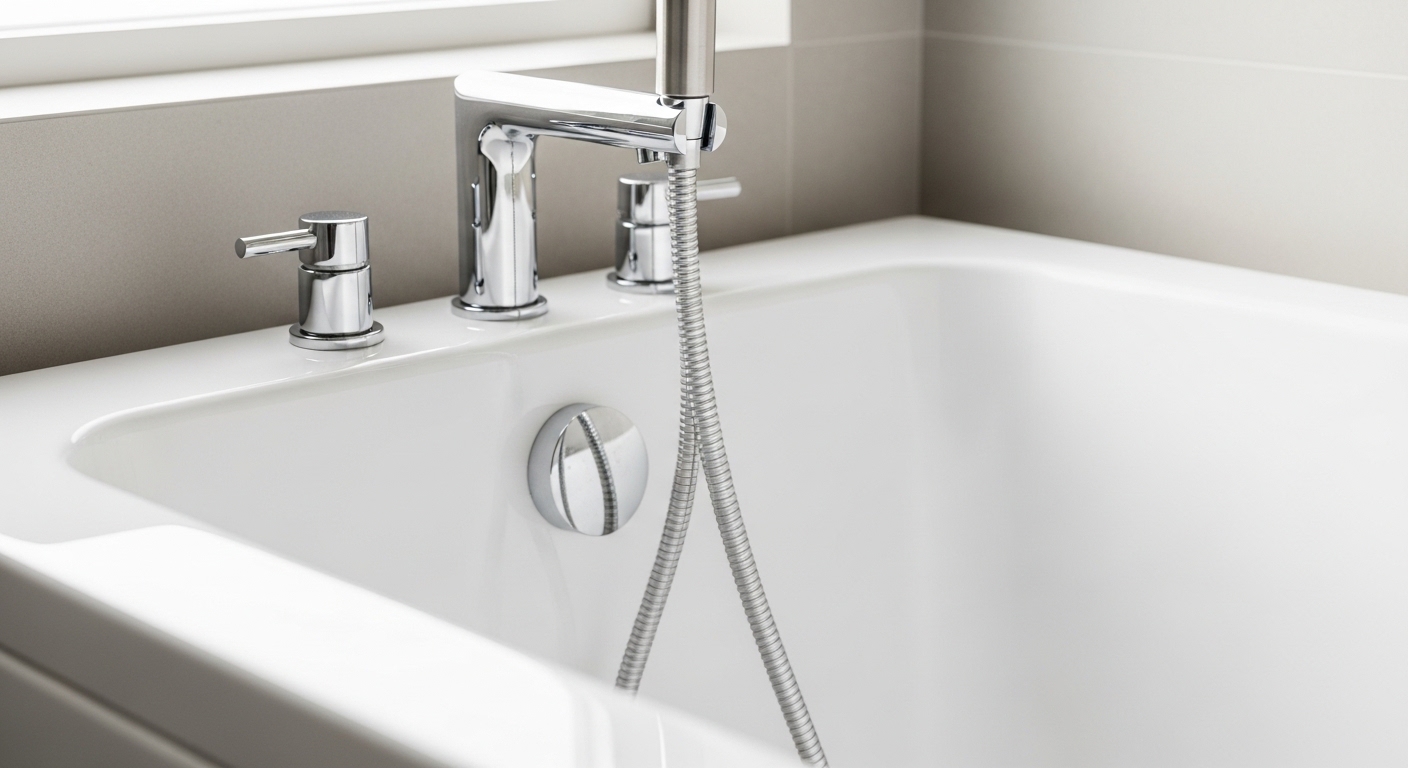
If you’re renting, have no shower rough-in, or just want to rinse hair, kids, and the dog without a full bathroom remodel, a handheld shower head that connects to tub faucet spouts is the cheapest, fastest upgrade you can make. Instead of tearing into the wall for a shower valve, this style of handheld clamps or slips right onto the tub spout you already have, then diverts water up through a flexible hose to a handheld wand. No solder, no PEX, no plumber. The catch is that not every kit fits every spout, and the wrong one leaks from day one. Below is exactly how to pick the right one, what specs matter, and how to install it so it actually seals.
What exactly is a handheld shower head that connects to a tub faucet?
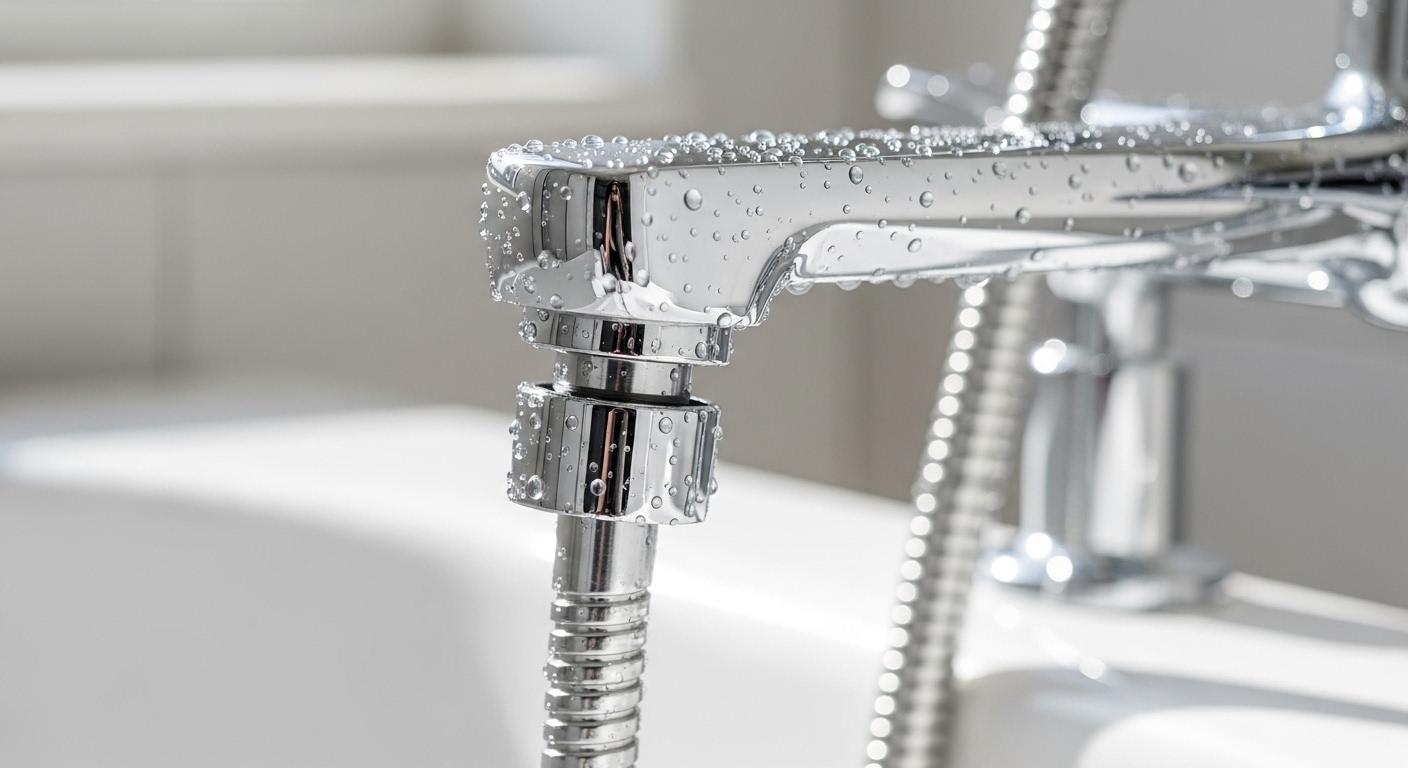
It’s a handheld shower kit that pulls its water from your bathtub spout instead of a wall shower arm. A small diverter — either built into a replacement spout or into an adapter that grabs your existing spout — sends water up a hose to a handheld wand you hold or hang on a wall bracket. Pull a knob or lift a lever and water goes up to the wand; push it back and water goes back to filling the tub.
There are three ways these connect, and knowing which one you need is 90% of the buying decision:
- Slip-on / clamp-on adapter: A collar with a rubber gasket that clamps over the outside of your current tub spout. Best for renters and anyone who doesn’t want to unscrew anything. Universal-ish, but only seals well on smooth, round spouts.
- Replacement diverter spout: You unscrew the old tub spout and thread on a new spout that has a handheld hose connection and a lift-rod or twist diverter built in. The most leak-proof option because it’s a real threaded connection, but you need to match the spout’s mount (threaded vs. slip-fit).
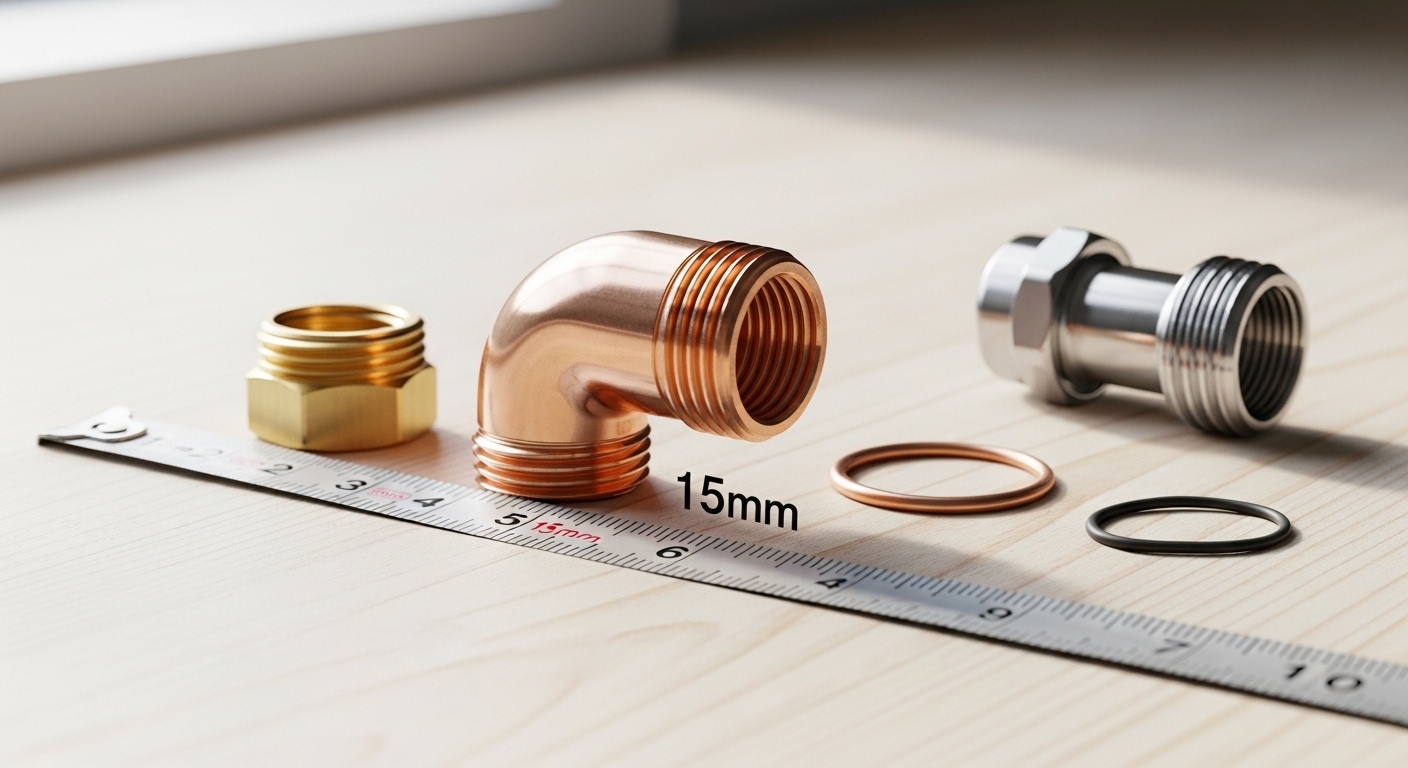
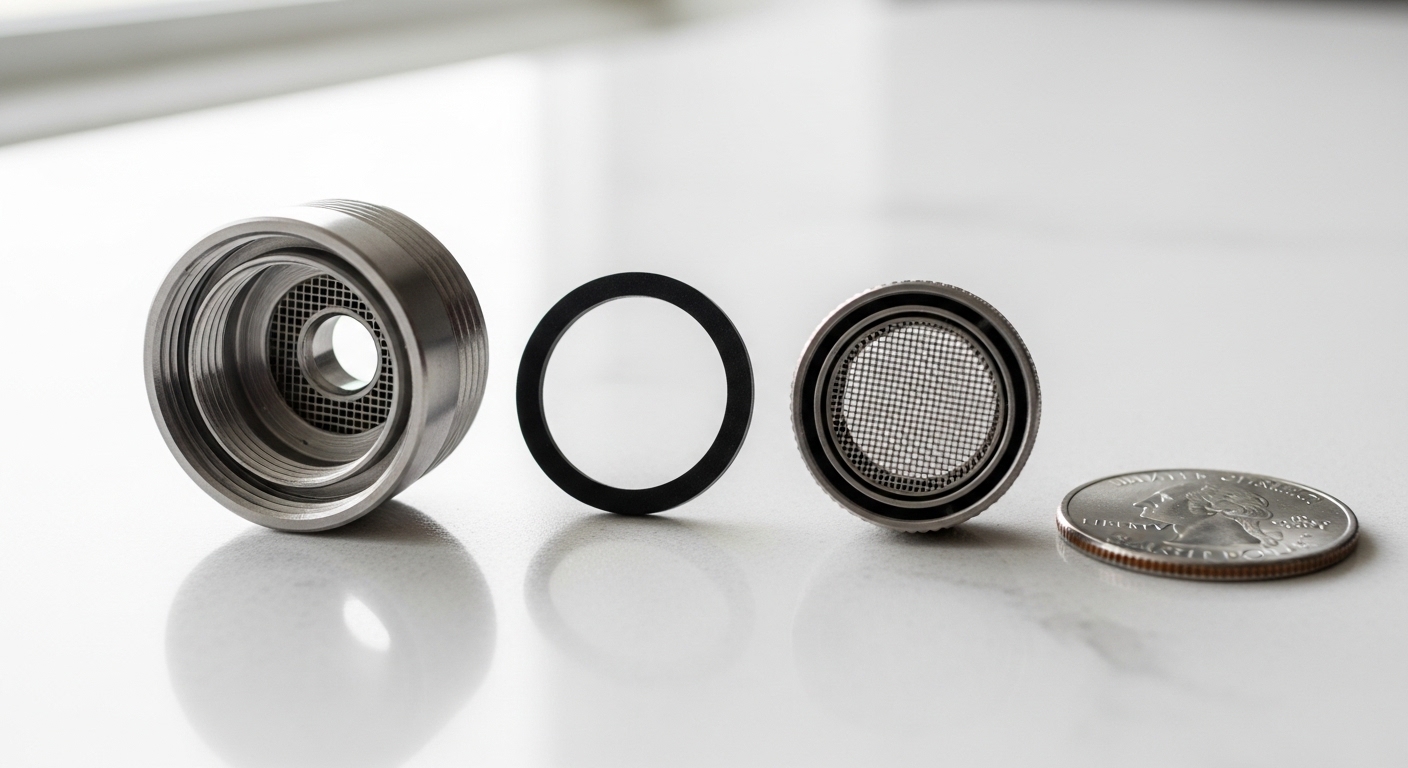
- Faucet-adapter style: For clawfoot tubs or tubs with a separate faucet spout that has aerator threads, an adapter screws onto the spout’s tip like a faucet aerator adapter and feeds the hose.
Most people searching for a handheld shower head that connects to tub faucet fixtures actually want option one or two. If you’re not sure which your spout is, the next section sorts it out.
Will it fit my tub spout? How do I know before I buy?
Check three things: how your current spout attaches, its outside diameter, and whether there’s already a diverter. That tells you which adapter style will seal.
First, figure out how your existing spout mounts. Reach under the spout near the wall and feel for a small setscrew (usually a hex/Allen screw). If there’s a setscrew, you have a slip-fit spout that slides onto a copper stub-out. If there’s no setscrew, it’s threaded and screws off counter-clockwise. This matters because a replacement diverter spout has to match — buy a “universal” spout that includes both a slip-fit adapter and threaded inserts so you’re covered either way.
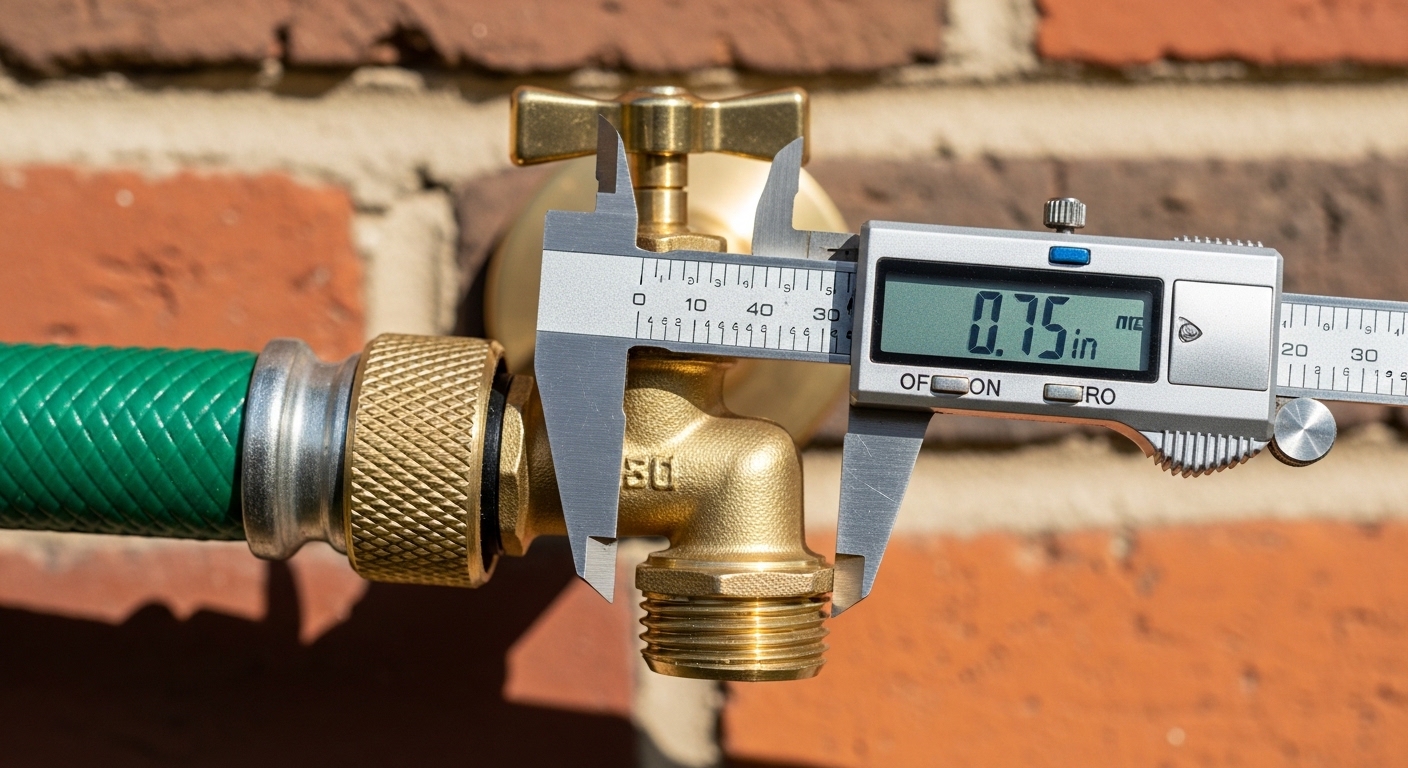
Second, if you’re going the slip-on/clamp-on route, measure the outside diameter and length of your spout. Most clamp-on kits fit spouts roughly 1.5–2.25 inches in diameter and at least 4 inches long, with a smooth, round body. A short, square, or heavily contoured designer spout often won’t seal — that’s the number one reason these leak.
Third, note whether your spout already has a pull-up diverter knob on top (the kind that sends water to an existing shower). If it does and the shower works, you may not need a tub-spout handheld at all — you can tee off the shower arm instead. If the knob is broken, that’s a diverter problem worth solving first; our guide on a new diverter valve that’s not working walks through why diverters fail and how to fix them fast.
Slip-on vs. replacement diverter spout — which type is right for me?
Choose a slip-on adapter if you rent or can’t modify plumbing; choose a replacement diverter spout if you own your home and want a permanent, leak-free connection. Here’s the head-to-head so you can decide in 30 seconds.
| Feature | Slip-on / Clamp-on Adapter | Replacement Diverter Spout | Faucet-Aerator Adapter (Clawfoot) |
|---|---|---|---|
| Install effort | 5–10 min, no tools | 15–25 min, wrench + tape | 5 min, hand-tight |
| Plumbing changes | None (renter-safe) | Unscrew/replace spout | None |
| Leak resistance | Fair — depends on gasket fit | Excellent — threaded seal | Good if threads match |
| Fits designer/square spouts | Often no | Usually yes (replaces spout) | N/A |
| Typical price | $25–$45 | $35–$70 | $20–$40 |
| Best for | Renters, dorms, quick fix | Homeowners, permanent use | Clawfoot & freestanding tubs |
My honest take: if you own the home, spend the extra $10–$20 on a replacement diverter spout. The threaded connection just doesn’t leak, and you get a proper lift-rod diverter that feels solid for years. Slip-on kits are brilliant for renters and short-term situations, but they live and die by the rubber gasket, and a mismatched spout shape will drip no matter how hard you clamp it.
What specs actually matter — hose length, flow rate, and diverter material?
The four specs that separate a good handheld from a frustrating one are hose length, flow rate, diverter material, and spray-mode design. Everything else is marketing.
- Hose length (aim for 5–6 ft): A 60–72 inch hose lets you rinse the far end of the tub, wash a child’s hair, or bathe a pet without yanking the wand off its cradle. Anything under 4 ft feels short the moment you bend over. Stainless-steel double-interlock hoses resist kinking and last far longer than cheap plastic ones.
- Flow rate (1.8–2.5 GPM): US models are federally capped at 2.5 GPM, and many states like California and Colorado cap at 1.8 GPM. A good handheld feels strong at 1.8 GPM because it pressure-compensates; don’t assume higher GPM equals better shower — nozzle design matters more.
- Diverter material (brass beats plastic): The diverter is the part that switches water between tub and wand, and it’s the part that wears out. A brass or metal-cartridge diverter outlasts an all-plastic ABS one, especially in hard-water homes.
- Spray modes and anti-clog nozzles: Three to six modes (rain, massage, mist) is plenty. Silicone rubber nozzle tips let you wipe off limescale with your thumb — a huge deal for longevity.
One under-rated factor: water quality. If your area has hard water, mineral scale clogs handheld nozzles within months and kills the pressure. A handheld with rubber nozzles helps, but if your water is genuinely hard, consider a filtered option — our rainfall shower head filter guide explains how in-line filtration keeps flow strong and skin happier, and the same filter logic applies to handhelds.
How do I install a handheld shower head on a tub faucet myself?
You can install most tub-spout handhelds in 10–20 minutes with a wrench, plumber’s tape, and a rag — no plumber needed. Here’s the reliable path for the two common types.
For a slip-on / clamp-on adapter:
- Clean the tub spout with a rag so the gasket seals against smooth metal, not soap scum.
- Slide the adapter collar over the spout until the rubber gasket sits snug near the wall end.
- Tighten the clamp screws evenly until the gasket compresses — snug, not cranked, or you’ll deform the gasket.
- Thread the hose onto the adapter’s outlet with a rubber washer inside, hand-tight plus a quarter turn.
- Turn on the water, run the tub, then engage the diverter and check for drips at both the collar and the hose nut.
For a replacement diverter spout:
- Turn off the water supply if you’re nervous, though tub spouts usually don’t need it.
- Remove the old spout — loosen the setscrew (slip-fit) or twist counter-clockwise with a cloth-wrapped wrench (threaded).
- Wrap the threaded stub-out with 3–4 wraps of plumber’s tape, or slide the new spout onto the copper stub and tighten its setscrew.
- Screw the hose onto the spout’s handheld outlet with its washer seated.
- Mount the wall bracket or suction cradle, run water, and check every joint for leaks.
If your kit ties into an actual shower valve rather than the spout — for example on a tub-shower combo you’re upgrading — that’s a bigger job. In that case our tutorial on a shower valve installation with PEX shows how a proper valve connection is done, so you know when a task has crossed from DIY-adapter into real-plumbing territory.
Why is my new tub-faucet handheld leaking or losing pressure?
The two most common problems — a leak where the adapter meets the spout, and weak flow at the wand — almost always come down to a bad gasket seat or a clogged nozzle, not a defective unit.
If it’s leaking at the spout-to-adapter joint, your spout is probably too short, too textured, or slightly out-of-round for the clamp gasket. Fixes, in order: reposition and re-clean the spout, swap in the thicker spare gasket most kits include, or step up to a replacement diverter spout for a true threaded seal. If it’s leaking at the hose nut, you’re usually missing the little rubber washer or cross-threaded the fitting — back it off and reseat.
If the pressure is weak, first check that the diverter is fully engaged (half-engaged diverters split water between tub and wand). Then unscrew the wand and rinse the inlet screen — grit from the pipes loves to lodge there. If it’s mineral buildup, soak the wand in white vinegar; our step-by-step on how to clean a shower head clogged with limescale works exactly the same for a handheld wand. Still weak? Your home’s baseline pressure may be the culprit — the fixes in our shower head low water pressure guide apply directly to handhelds on a tub spout.
Is a handheld shower head that connects to a tub faucet worth it in 2026?
For most people, yes — it’s the highest-value bathroom upgrade under $60. You get shower functionality in a tub-only bathroom, easy rinsing for kids, elderly, and pets, and a mobility-friendly fixture for anyone who bathes seated, all without touching the wall or hiring a plumber. The only situations where I’d skip it: if you have a heavily contoured designer spout that no clamp will seal, or if you actually want a permanent overhead shower, in which case you’re better off installing a real shower valve.
Buy the right type for your situation — slip-on for renters, replacement diverter spout for owners — insist on a brass diverter and a 5–6 ft stainless hose, and check your spout’s mount and diameter before you order. Do that and you’ll have a leak-free handheld that lasts years for the price of a couple of takeout dinners.
FAQ
Can I add a handheld shower head to a tub that has no existing shower?
Yes — that’s exactly what these kits are for. A slip-on adapter or replacement diverter spout pulls water from your tub spout up to a handheld wand, giving you a working shower without any wall plumbing or a rough-in valve. It’s the go-to solution for tub-only bathrooms, apartments, and older homes.
Do I need a plumber to install one?
No. Slip-on adapters install in about 5–10 minutes with no tools, and replacement diverter spouts take 15–25 minutes with a wrench and plumber’s tape. The only time you’d want a pro is if you’re tying into an in-wall shower valve rather than the tub spout itself.
Will a universal handheld kit fit any tub spout?
Mostly, but not always. “Universal” slip-on kits fit smooth, round spouts roughly 1.5–2.25 inches in diameter. Square, short, or heavily styled designer spouts often won’t seal — for those, a replacement diverter spout that screws directly onto the pipe is the reliable choice.
Why does my handheld leak from the tub spout when I switch it to shower mode?
Usually the clamp gasket isn’t seating flat on the spout, or the spout is too textured or short. Re-clean and reposition the collar, try the thicker spare gasket in the kit, and make sure the hose washer is in place. If it still drips, switch to a threaded replacement diverter spout for a permanent seal.
What flow rate and hose length should I look for?
Aim for 1.8–2.5 GPM (the US legal max is 2.5 GPM, and some states cap at 1.8 GPM) and a 5–6 ft stainless-steel hose. That combination gives strong, code-compliant flow with enough reach to rinse the whole tub, wash hair, or bathe a pet comfortably.
Are these safe for hard water, or will they clog?
They can clog like any shower head, but you can prevent most of it. Choose a wand with silicone rubber nozzle tips you can wipe clean, soak it in white vinegar every few months, and consider an in-line filter if your water is genuinely hard. A brass diverter also resists mineral wear far better than plastic.
Author note: This guide was written by the WOWOW Faucet product team, drawing on hands-on testing of slip-on and replacement diverter handheld kits across standard, deep-soaking, and clawfoot tubs. WOWOW Faucet designs and sells kitchen and bath fixtures direct to consumers at www.wowowfaucet.com, and our shower components are built to meet US flow standards (2.5 GPM federal max, 1.8 GPM in low-flow states) and cUPC/NSF material requirements, and are backed by a limited lifetime warranty on finish and function. Always confirm your spout type and local plumbing codes before installing.