 WOWOW Faucets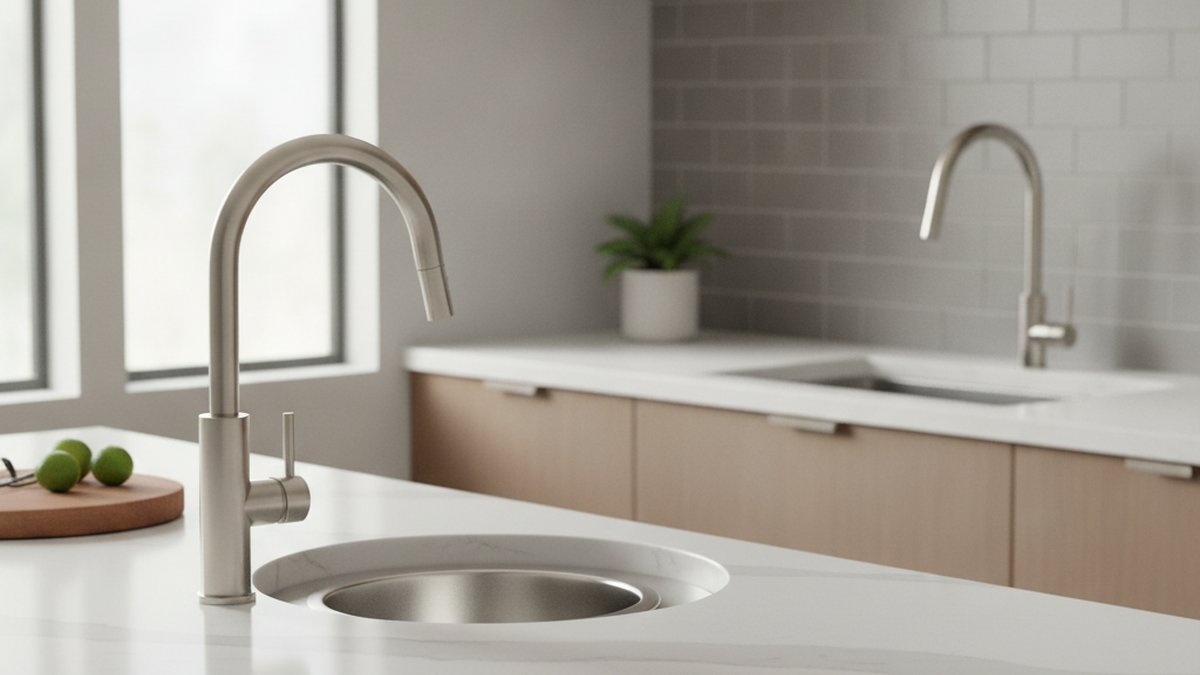
If you’re shopping for prep bowl taps in South Africa, you’re really asking one practical question: which small second tap will fit your prep bowl, survive Highveld or coastal water, and not cost as much as your main mixer? A prep bowl tap is the compact tap that serves a secondary prep sink or a small bowl set into your island or counter — the one you use for rinsing veg, filling a pot, or washing hands while the main sink stays free. It needs a tighter footprint, a shorter or well-aimed spout, and a build that shrugs off limescale. Below we walk through exactly what to look for, real price bands in rand, finishes that last, and how to install one without calling a plumber.
What exactly is a prep bowl tap — and is it different from a normal kitchen tap?
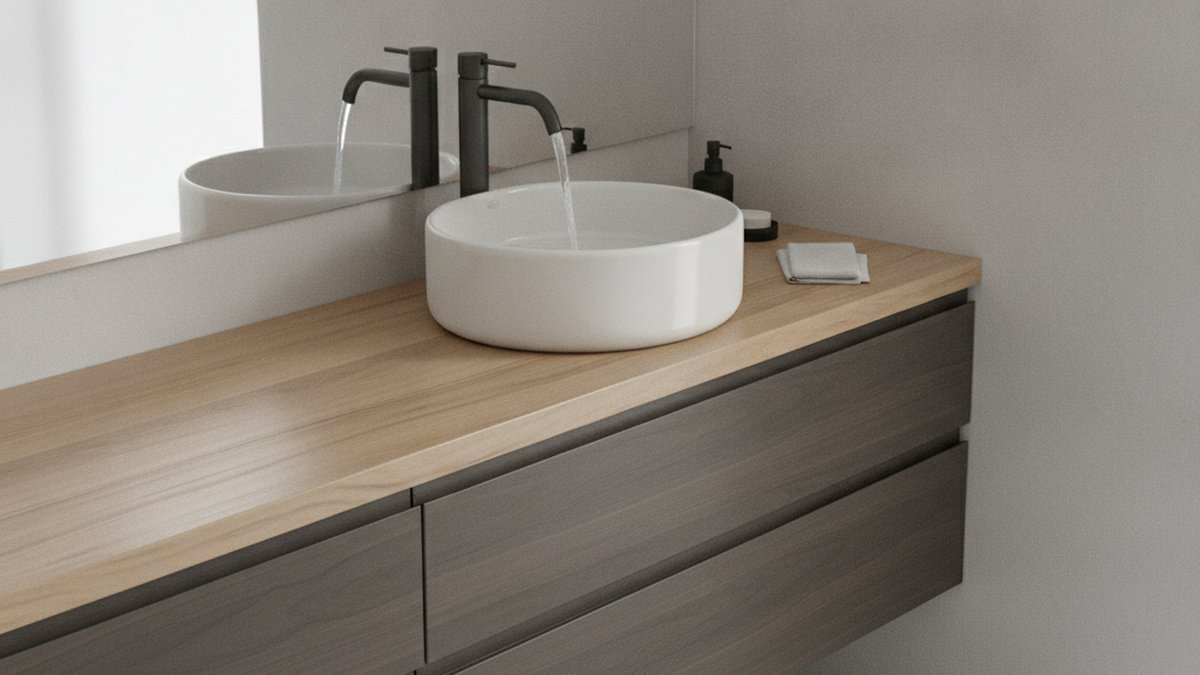
A prep bowl tap is a smaller, dedicated tap for a secondary prep sink or bowl — it’s built to a tighter scale than a full kitchen mixer, but it uses the same valves and fittings. The core difference is size and spout reach, not technology. A main kitchen mixer typically stands 350–450mm tall with a long high-arc spout to clear big pots; a prep bowl tap usually sits 200–320mm tall with a shorter, precisely-aimed spout so water lands in a small bowl instead of splashing past it.
There are three common types you’ll see on the South African market:
- Single-lever mixer prep taps — one handle for hot and cold, the most popular choice for prep bowls that need warm water for rinsing or hand-washing.
- Cold-only pillar taps — a single tap delivering cold water only, ideal if your prep bowl is purely for rinsing produce or filling the kettle. Cheaper and simpler, with fewer parts to leak.
- Pull-out/pull-down prep taps — a compact spray head on a hose for rinsing awkward items; handy but overkill for a tiny bowl.
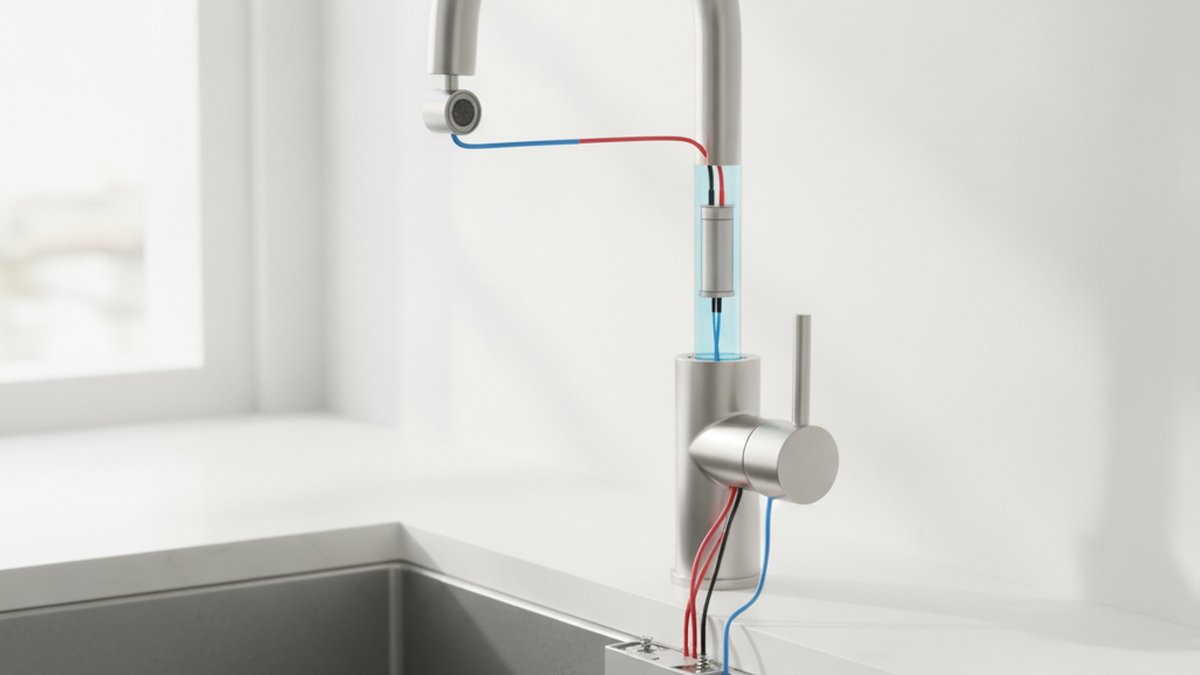
Under the finish, a good prep bowl tap works exactly like any quality kitchen tap: a ceramic-disc cartridge controls the flow and mix. If you’ve ever wondered how that part works or fails, our explainer on what the cartridge on a kitchen faucet is and why it matters covers it in plain terms — and it’s the single component you’re most likely to replace over a decade of use.
How much do prep bowl taps cost in South Africa in 2026?
Prep bowl taps in South Africa generally cost between R450 and R2,500, depending on the body material, cartridge quality, and finish. You can pay far more for imported designer names, but you don’t need to — a solid-brass tap with a ceramic cartridge in the mid-range will outlast a chromed-zinc bargain tap by years. Here’s how the price bands actually break down:
| Price band (ZAR) | What you typically get | Best for |
|---|---|---|
| R450 – R900 | Cold-only pillar tap or basic single-lever, often chromed zinc or thin brass, standard cartridge | Occasional-use prep bowls, rental units, tight budgets |
| R900 – R1,600 | Solid-brass single-lever mixer, 35mm ceramic-disc cartridge, PVD finish (brushed nickel/matte black/chrome) | Everyday family kitchens — the sweet spot for durability vs price |
| R1,600 – R2,500 | Full-brass pull-out or high-spec mixer, premium PVD finish, aerated flow, longer warranty | Prep islands used daily, open-plan kitchens where the tap is on show |
| R2,500+ | Imported designer taps, filtered/boiling add-ons | Buyers prioritising a specific brand or filtered water |
The honest advice: spend in the R900–R1,600 band. That’s where you cross from “will corrode and wobble” into “solid brass with a cartridge you can actually source and replace.” Below R900, you’re often buying a zinc-alloy body with a decorative coat that pits within a year or two in chlorinated municipal water.
Which finish holds up best in South African hard water — chrome, brushed nickel, or matte black?
For most South African kitchens, brushed nickel and matte black hide limescale and water spots far better than polished chrome, while chrome is the easiest to wipe clean and the cheapest. The key isn’t just the colour — it’s whether the finish is applied by PVD (physical vapour deposition), which bonds a hard, corrosion-resistant layer to the tap, versus a cheap electroplate that flakes.
Water varies a lot across the country. Parts of Gauteng, the Free State, and the Northern Cape run harder water with more dissolved minerals, so limescale builds faster on spouts and aerators. Coastal areas like the Cape and KZN deal with more airborne salt, which attacks weak finishes and non-brass bodies. Here’s the quick guide:
- Brushed nickel / brushed stainless — best all-rounder. The satin texture disguises dried mineral spots between cleans. Great for hard-water inland regions.
- Matte black — hides water spots well and looks sharp on modern islands, but wipe it with a soft cloth (no abrasive scourers) so the matte layer stays even.
- Polished chrome — cheapest and the shiniest, wipes clean instantly, but shows every droplet and mineral streak. Fine if you don’t mind a quick daily wipe.
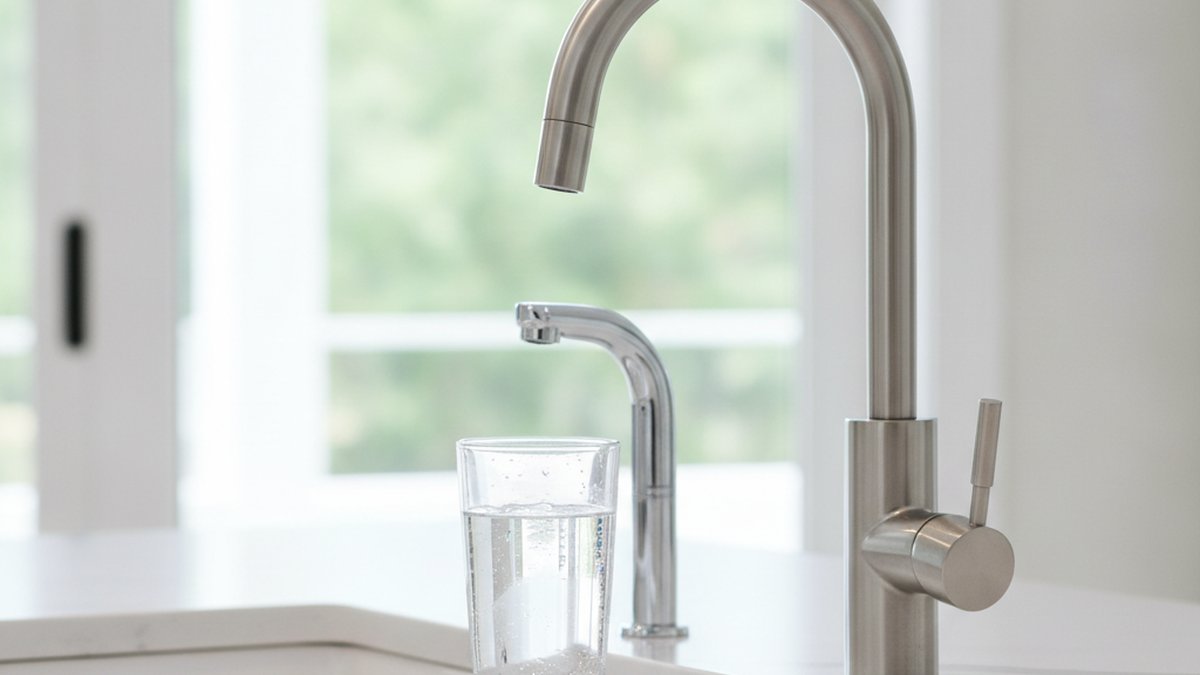
Whatever colour you pick, verify the body is solid brass and the finish is PVD. If you like the crisp, clean look of a bright tap dedicated to fresh water, our take on the chrome drinking faucet explains why chrome remains a smart pick for a rinsing or drinking-water station specifically.
How do I know a prep bowl tap will fit my bowl and counter?
A prep bowl tap fits correctly when its spout reach lands water in the centre of the bowl and its height clears the bowl rim with room to fit a jug or pot underneath. Before you buy, measure three things: the mounting hole diameter (most taps need a 32–35mm hole), the counter thickness your tap’s threaded shank must clamp through, and the bowl’s inside diameter and distance from the hole to the bowl centre.
Getting reach right is the number-one mistake people make with prep taps. If the spout is too short, water sheets down the back wall of the bowl; too long, and it splashes over the front lip. Aim for the water stream to hit roughly the middle of the bowl. A few concrete numbers to plan around:
- Mounting hole: standard single-hole taps need a 32–35mm cut-out. If you have a pre-drilled 4-hole layout from an old setup, read our complete guide to 4-hole kitchen faucets before buying, so you don’t end up with empty holes.
- Spout height: 200–260mm suits a shallow prep bowl; 280–320mm if you fill tall pots or kettles.
- Spout reach: 120–180mm covers most prep bowls 250–350mm wide.
- Swivel: a spout that swivels 120–360° lets you push it aside when the bowl isn’t in use.
If you’re planning the whole layout from scratch and want to think through spout style, hole count, and features together, our broader guide on how to choose a kitchen faucet — fit, features and installation walks through the same fit logic for the main sink, and the principles carry straight over to a prep bowl.
Should you get a cold-only prep tap or a hot-and-cold mixer?
Get a cold-only prep tap if the bowl is purely for rinsing produce, filling the kettle, or washing hands with cold water — it’s cheaper, simpler, and has nothing to leak on the hot side. Choose a hot-and-cold single-lever mixer if you’ll rinse greasy dishes, wash hands with warm water, or want the prep bowl to double as a backup sink. Most South African buyers with an island prep bowl end up happier with a mixer for the flexibility, but a cold-only pillar tap is a genuinely sensible, money-saving choice for a dedicated rinse station.
Two practical points decide it for you:
- Do you have a hot-water line at that location? If your prep bowl is on an island far from the geyser, running a hot feed can be expensive and slow (you wait ages for hot water to arrive). In that case, cold-only makes sense.
- What will you actually do at the bowl? Rinsing lettuce and filling pots? Cold is fine. Washing greasy hands and utensils? You’ll want warm water.
Can you install a prep bowl tap yourself, or do you need a plumber?
Yes — most single-hole prep bowl taps are a straightforward DIY job that takes 30–60 minutes with basic tools, provided you have accessible shut-off valves and flexible supply hoses. The tap drops through a single 35mm hole and clamps from below with a nut; you connect flexi hoses to the shut-offs, and you’re done. You only really need a plumber if you have to drill a new hole in stone/granite or run a new hot-water line.
Here’s the basic sequence for a single-lever prep bowl mixer:
- Turn off the water at the isolation valves under the counter (or at the main if there are none).
- Open the tap to release pressure and drain the line.
- Feed the tap’s flexi hoses and threaded shank down through the mounting hole.
- From below, slide on the rubber/steel washer and tighten the mounting nut until the tap is snug and square.
- Connect the flexi hoses to the shut-off valves — hand-tight, then a gentle quarter-turn with a spanner. Don’t over-torque.
- Slowly open the valves, run the tap, and check every joint for drips.
If a joint weeps, it’s almost always an over- or under-tightened connection or a missing washer — not a faulty tap. And when the tap eventually drips from the spout years down the line, that’s the cartridge, not the whole unit: our step-by-step on how to replace the cartridge in a kitchen faucet shows a beginner can do it in under an hour, which is why a tap with a standard 35mm cartridge is worth paying a little more for.
What should you look for on the spec sheet before you buy?
Before buying any prep bowl tap in South Africa, confirm four things on the spec sheet: a solid-brass body, a ceramic-disc cartridge, a PVD finish, and a stated warranty. Those four separate a tap that lasts a decade from one you replace in eighteen months. Everything else — colour, spout shape, swivel angle — is preference.
| Spec | Look for | Why it matters |
|---|---|---|
| Body material | Solid brass (lead-safe) | Resists corrosion in hard/coastal water; zinc alloy pits and cracks |
| Cartridge | 35mm ceramic disc | Smooth control, drip-free, and a standard size you can actually source to replace |
| Finish | PVD (brushed nickel/matte black/chrome) | Bonded, scratch- and tarnish-resistant vs cheap flaking electroplate |
| Flow / aerator | Aerated stream, replaceable aerator | Softer splash-free flow; easy to descale in hard-water areas |
| Connections | Standard braided flexi hoses, ½” fittings | Fit South African plumbing without adapters |
| Warranty | Stated multi-year warranty | Signals the maker trusts the build; protects your spend |
A quick word on standards and testing, because it matters more than the marketing photos: reputable taps are pressure- and salt-spray-tested and certified to recognised drinking-water safety standards (look for lead-safe brass and compliance marks). At wowowfaucet, our kitchen and prep taps use solid-brass bodies with ceramic-disc cartridges rated for 500,000+ open-close cycles, PVD finishes salt-spray tested for corrosion resistance, and are backed by a multi-year warranty — the kind of spec sheet that holds up in demanding South African water conditions.
FAQ
What is the difference between a prep bowl tap and a bar tap?
They overlap heavily — both are compact secondary taps. A “prep bowl tap” usually refers to a tap over a small prep sink used for rinsing and food prep, while a “bar tap” or “bar faucet” is the same compact style installed at a bar or entertainment sink. Functionally you can use either for the other; look at spout reach and height to match your specific bowl rather than the label.
Do I need hot water at my prep bowl?
Not necessarily. If the prep bowl is only for rinsing vegetables, filling pots and kettles, or quick hand rinses, a cold-only pillar tap is cheaper and perfectly adequate. Choose a hot-and-cold mixer only if you’ll wash greasy dishes or want warm water for hand-washing — and check you actually have a hot-water line reaching that spot on the counter.
What size hole do prep bowl taps need?
Most single-hole prep bowl taps fit a standard 32–35mm mounting hole, the same as a standard basin or single-hole kitchen mixer. Measure your existing cut-out before buying. If you have an old 4-hole layout, you’ll either need a tap with a base plate or you’ll be left with empty holes to cover.
Which finish is easiest to keep clean in hard-water areas?
Brushed nickel and matte black hide dried mineral spots best between cleans, so they look cleaner day-to-day in hard-water regions like Gauteng and the Free State. Polished chrome is the easiest to actually wipe spotless but shows every water droplet. Whichever you choose, make sure it’s a PVD finish so limescale and cleaning don’t wear it away.
How long should a good prep bowl tap last?
A solid-brass prep bowl tap with a ceramic-disc cartridge and PVD finish should last 10–15 years or more, with the only likely maintenance being a cartridge swap and the occasional aerator descale. Cheaper zinc-alloy taps with electroplated finishes often need replacing within one to three years, especially in hard or coastal water — which is why the mid-range is the real value buy.
Can I put a prep bowl tap on a kitchen island?
Yes, and islands are one of the most common places for them. The two things to sort out first are drainage (the island needs a waste line for the bowl) and, if you want a mixer, a hot-water supply reaching the island. If running hot water to the island is impractical, a cold-only prep tap is a clean, cost-effective solution for a rinse station.
Author note: This guide was written by the wowowfaucet product content team, drawing on our experience designing and stress-testing kitchen and prep taps for varied water conditions. wowowfaucet manufactures solid-brass faucets with ceramic-disc cartridges and PVD finishes, sold direct at www.wowowfaucet.com and backed by a multi-year warranty. Always confirm local plumbing regulations and your specific counter and bowl measurements before purchasing.