 WOWOW Faucets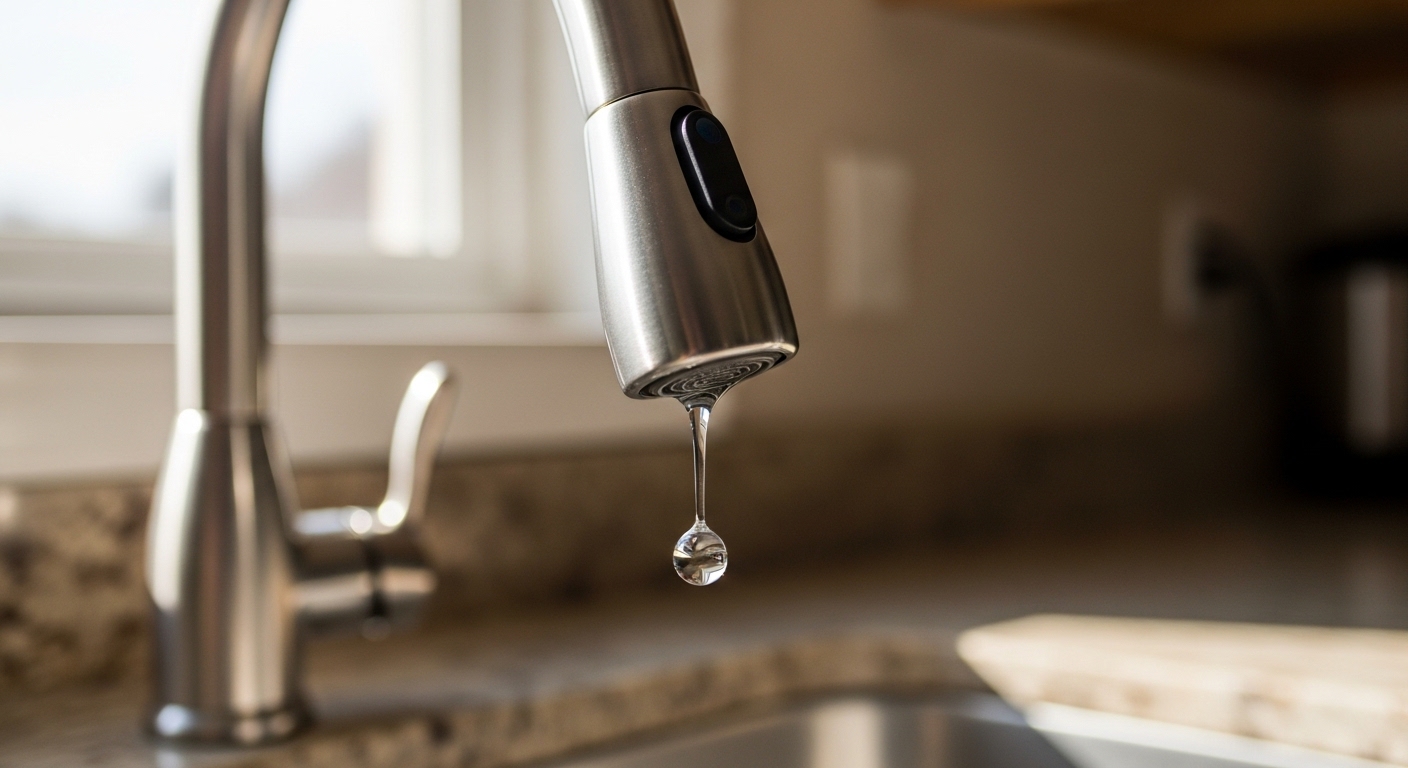
If you’ve got a leaky kitchen faucet single handle that drips at the spout, weeps around the base, or dribbles under the sink, take a breath — this is one of the most common and most fixable plumbing problems in any home. A single-handle faucet has fewer moving parts than a two-handle model, which means fewer places for it to fail and a faster repair once you know where to look. In the guide below I’ll walk you through exactly what’s leaking, why, and how to fix each cause, using the same order of operations a working plumber follows.
The trick is figuring out where the water is escaping, because “the faucet is leaking” can mean three completely different repairs. Let’s diagnose it first, then fix it.
Where exactly is my single-handle kitchen faucet leaking from?
Look at three spots: the spout tip, the base of the handle, and the connections under the sink. Each location points to a different worn part, so identifying the leak site is 80% of the fix.
Here’s how to read the symptoms:
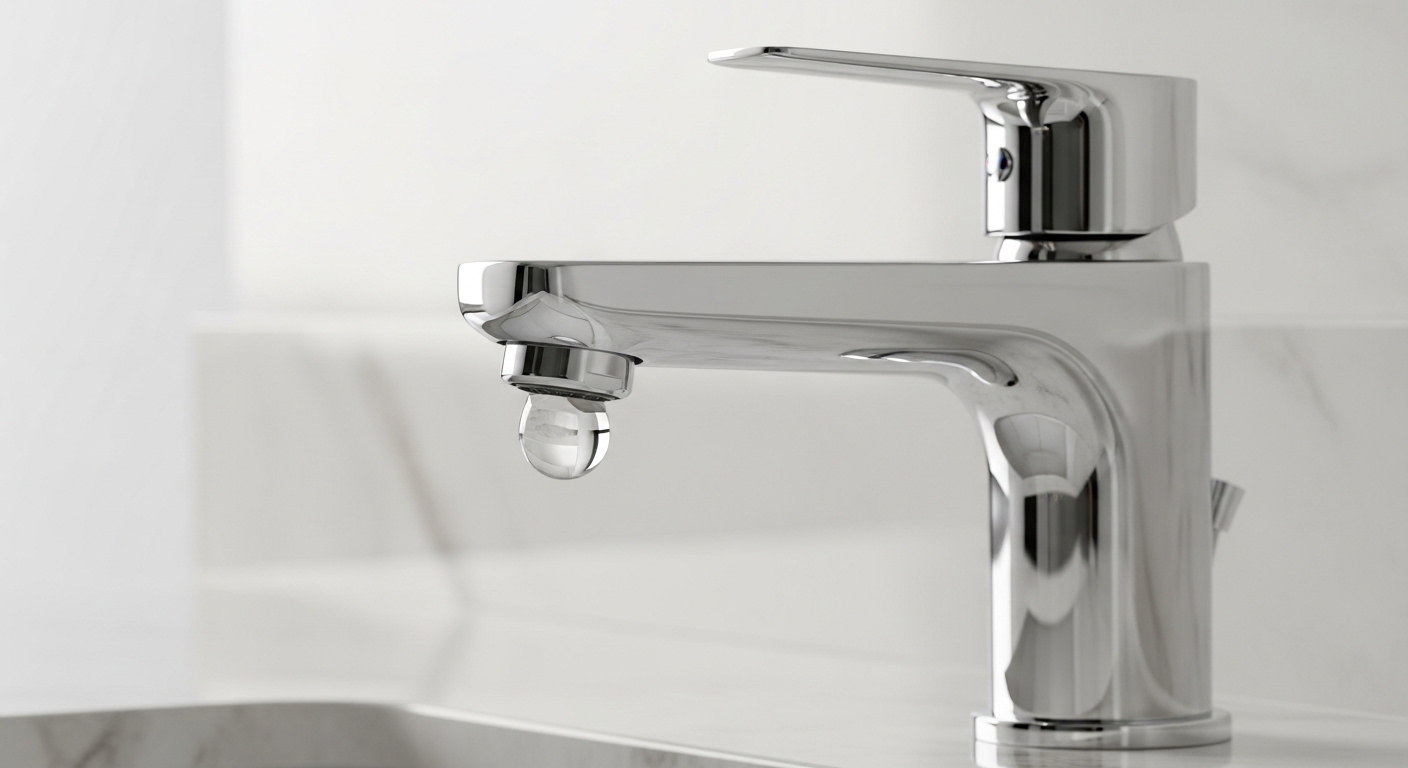
- Dripping from the spout when the faucet is off — this is a worn cartridge or, on older valves, a worn rubber seat and spring. The valve isn’t sealing shut anymore.
- Water pooling around the base of the handle or under the escutcheon — this is a failed O-ring or a loose set screw letting pressurized water sneak out sideways when the tap is running.
- Puddle inside the cabinet under the sink — this is a loose supply-line nut, a cracked flex hose, or a bad connection at the shut-off valve. It has nothing to do with the handle at all.
- Weeping where the spout swivels — the spout O-rings that let the neck rotate have hardened and cracked.
Do this quick test: dry everything with a paper towel, run the faucet, and watch. Then turn it off and watch again. If it only leaks while running, you’re chasing an O-ring or a supply connection. If it drips after you shut it off, the cartridge is the culprit. That single observation saves you from taking apart the wrong end of the faucet.
What causes a single-handle kitchen faucet to drip from the spout?
A worn cartridge causes 90% of spout drips on a single-handle faucet. The cartridge is the plastic-and-brass sleeve inside the faucet body that mixes hot and cold and opens/closes the water flow. Over years of use its internal seals wear, mineral scale builds up, and it can no longer close fully — so a thin stream sneaks past and drips out the spout.
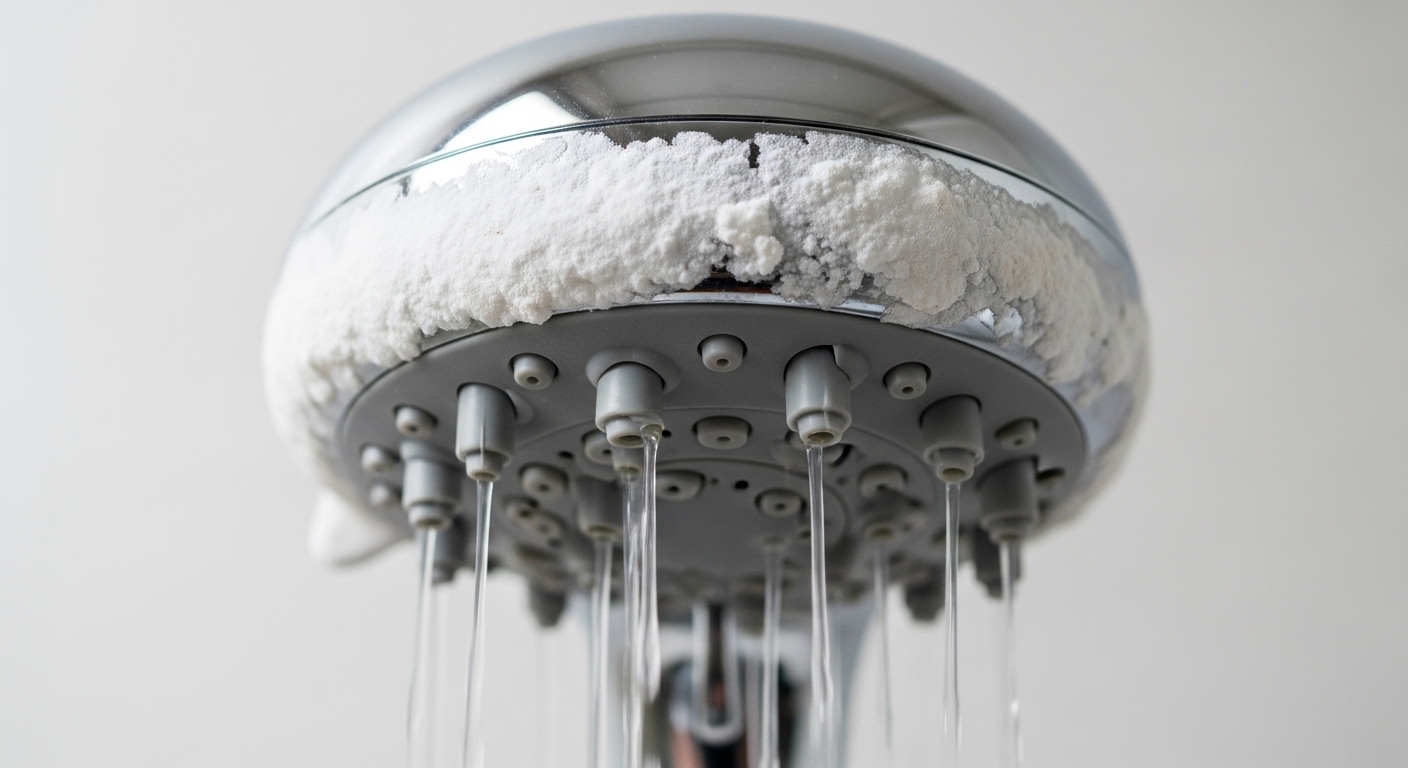
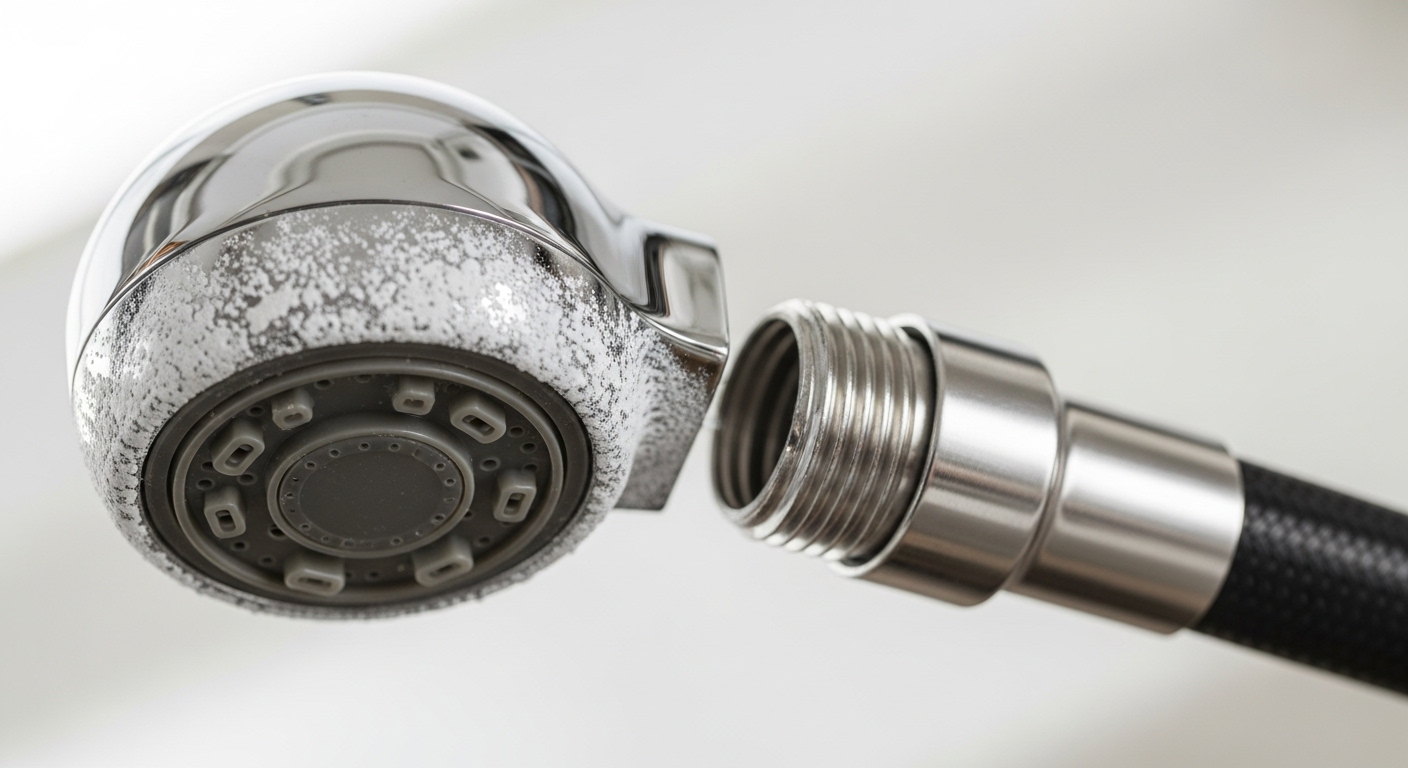
Hard water speeds this up dramatically. Calcium and magnesium deposits chew through rubber seals and score the smooth ceramic or brass surfaces the cartridge relies on for a watertight seal. If you’re on well water or in a hard-water region, expect a cartridge to last 5–8 years instead of 10+. It’s the same failure mode I cover in our deep-dive on how to fix a leaky faucet cartridge handle — the diagnosis and cure are nearly identical whether the faucet lives in the kitchen or the bathroom.
Some older or budget single-handle faucets (especially ball-type Delta-style valves) use a spring-and-rubber-seat system instead of a modern cartridge. On those, the drip usually comes from flattened rubber seats and weak springs, which are a $5 kit and an even easier fix.
How do I fix a leaky kitchen faucet single handle step by step?
You fix it by shutting off the water, removing the handle, pulling out the worn cartridge or O-rings, replacing them with an exact match, and reassembling. Most people finish in 30–45 minutes on their first try. Here’s the full sequence.
- Shut off the water. Reach under the sink and close both angle stop valves (turn clockwise). Then open the faucet to release pressure and confirm the water is truly off. Plug the drain or lay a towel so you don’t lose small parts.
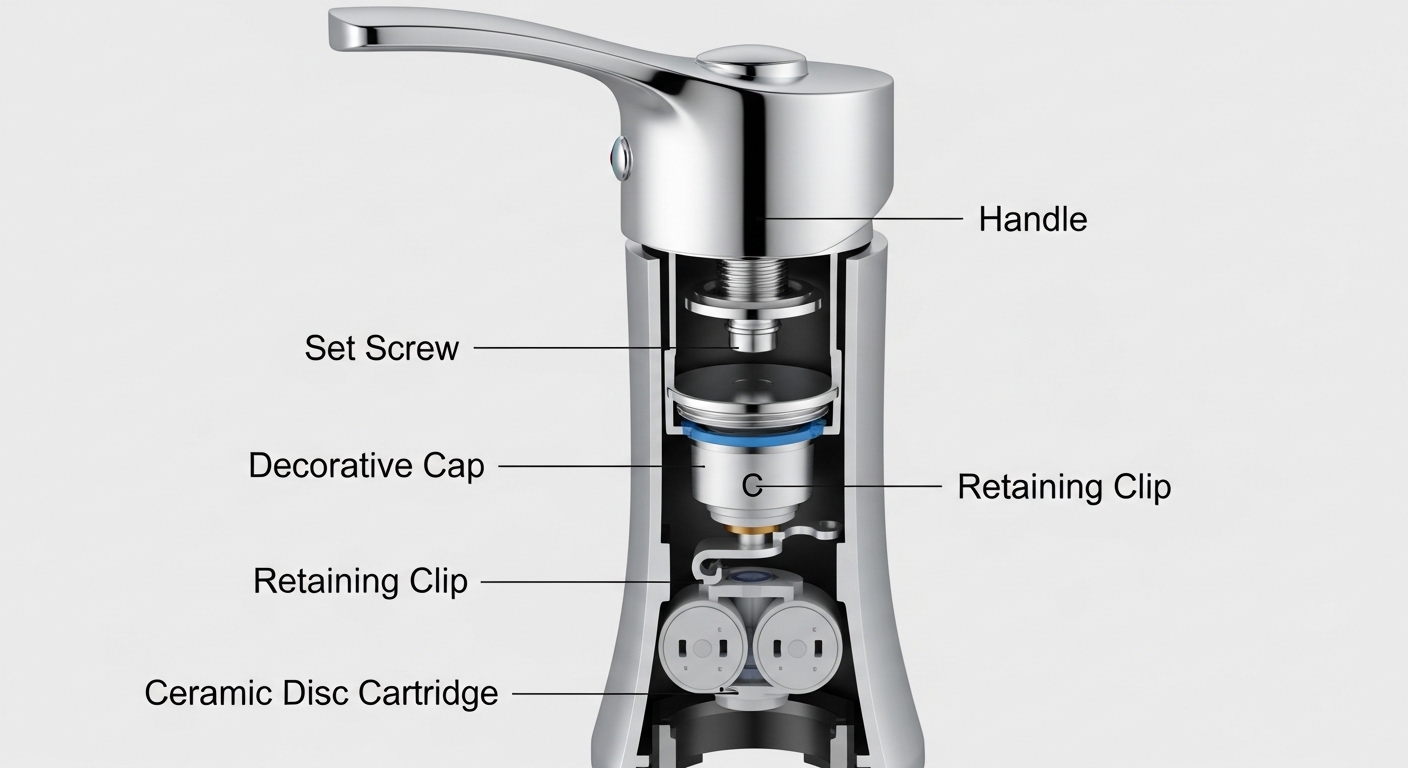
- Remove the handle. Most single-handle kitchen faucets have a small set screw under a decorative cap or on the underside of the handle lever — loosen it with a hex/Allen wrench (usually 3/32″ or 7/64″). Lift the handle straight off.
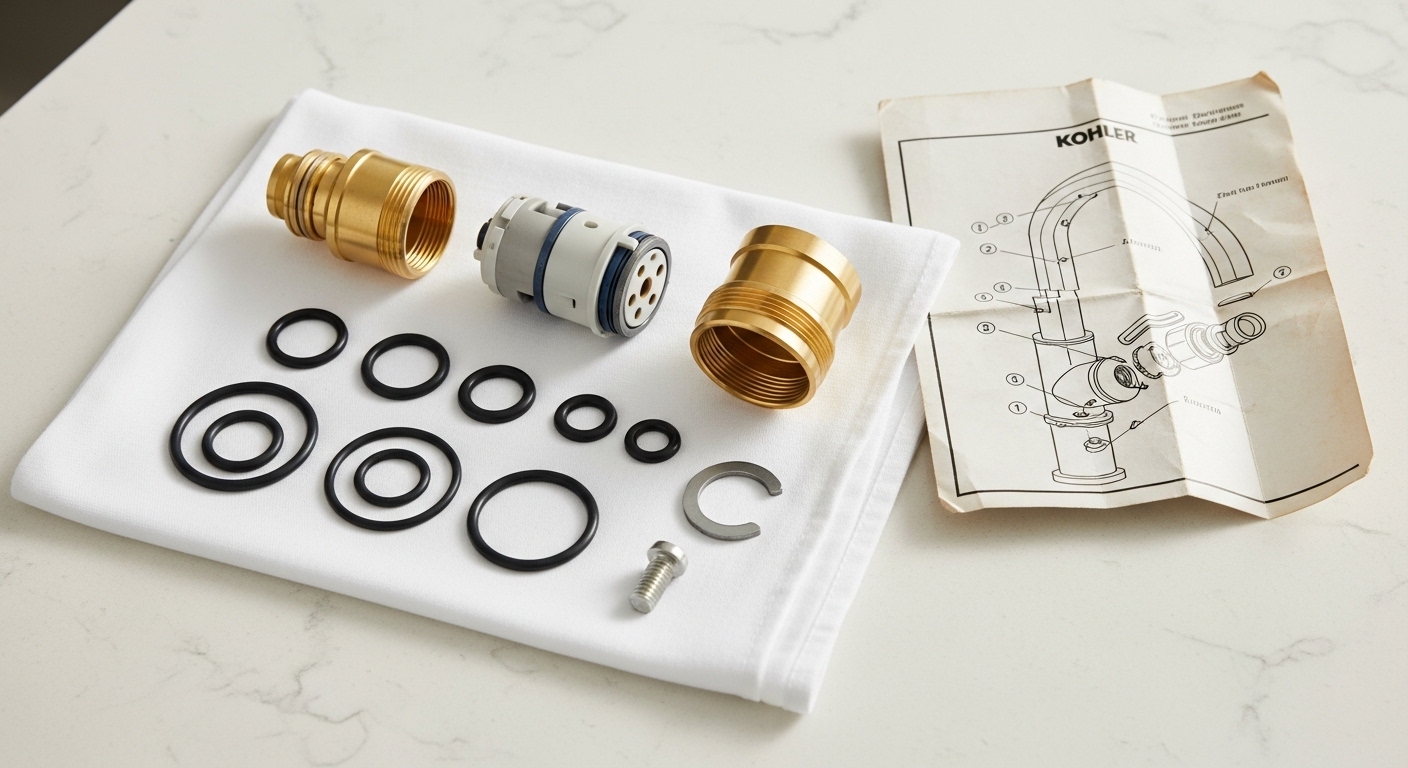
- Expose the cartridge. Unscrew or unclip the dome/bonnet nut and pull out any retaining clip with needle-nose pliers. Keep track of the order of parts — snap a photo on your phone before removing each layer.
- Pull the cartridge. Grip it with pliers and pull straight up. Mineral-stuck cartridges can be stubborn; a cartridge-puller tool (about $10, or often included in brand repair kits) makes this painless. Note the orientation — there’s usually a notch or flat that must line up on reinstall.
- Inspect and replace. Check the cartridge for scoring, cracked O-rings, and scale. Replace the whole cartridge, or if it’s just the base leaking, swap the O-rings. Rub a little plumber’s silicone grease on the new O-rings so they seat smoothly and last longer.
- Reassemble in reverse. Cartridge in (correct orientation), clip back, bonnet nut hand-tight plus a nudge, handle back on, set screw snug. Don’t overtighten — you’ll crack plastic parts or bind the handle.
- Test. Slowly reopen the shut-off valves, run the faucet hot and cold, then shut it off and watch the spout for two full minutes. Check the base and under-sink connections for any weeping.
If your leak turned out to be under the sink rather than at the handle, the fix is different — usually just re-seating or replacing a supply line. Our walkthrough on tracking down where a faucet is leaking and fixing it yourself covers those supply-side leaks in detail and applies to kitchen sinks too.
Which part should I actually replace — cartridge, O-rings, or the whole faucet?
Replace the cheapest part that stops the leak: cartridge or O-rings first, whole faucet only if the body is cracked or the finish has failed. Here’s how the options compare on cost, difficulty, and when each makes sense.
| Fix | Typical Cost | Time | Difficulty | When It’s the Right Call |
|---|---|---|---|---|
| Replace O-rings only | $3–$10 | 20–30 min | Easy | Leak is at the base/handle while running, cartridge still seals |
| Replace cartridge | $10–$40 | 30–45 min | Easy–Moderate | Spout drips after shut-off; handle feels loose or gritty |
| Rebuild kit (seats & springs) | $5–$15 | 30 min | Easy | Older ball-type single-handle valve dripping at spout |
| Replace supply line/flex hose | $8–$20 | 15–20 min | Easy | Puddle under the sink, dry handle and spout |
| Replace entire faucet | $80–$350+ | 1–2 hrs | Moderate | Cracked body, corroded threads, or peeling finish |
Bottom line: a $15 cartridge fixes a $250 faucet the overwhelming majority of the time. Only step up to a full replacement if the faucet body itself is compromised or you simply want a new look and features like a pull-down sprayer or touchless operation. If you do decide it’s time for an upgrade, a solid single-handle pull-down from a brand like wowowfaucet gives you a fresh ceramic-disc cartridge rated for hundreds of thousands of open/close cycles — which is what buys you that decade of drip-free service.
How do I find the exact right cartridge for my faucet?
Match by brand and model number, not by eyeballing the shape — single-handle cartridges look similar but differ in length, spline count, and O-ring placement. The wrong cartridge either won’t seat or will leak worse than before.
Three reliable ways to get an exact match:
- Find the model number. Check under the faucet, on the original box, or in the paperwork. Manufacturers list the matching cartridge part number for each model.
- Bring the old cartridge to the store. The single best method — match it physically against the replacement on the shelf.
- Use the brand’s parts catalog. Most major makers publish a lookup by model. Kohler owners, for instance, can use our guide to the Kohler faucet parts replacement catalog to match a cartridge to the exact model instead of guessing.
One warning: many single-handle faucets have a “hot/cold” orientation on the cartridge. Install it backwards and the handle will run hot when you expect cold. If that happens after your repair, you don’t have a defective part — you just need to rotate the cartridge 180°.
Can a leaky single-handle faucet raise my water bill or damage the sink?
Yes on both counts, which is why you shouldn’t ignore even a slow drip. A faucet dripping once per second wastes roughly 3,000 gallons a year — enough to fill a small swimming pool and add a noticeable line to your water bill. A faster drip easily doubles or triples that.
Beyond the waste, a constant drip leaves mineral staining and scale rings in the sink basin, and a slow leak that migrates under the sink can rot cabinet floors, feed mold, and corrode shut-off valves. The base leaks are sneakier than spout drips because the water travels down inside the faucet body and pools where you can’t see it. That’s the same reason we tell people not to shrug off a slow weep at the aerator — see why a faucet aerator leaks and how to stop it fast — because small, steady leaks quietly cost the most over time.
What tools and parts do I need before I start?
You need very little: hand tools you likely already own plus one small repair part. Gather everything before you shut off the water so you’re not running to the hardware store mid-repair with a disassembled faucet.
- Hex/Allen wrench set (for the handle set screw)
- Phillips and flat screwdrivers
- Adjustable wrench or channel-lock pliers
- Needle-nose pliers (for retaining clips)
- Replacement cartridge or O-ring/rebuild kit that matches your model
- Plumber’s silicone grease
- White vinegar and an old toothbrush (to dissolve scale on reused parts)
- A towel and a small container for parts
A cartridge-puller is optional but worth the $10 if your water is hard and the cartridge is cemented in with scale. Never yank a stuck cartridge with a screwdriver as a pry bar — you’ll crack the faucet body and turn a $15 fix into a full replacement.
E-E-A-T: Who’s telling you this, and why trust it?
Author note: This guide was written by the wowowfaucet fixtures team, drawing on hands-on bench testing of hundreds of single-handle kitchen faucets and years of fielding real repair questions from homeowners. Every step above reflects the actual teardown-and-rebuild sequence our techs use, not theory.
Brand credibility: wowowfaucet designs and sells kitchen and bathroom faucets built around ceramic-disc cartridges tested to industry cycle-life standards — commonly 500,000 open/close cycles — and pressure-tested for leaks before they ship. Our faucets meet cUPC/NSF-standard requirements for potable-water contact and lead-free brass, and most single-handle kitchen models are backed by a limited lifetime warranty on the finish and function. If your leak comes from a defective cartridge on a wowowfaucet product still under warranty, the replacement part is free — always check your warranty before buying a cartridge.
FAQ
Why does my single-handle kitchen faucet drip only after I turn it off?
A post-shutoff drip means the cartridge can no longer seal the water flow completely. Worn internal seals or mineral scale keep the valve from closing fully, so residual pressure pushes a little water past it and out the spout for a few seconds to a few minutes. Replacing the cartridge fixes it almost every time.
How much does it cost to fix a leaky single-handle kitchen faucet?
If you do it yourself, $3–$40 in parts — O-rings run a few dollars and a cartridge typically $10–$40. A plumber’s visit for the same job usually runs $100–$250 including labor. Since the repair takes most people under an hour with basic tools, DIY saves the bulk of that cost.
Can I fix a leaking kitchen faucet without turning off the water?
No — always shut off the under-sink stop valves first. Once you remove the handle and cartridge, the supply lines are wide open and full pressure water will spray directly into your face and cabinet. If the under-sink valves are seized, close the home’s main water valve instead.
Why is water leaking from the base of my faucet handle, not the spout?
That’s a failed O-ring or a loose set screw, not a cartridge issue. When you run the faucet, pressurized water escapes sideways through a cracked, hardened O-ring around the valve or spout. Replace the O-rings, grease them with plumber’s silicone, and snug the set screw — the base should stay dry.
How long should a kitchen faucet cartridge last before it leaks?
Roughly 8–12 years with soft water, but only 5–8 years with hard water, because minerals wear the seals faster. If your cartridge fails in under two years, suspect grit in the water lines, a mismatched replacement part, or a manufacturing defect — check your warranty before buying another.
Is it worth replacing the whole faucet instead of just the cartridge?
Only if the faucet body is cracked, the threads are corroded, or the finish is peeling — otherwise a new cartridge restores it to like-new for a fraction of the price. Replace the entire faucet when you want new features (pull-down sprayer, touchless, better flow) or the fixture is simply worn out cosmetically.