 WOWOW Faucets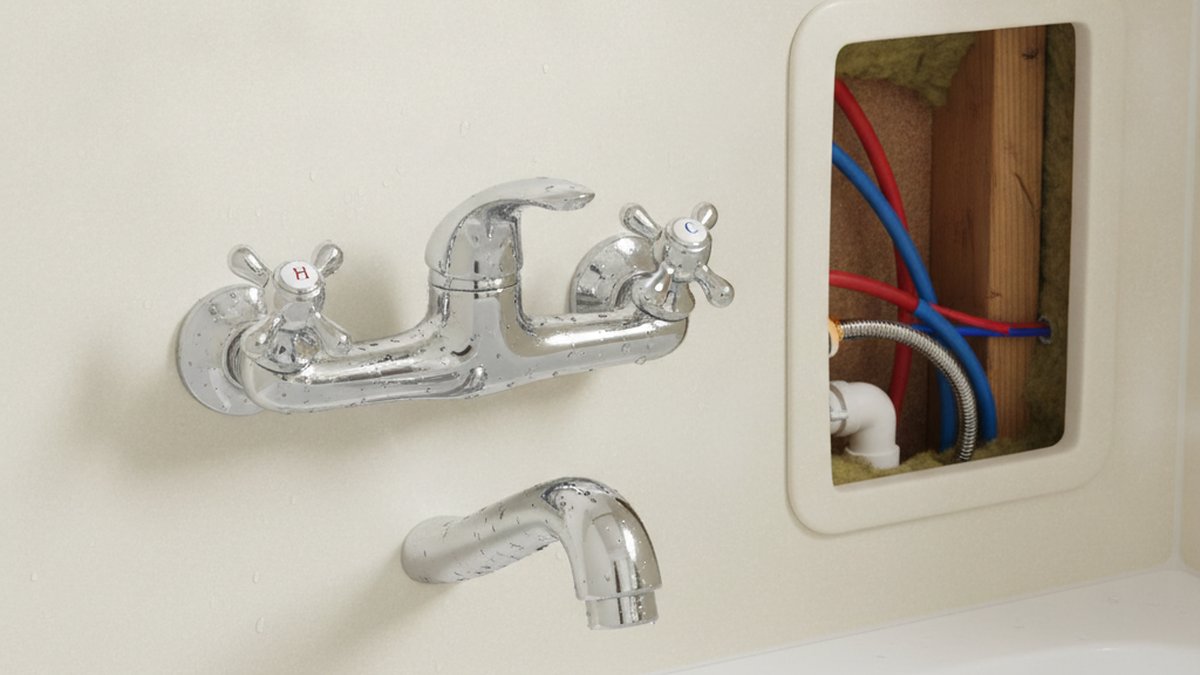
Learning how to replace a two handle bathtub faucet in a mobile home is one of the most satisfying weekend plumbing wins you can pull off, and it’s genuinely easier than the same job in a site-built house. Manufactured and mobile homes are built around service access — there’s almost always a removable panel behind the tub wall — so you rarely have to cut into tile or wallboard. If your hot and cold handles drip, spin loosely, or won’t fully shut off, you can usually fix the whole thing with basic hand tools and an afternoon.
Below I’ll walk you through exactly how it’s done: how to shut the water off, how to tell what kind of valve you have, the step-by-step swap, what parts to buy, and the mistakes that trip people up. This is the same process I’ve used on dozens of mobile home tub-and-shower units.
Why is a mobile home bathtub faucet different from a regular house?
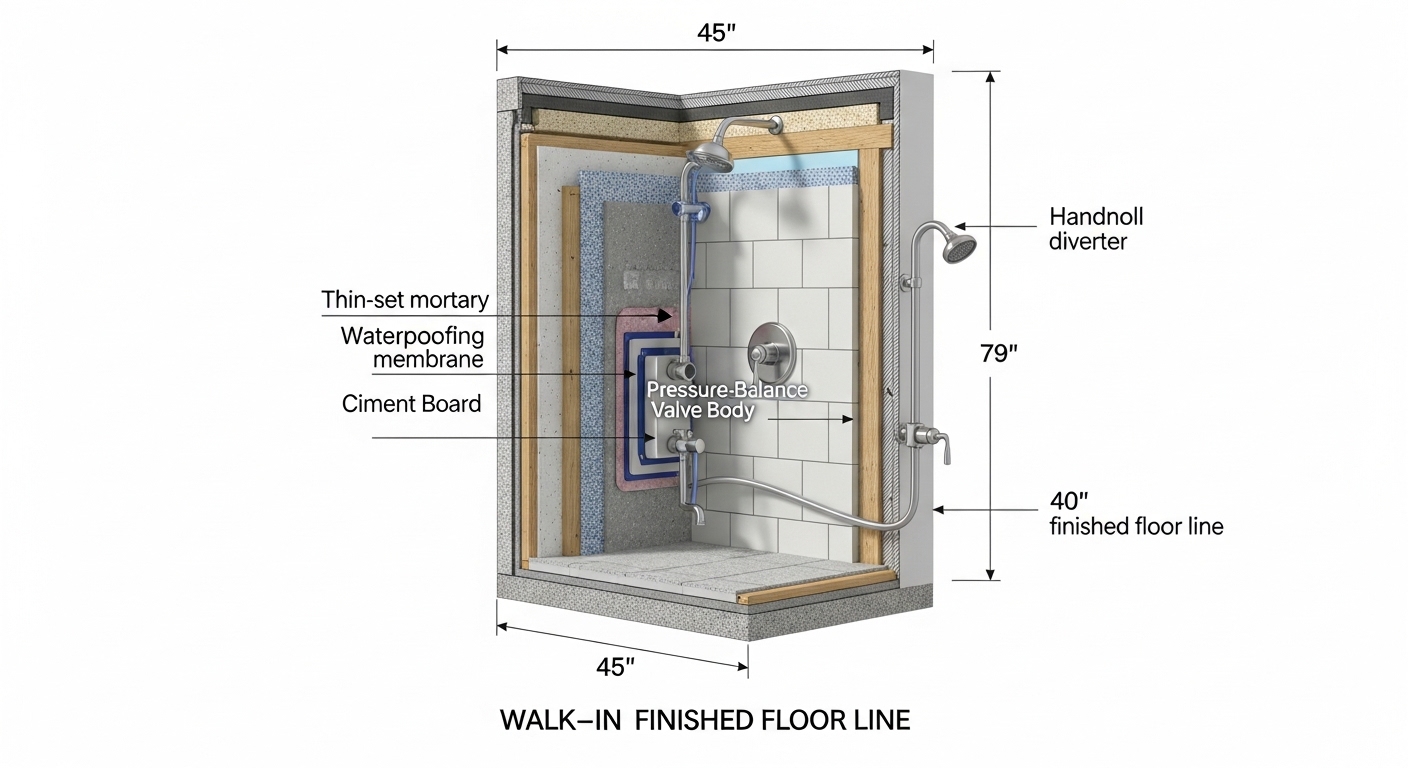
The big difference is that mobile homes use lighter-gauge plumbing and rely on an access panel instead of an in-wall valve body. In most manufactured homes, the hot and cold supply lines run to two separate compression stems (or a small “diverter valve” assembly) that you can reach through a removable panel — usually in the adjoining bedroom closet, the back of a cabinet, or a screwed-on cover directly behind the tub wall. That’s very different from a site-built home, where the valve is buried inside the wall behind tile.
This matters for three reasons. First, mobile homes often use CPVC or PEX supply lines instead of copper, so you should never crank on fittings like they’re metal. Second, many mobile home tub faucets are still true compression valves — they seal with a rubber washer against a seat, not a modern cartridge — which changes what replacement part you buy. Third, the spacing can be non-standard, so measuring before you shop is essential.
How do I know if I have a compression, cartridge, or ball valve?
Turn the handle and pay attention. If the handle spins several full rotations to shut off and gets harder to turn at the end, it’s a compression valve (the most common in older mobile homes). If it stops with a quarter- to half-turn and feels smooth, it’s a cartridge or ceramic-disc valve. A single-lever unit would be a ball or cartridge valve — but since you have two handles, you’re almost certainly dealing with compression or two-handle cartridge stems.
- Compression: multiple turns to close, replaceable rubber washer and seat, cheapest to fix.
- Two-handle cartridge: quarter-turn feel, replace the whole cartridge, smoother long-term.
- Ceramic disc: premium, drip-resistant, less common in older manufactured homes.
What tools and parts do I need before I start?
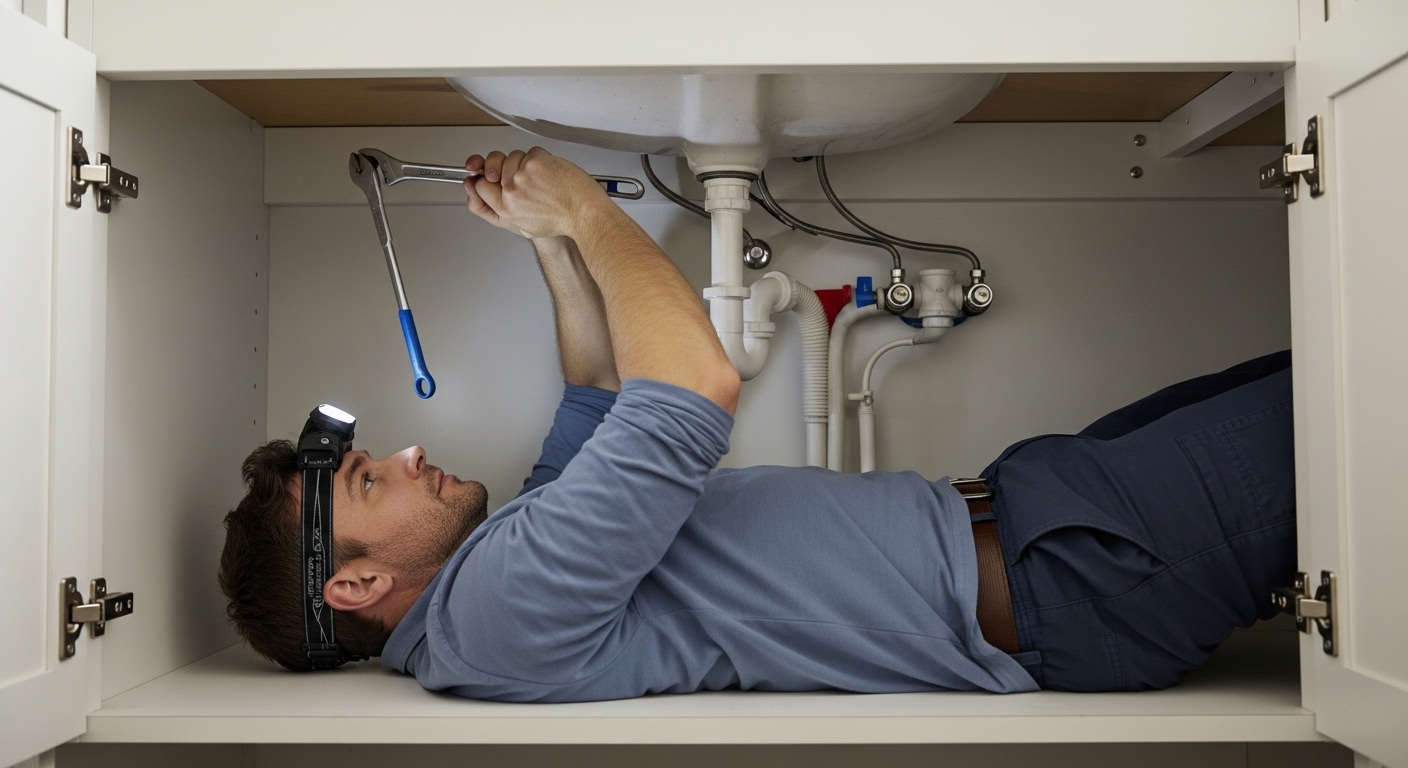
You need very little: an adjustable wrench, a Phillips and flathead screwdriver, a tub-and-shower socket wrench (a cheap “shower valve socket set,” about $10), plumber’s tape, and a rag. For parts, buy either a full two-handle replacement faucet set or just the internal stems/washers if your escutcheons and spout are still good.
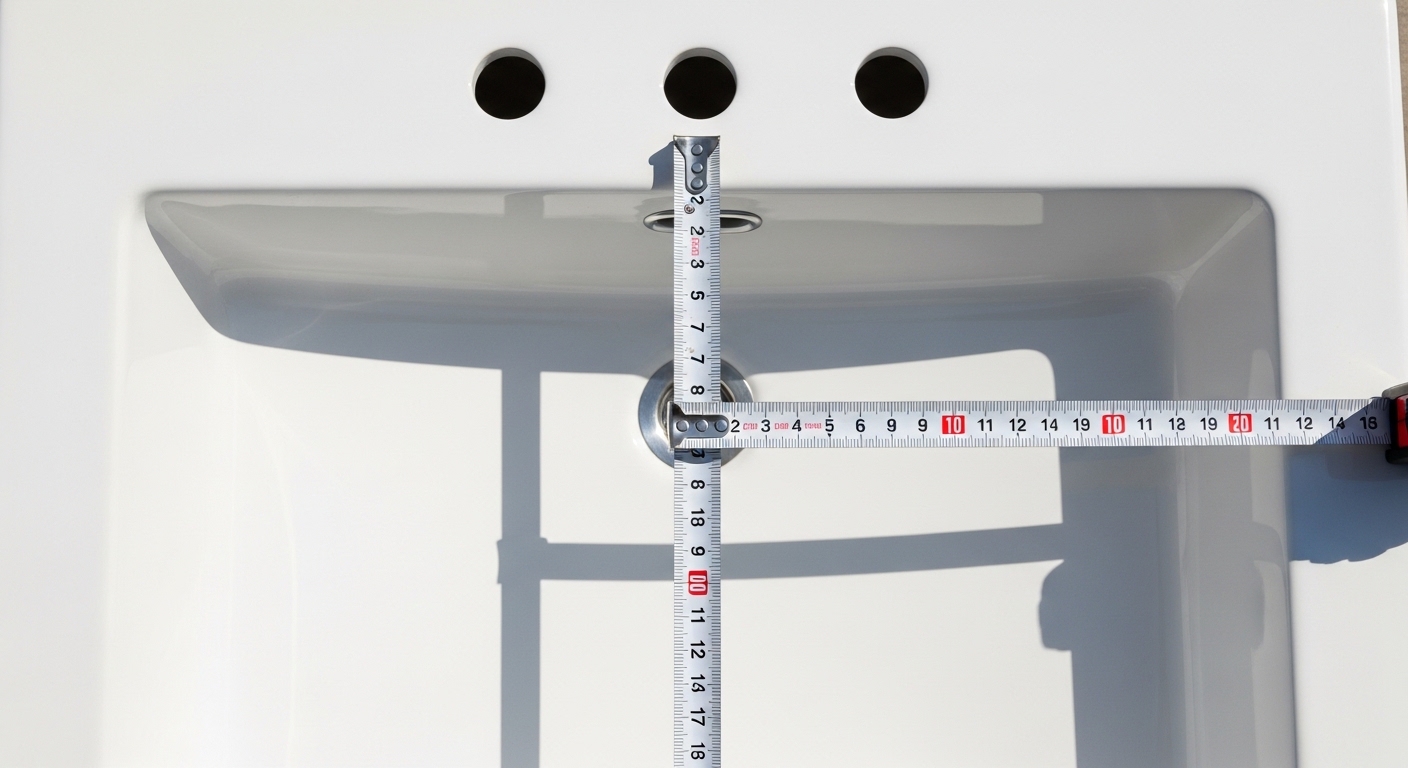
The single most important thing is to measure first. Note the center-to-center distance between your two handles (mobile home tub faucets are commonly 8 inches, but 4-inch and non-standard spreads exist), the supply line size (usually ½-inch), and whether your spout is threaded-on or slip-fit (set-screw type). Bring a photo and, ideally, the old stem to the store so you can match the broach (the splined pattern on the stem that the handle grips).
| Approach | What you replace | Cost | Best for |
|---|---|---|---|
| Rebuild kit | Washers, seats, O-rings only | $8–$25 | Minor drips, valve body in good shape |
| New stems/cartridges | Internal stem assemblies | $20–$50 | Worn stems, handles still fine |
| Full two-handle faucet set | Handles, stems, spout, trim | $40–$120 | Corroded or outdated fixtures, cosmetic upgrade |
| Pro installation | Everything + labor | $150–$350 | No access panel, damaged lines |
If the guts are shot but the finish is fine, a rebuild is enough. If you want a fresh look and worry-free hardware, a full two-handle set is the smarter buy — and it’s a great moment to match your tub faucet to the rest of your bathroom. If you’re rethinking the whole vanity area too, our guide to the best bathroom faucet sink setup pairs nicely with a tub refresh.
How do I shut off the water to a mobile home tub faucet?
Find your main shutoff and turn it off — most mobile homes don’t have individual tub shutoffs, so you’ll kill water to the whole home. The main is usually where the water line enters the home: under the home near a heat-taped riser, in a utility closet, at the water heater, or at the pedestal/spigot outside the skirting. Turn it clockwise until it stops.
After it’s off, open the tub handles to relieve pressure and drain the lines, then open a lower faucet elsewhere to bleed the system. Put a rag over the drain so you don’t lose small screws down it — this is the number one way people ruin an easy job. If your home does have local shutoffs behind the access panel, use those instead so the rest of the house keeps water.
What if I can’t find the access panel?
Look on the opposite side of the tub wall first. The panel is almost always directly behind the faucet — check inside a bedroom closet, a linen cabinet, or for a rectangular screwed-on cover. If there truly isn’t one, you may need to work entirely from the front through the handle holes, or (worst case) cut a small access panel, which is standard practice and easy to cover with a plastic access door. Never force fittings blindly; if the valve won’t budge from the front, cutting a panel is safer than snapping a CPVC line.
What are the step-by-step instructions to swap the faucet?
Here’s the full sequence once the water is off. Work slowly and support the lines behind the wall so you’re never twisting against unsupported CPVC or PEX.
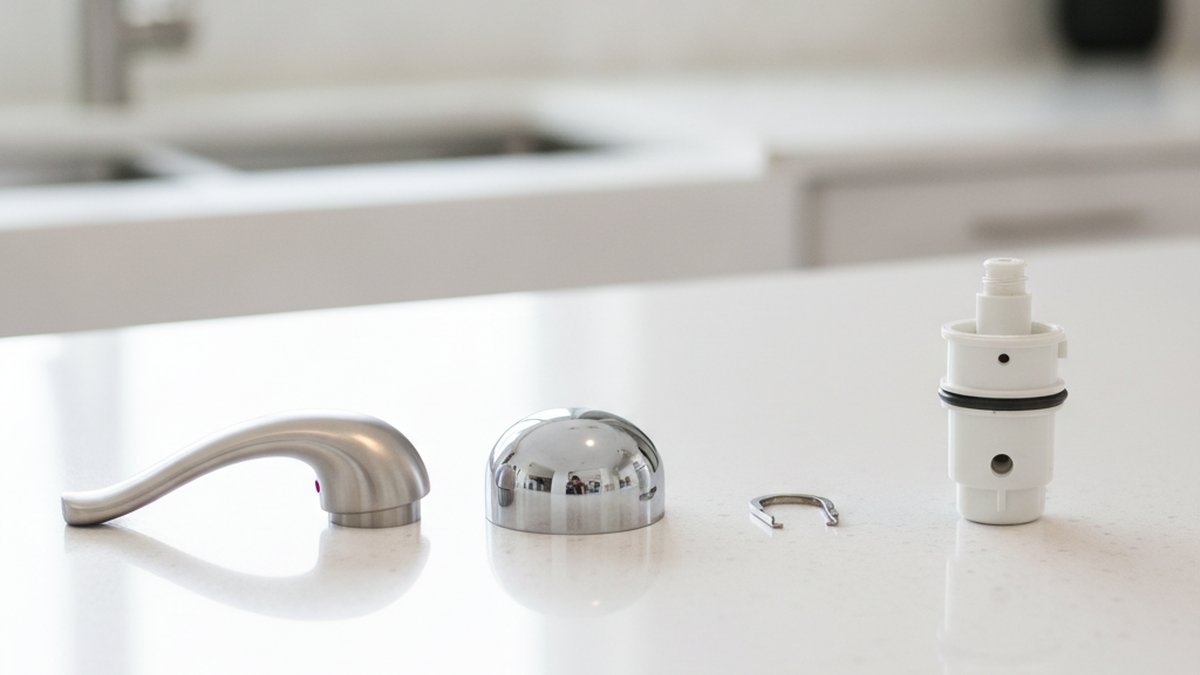
- Remove the handles. Pop off the index cap (the H/C button) with a flathead, remove the screw underneath, and pull the handle straight off. If it’s stuck, a handle puller or gentle rocking helps.
- Remove the escutcheons. Unscrew or unthread the decorative trim plates covering the wall openings.
- Unscrew the stems. Slide your shower valve socket over the stem’s packing nut and turn counterclockwise. Do this for both hot and cold. If it’s a cartridge, pull it straight out (you may need pliers).
- Remove the spout. Slip-fit spouts have a small set screw underneath — loosen it and pull. Threaded spouts unscrew counterclockwise by hand or with a rag-wrapped wrench.
- Inspect the valve seats. On compression valves, use a seat wrench to check and replace the brass seats if they’re pitted. This is the difference between a fix that lasts and one that drips again in a month.
- Install the new stems/cartridges. Wrap threads with 2–3 turns of plumber’s tape, hand-thread first to avoid cross-threading, then snug with the socket. Don’t overtighten — snug plus a quarter turn.
- Reinstall the spout. Tape threaded spouts; tighten the set screw on slip-fit ones. Make sure the spout points down and sits flush to the wall.
- Reattach escutcheons and handles in the correct hot-left, cold-right orientation.
- Turn water back on slowly and test.
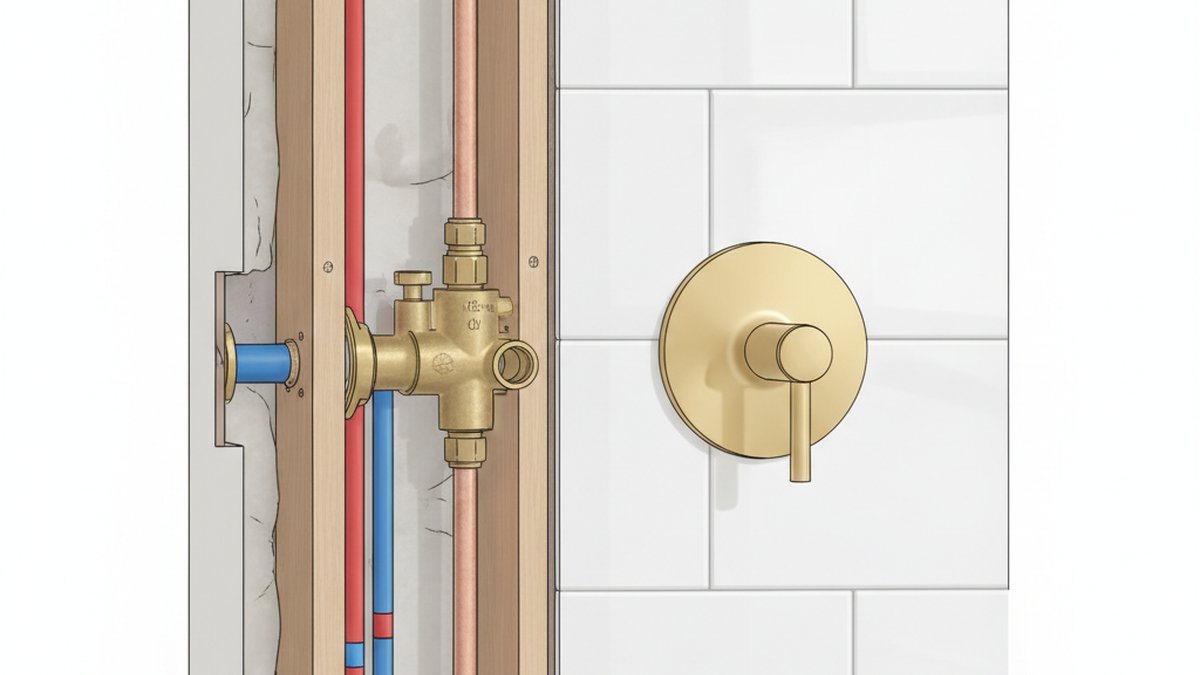
If you get into the valve and realize the whole valve body is corroded rather than just the stems, that’s a bigger project that overlaps with our walk-through on shower valve rough-in and trim. And if you decide mid-job you’d rather hand it off, here’s how to weigh faucet valve replacement nearby versus doing it yourself.
How do I test for leaks and drips after installing it?
Turn the main back on slowly, then run both hot and cold for a full minute and watch three spots: the spout when handles are off (a drip means a bad washer or seat), the base of each handle (a leak there means the packing nut needs a slight snug), and the access panel behind the wall (any wetness there means a supply connection is loose). Let it sit 10 minutes and re-check the panel — slow leaks show up late.
If a handle still drips after shutting fully, you either have a seat that needs replacing or a washer that’s the wrong size — very common when people grab a “close enough” kit. Two-handle drips are almost always the washer/seat interface, not the whole faucet. For a deeper primer on the internal parts and why they fail, our explainer on how to replace a faucet cartridge translates directly to two-handle stems.
Can I upgrade to a nicer finish while I’m in there?
Yes — and this is the best time to do it. Since you’re already removing everything, swapping to a full two-handle set in brushed nickel, matte black, or chrome costs little more effort. Just confirm the new set matches your handle spread and spout type. Matching your tub faucet finish to your sink faucet makes a small bathroom look intentional and updated, which is exactly the kind of low-cost upgrade that pays off if you ever sell or rent the home.
What mistakes should I avoid with mobile home plumbing?
The biggest mistake is treating mobile home plastic supply lines like copper — overtightening cracks CPVC fittings and turns a $40 job into a flooded floor. Always support the pipe behind the wall with your free hand while you turn, and stop at snug.
- Don’t skip measuring the handle spread — mobile home spreads aren’t always standard, and a mismatched set won’t cover the holes.
- Don’t reuse old washers — they’re the cheapest part and the reason you’re doing this.
- Don’t forget plumber’s tape on threaded connections, but never use it on compression sleeve fittings.
- Don’t lose parts down the drain — rag the drain first.
- Don’t force a seized stem — penetrating oil and patience beat brute force that snaps a valve body.
One more mobile-home-specific tip: if your home has notoriously low water pressure, replacing the faucet won’t fix pressure by itself, but clean new stems and a properly sized spout do help flow. If pressure is your real complaint in the shower, that’s a separate fix — see our guide on getting high pressure from a low-GPM shower head.
Two Handle vs. Single Handle Conversion: Which Should You Pick?
Stick with two-handle if your current setup works and you just want a repair — it’s the fastest, cheapest path and reuses your existing holes. Consider converting to single-handle only if you’re comfortable opening the wall, because it usually requires a new valve body and patching. For most mobile home owners, replacing like-for-like with a fresh two-handle set is the right call.
| Factor | Two-handle (like-for-like) | Single-handle conversion |
|---|---|---|
| Difficulty | Beginner | Intermediate–advanced |
| Wall damage | None | Likely (patch required) |
| Time | 1–2 hours | Half day+ |
| Temperature control | Separate hot/cold | Single mixed lever |
| Cost | $30–$120 | $120–$300+ |
FAQ
How long does it take to replace a two handle bathtub faucet in a mobile home?
For a like-for-like swap with an accessible panel, plan on 1 to 2 hours the first time, including shutting off water and testing. If you’re only replacing washers in a rebuild, it can take under an hour. Cutting an access panel or dealing with corroded stems adds time.
Do mobile home tub faucets use special parts?
Sometimes. Many mobile homes use standard ½-inch compression stems that any hardware store carries, but some use proprietary or non-standard handle spreads and lighter-gauge CPVC/PEX lines. Always measure the center-to-center handle distance and bring your old stem to match the broach before buying.
Can I replace just the washers instead of the whole faucet?
Yes, if the drip is your only problem and the valve body and finish are in good shape, a rebuild kit ($8–$25) with new washers, O-rings, and seats will fix it. Replace the brass seats too if they’re pitted — otherwise the new washer will just wear out again quickly.
Why does my tub faucet still drip after I replaced it?
The most common cause is a worn or pitted valve seat that the new washer can’t seal against, or a washer that’s slightly the wrong size. Less often, the packing nut needs a small snug or the cartridge wasn’t seated fully. On two-handle faucets, isolate which side drips by feeling the water temperature.
Do I need to turn off water to the whole mobile home?
Usually yes, because most mobile homes don’t have dedicated shutoffs for the tub. Turn off the main where water enters the home, then bleed the lines by opening the faucets. If your access panel reveals local shutoff valves, use those so the rest of the home keeps water.
Is replacing a two-handle bathtub faucet a good DIY project for a beginner?
It’s one of the best beginner plumbing projects, especially in a mobile home where an access panel makes the valve reachable without cutting tile. With an adjustable wrench, a $10 shower valve socket set, and plumber’s tape, most people can do it in an afternoon. If you can replace a sink faucet, you can do this — see our companion step-by-step guide to replacing a bathroom faucet.
Final Word: Author Note & Why Trust This Guide
About the author: This guide was written by the WOWOW Faucet product and installation team, drawing on hands-on experience installing and servicing two-handle tub-and-shower fixtures in manufactured and mobile homes. We test our faucets against industry standards for durability and low-lead safety, and every WOWOW faucet is backed by a manufacturer’s warranty and responsive support. As a dedicated faucet and bathroom fixtures brand, WOWOW designs hardware specifically for real-world installs — including the tighter tolerances and lighter supply lines you find in mobile homes — so the parts fit, seal, and last. When you’re ready to upgrade, choose a set that matches your handle spread and spout type, and you’ll have a leak-free tub faucet for years.