 WOWOW Faucets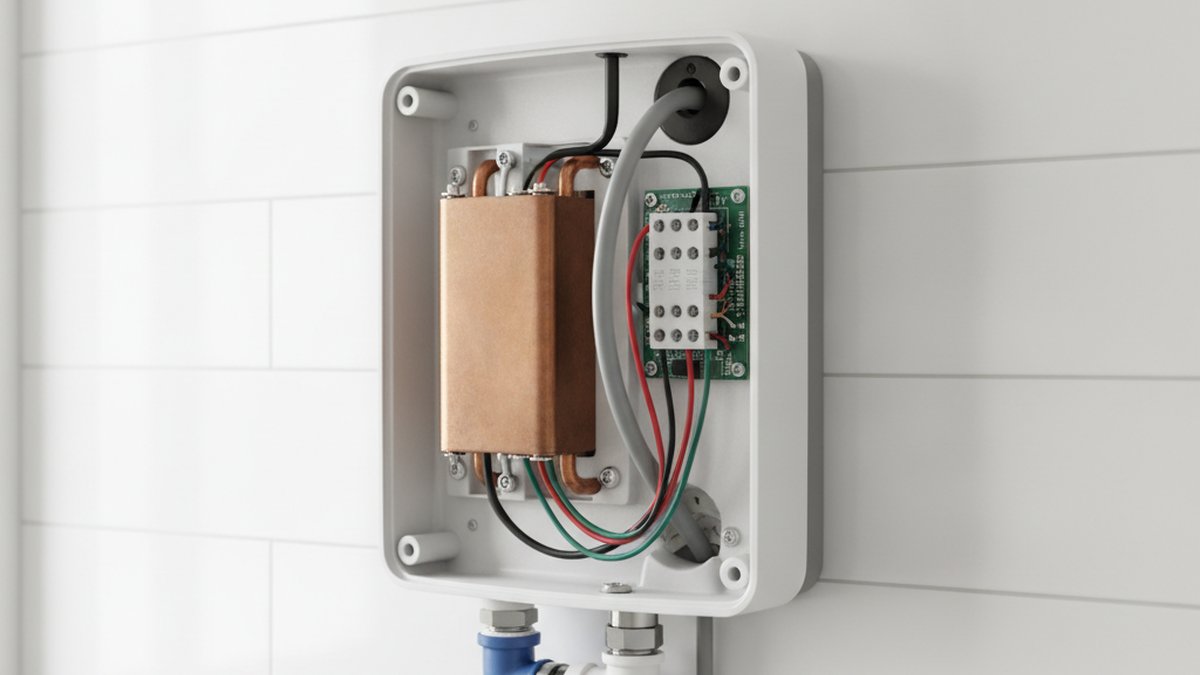
Learning how to install electric shower head units is really two jobs stacked on top of each other: a simple cold-water plumbing connection almost any confident DIYer can handle, and a high-current electrical hookup that is genuinely dangerous if you get it wrong. An electric shower (also called an instant, tankless, or “on-demand” electric shower) heats cold water as it flows through a heating element inside the unit, so it needs both a dedicated cold feed and a heavy-duty power supply. This guide walks through the whole process step by step, tells you exactly where a licensed pro is legally required, and shows you how to avoid the leaks and tripping breakers that trip up first-timers.
What exactly is an electric shower head, and how is it different from a regular one?
An electric shower heats its own water using an internal element, so it only needs a single cold-water pipe plus electricity — no hot-water feed from your boiler or tank. A regular (“mixer”) shower, by contrast, blends existing hot and cold water and needs no power at all. That single difference drives every part of the installation.
Because the electric unit does the heating itself, it delivers hot water on demand even if your boiler fails or your hot tank runs dry, which is why they’re popular for en-suites, loft conversions, and homes with unreliable hot water. The trade-off is electrical load: a typical unit draws between 7.5 kW and 10.5 kW, which is one of the biggest single loads in a house — comparable to an electric oven. That’s why you can’t just plug it into an existing lighting or socket circuit; it needs its own dedicated cable run back to the consumer unit (breaker panel).
| Feature | Electric Shower | Mixer Shower |
|---|---|---|
| Water needed | Cold feed only | Hot + cold feed |
| Power | Dedicated high-current circuit | None |
| Hot water if boiler fails | Yes | No |
| Flow rate | Lower (heats as it flows) | Higher |
| Typical DIY difficulty | Plumbing easy, wiring pro-level | Moderate |
| Best for | Backup, en-suites, no tank | Powerful main showers |
Can I install an electric shower myself, or do I legally need an electrician?
You can do the plumbing and the physical mounting yourself, but in most places the electrical connection must be done or certified by a licensed electrician. In the UK, wiring a shower circuit is “notifiable work” under Part P of the Building Regulations; in the US and Canada, a permit and a licensed electrician are typically required for a new 240V circuit. Doing it yourself without certification can void your insurance and your warranty, and — more importantly — a loose connection on a 40-amp circuit inside a wet room is a real fire and shock risk.
Here’s the honest split of the work:
- DIY-friendly: turning off the water, removing the old unit, mounting the new bracket, running the 15mm cold pipe, connecting the compression fitting, fitting the shower head and hose, and flushing the line.
- Electrician territory: running the dedicated cable, sizing the breaker and cable to the shower’s kW rating, installing the RCD/GFCI protection, wiring the double-pole isolator switch (pull cord), and testing and certifying the circuit.
A common, sensible approach: do all the plumbing and mounting yourself to save labor, then have an electrician make the final connection and issue the certificate. If you’re comfortable swapping a fixture but new to plumbing fittings, our step-by-step bathroom faucet replacement guide is a good warm-up for the compression-fitting and pipe-sealing skills you’ll reuse here.
What tools and parts do I need before I start?
You need the shower unit itself plus a small kit of plumbing and electrical tools — gather everything first so you’re not running to the store with the water off. Below is the realistic list for a straightforward like-for-like replacement.
- The electric shower unit (matched to your incoming water pressure and the kW rating your circuit supports)
- 15mm compression fitting or isolating valve for the cold feed
- Adjustable wrench and a set of slot/Phillips screwdrivers
- PTFE tape (thread-seal tape) for any threaded joints
- Electric drill with masonry and tile bits, plus wall plugs
- Spirit level and pencil
- Cable, RCD-protected breaker, and a double-pole isolator (specified by your electrician to match the unit’s amperage)
- Voltage tester / multimeter to confirm the power is genuinely off
- Bucket, towels, and a silicone sealant tube for finishing around the unit
One spec people skip: check your water pressure. Most electric showers need a minimum of around 1.0 to 1.5 bar of static pressure to fire the heater and give a usable flow. If you’re on a gravity-fed tank system with low pressure, you may need a pumped or low-pressure-rated model. Confirm this before you buy, because a mismatched unit will dribble no matter how perfectly you install it.
How do I actually install it, step by step?
Install an electric shower in eight core steps: isolate power and water, remove the old unit, mount the new one, connect the water, connect the power, seal, flush, and test. Work in that order and don’t energize the circuit until the very end. Here’s the full sequence.
Step 1 — Turn off the water and the electricity
Shut off the cold supply at the isolating valve or the main stopcock, and switch off the shower circuit at the consumer unit — not just the pull cord. Then use a voltage tester at the shower’s connection point to confirm the cable is dead. This is the single most important step; treat the circuit as live until your tester proves otherwise.
Step 2 — Remove the old shower unit
Unscrew the front cover, disconnect the water pipe (have a towel and bucket ready for residual water), and disconnect the electrical cable, noting or photographing exactly which wire goes where. Then unscrew the old backplate from the wall. Inspect the pipe and cable — if either looks corroded, scorched, or undersized, that’s a flag to replace it rather than reuse it.
Step 3 — Position and mount the new unit
Hold the new backplate against the wall, use a spirit level to get it straight, and mark your fixing holes and your pipe/cable entry points. Many units let you feed water and power in from the top, bottom, or side, so choose the routing that lines up best with your existing pipe and cable to minimize new chasing into the wall. Drill, plug, and screw the backplate firmly to the wall — a wobbly unit stresses the water joint and causes leaks later.
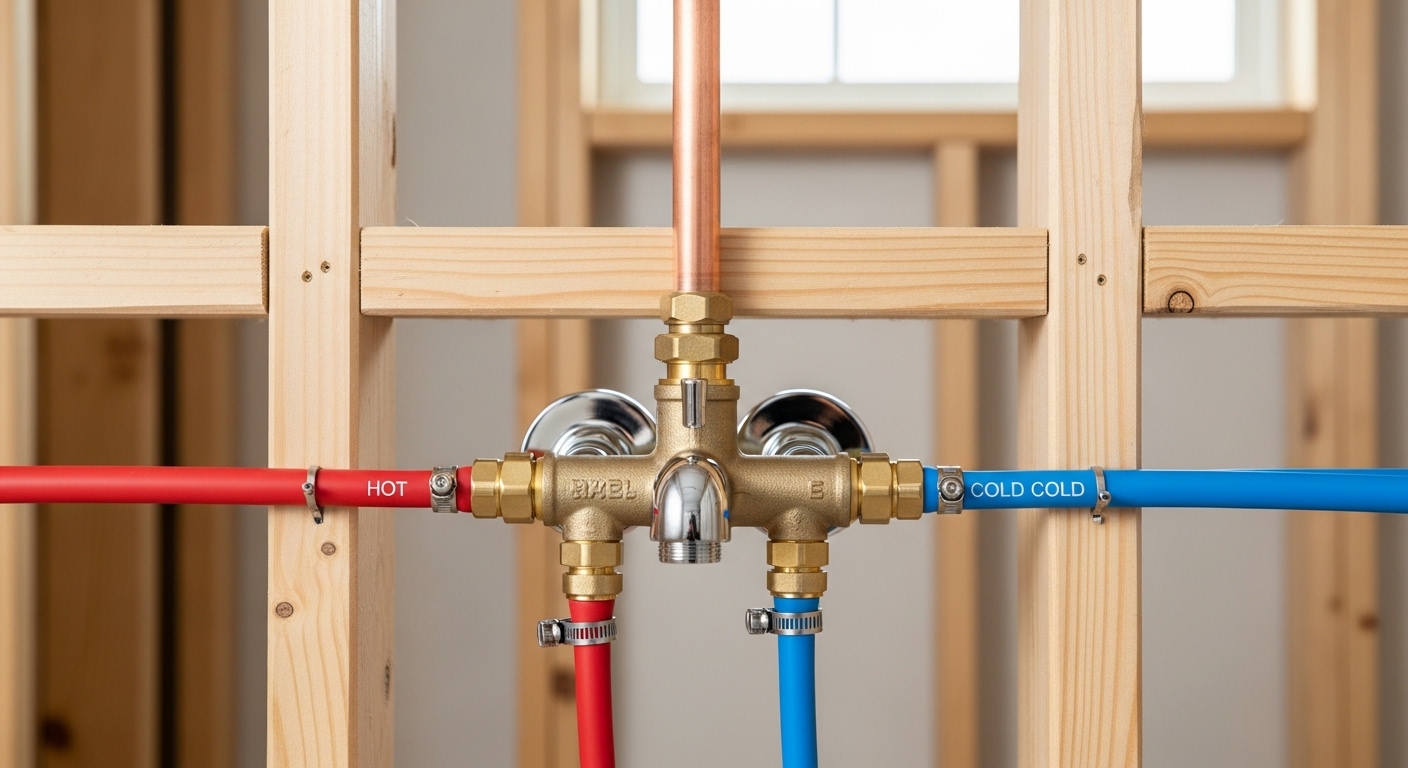
Step 4 — Connect the cold water supply
Attach the 15mm cold feed to the unit’s inlet using a compression fitting, and fit an isolating valve in the line if there isn’t one already — it makes future servicing far easier. Don’t over-tighten compression nuts; snug plus a quarter turn is usually enough, and PTFE tape on any threaded portion helps guarantee a dry joint. The skills here overlap heavily with general fixture plumbing, and the same care that prevents drips on tub and sink valves applies — our guide to bathtub faucets covers the compression and sealing basics in more depth if you want a refresher.
Step 5 — Connect the electrical supply
Feed the dedicated cable into the unit and connect the live, neutral, and earth to the correct terminals, matching the shower’s wiring diagram exactly. This is the step to hand to a licensed electrician if you are not certified: the cable and breaker must be sized to the unit’s kW rating, the earth must be solid, and the circuit must be RCD/GFCI protected. A double-pole isolator (pull-cord or wall switch outside the wet zone) lets you fully cut power for servicing.
Step 6 — Seal, fit the head, and tidy up
Run a bead of silicone sealant around the top and sides of the unit (leave the bottom open so any internal condensation can escape), then attach the shower hose, riser rail, and head. Make sure the head and hose are rated for the unit; a very restrictive head can raise internal pressure and cut flow.
Step 7 — Flush the system before powering on
With the electricity still OFF, turn the water back on and run the shower on the cold setting for a minute or two. This flushes out debris, air, and pipe swarf that could otherwise clog or damage the heating element on first use — skipping this flush is one of the most common causes of a brand-new unit failing early.
Step 8 — Power up and test
Only now switch the circuit back on at the consumer unit and the isolator. Run the shower through each heat and flow setting, check that the water heats properly, and watch every joint for leaks and the electrics for any tripping. If the RCD trips or you smell anything hot, switch off immediately and call an electrician.
Why does my new electric shower trip the breaker or run cold?
A shower that trips the breaker almost always points to an electrical fault — moisture in a connection, an undersized cable, or a failing heating element — while a shower that runs cold usually points to low water pressure, a wrong heat/flow setting, or a tripped thermal cut-out. Diagnose by symptom rather than guessing.
- Trips the RCD immediately: water has reached a connection, or the element is faulty. Kill the power and get it inspected — do not keep resetting it.
- Runs cold or lukewarm: flow may be too high for the kW rating (turn flow down to let the element heat it more), or incoming pressure is too low. In winter, colder incoming water also means the same unit produces a cooler shower.
- Weak trickle: a clogged inlet filter, a blocked shower head, or low mains pressure. Clean the filter and descale the head first.
- Leaks at the inlet: re-seat the compression fitting; it’s usually over- or under-tightened rather than cracked.
Hard-water areas deserve special mention: limescale builds up on the heating element and inside the head, slowly strangling flow and efficiency. Descaling the shower head every few months keeps performance up, much like maintaining any other fixture — the same logic behind our roundup of faucet accessories such as filters and aerators that fight scale elsewhere in the home. Rounding out the bathroom with the right hardware — from robust holders to shelving — is covered in our bathroom accessories buying guide if you’re finishing a full refresh.
How long does installation take, and what does it cost?
A straightforward like-for-like replacement takes about 2 to 4 hours; a brand-new installation that needs fresh pipe and cable runs can take a full day. Cost splits into the unit itself (roughly $80–$300 depending on kW rating and features) plus electrician labor for the certified connection, which varies widely by region.
The biggest cost swing is whether you already have a suitable circuit. Reusing an existing, correctly-sized shower circuit keeps things cheap. Running a new dedicated cable from the consumer unit — especially through finished walls — is where labor climbs, because it’s the electrician’s time, not the parts, that dominate. Buying a unit whose kW rating matches your existing circuit (rather than the highest-powered model on the shelf) can save you an expensive rewire.
FAQ
Do I need a special fuse or breaker for an electric shower?
Yes. An electric shower needs its own dedicated circuit sized to its kW rating — commonly a 40A or 45A breaker for an 8.5–10.5 kW unit, with RCD/GFCI protection. It cannot share a circuit with sockets or lights, and the cable gauge must match the current draw. Your electrician will confirm the exact rating from the unit’s data plate.
Can I replace an electric shower with a higher kW model without rewiring?
Only if your existing cable and breaker are already rated for the higher load — and often they aren’t. Jumping from, say, 8.5 kW to 10.5 kW increases the current draw and may require a thicker cable and a bigger breaker. Always check the existing circuit against the new unit’s requirements before buying; upgrading the shower without upgrading the circuit is a fire hazard.
Can an electric shower be installed in any bathroom?
Almost always, as long as it has a cold water supply and can reach a dedicated electrical circuit. The unit and its switch must be positioned outside the direct spray zones per local wiring “zone” rules, and the isolator switch is typically a ceiling pull-cord or a wall switch outside the room. Confirm placement with your electrician to stay code-compliant.
Why is my electric shower not getting hot enough in winter?
Because incoming mains water is much colder in winter, the same heating element has less time to warm it as it flows through. Turn the flow rate down so the water spends longer over the element, and select the high-power setting. If it’s still weak, your unit’s kW rating may be too low for winter conditions in your climate — a higher-kW model heats colder water more effectively.
How often should I service or descale an electric shower?
Descale the shower head and clean the inlet filter every 3 to 6 months, more often in hard-water areas. The unit itself has few user-serviceable parts, but you should visually check for leaks and listen for unusual noises. If flow drops or the water sputters between hot and cold, that’s usually limescale on the element — a sign it’s time to descale or, eventually, replace the element.
A note from the WOWOW team
This guide was written and reviewed by the product specialists at wowowfaucet, drawing on years of hands-on experience testing showers, faucets, and bathroom fixtures for real-world durability. WOWOW designs fixtures to meet recognized plumbing and safety standards, and we back our products with clear warranties because we test them the way you actually use them — under pressure, in hard water, day after day. Our aim is to give you accurate, plain-English guidance so you can decide confidently what to tackle yourself and where a licensed professional is the smart, safe call.
Author note: Reviewed by the WOWOW fixtures editorial team, September 2026. Always follow your local plumbing and electrical codes; when in doubt about the electrical connection, hire a licensed electrician — the certification protects your home, your warranty, and your safety.