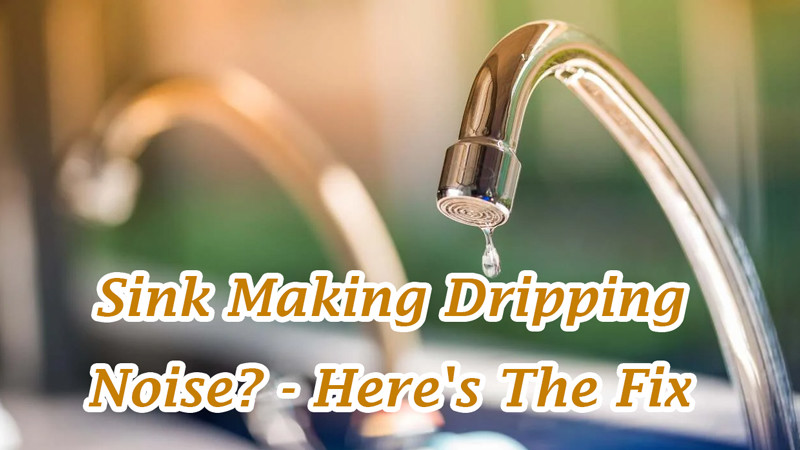
Do you find yourself lying awake at night, tormented by the relentless drip-drip-drip of a leaking faucet? Or perhaps you’re trying to concentrate on work, but the persistent sound of water droplets hitting the sink basin is driving you up the wall. Whatever the situation, a sink making dripping noise can be a major annoyance. But fear not! With a little know-how and some basic tools, you can silence that pesky drip and restore peace to your home. Let’s dive into the reason why sink making dripping noise and the fix for this common household nuisance.
Understanding the Culprit
Before diving into the fix, it’s helpful to understand why your sink might be making that dripping noise in the first place. The most common cause is a worn-out or faulty faucet washer. Over time, the constant flow of water can cause the washer to degrade, leading to leaks and that irritating dripping sound. Other potential causes include loose fittings, damaged valves, or issues with the water pressure.
Tools You’ll Need
To tackle the issue, you’ll need a few basic tools:
- Adjustable wrench
- Screwdriver (both flathead and Phillips)
- Replacement faucet washer (if necessary)
- Pipe wrench (if dealing with stubborn fittings)
- Teflon tape
How to Fix Sink Making Dripping Noise

Now that you’re armed with the necessary tools, let’s walk through the steps to fix that dripping sink:
- Turn Off the Water Supply: Before beginning any work, be sure to shut off the water supply to the sink. You can usually find the shut-off valves under the sink or near the main water supply line.
- Inspect the Faucet: Take a close look at the faucet to identify the source of the leak. Check for any visible signs of damage or wear, such as corroded fittings or loose connections.
- Disassemble the Faucet: Using your screwdriver, carefully remove the handle and any other components of the faucet. Be sure to keep track of the order in which you remove the parts to make reassembly easier later on.
- Replace the Washer: If the washer appears worn or damaged, it’s time for a replacement. Remove the old washer and replace it with a new one of the same size and type. Apply a thin layer of plumber’s grease to ensure a watertight seal.
- Reassemble the Faucet: Once you’ve replaced the washer, carefully reassemble the faucet in the reverse order of how you disassembled it. Be sure to tighten all fittings securely to prevent future leaks.
- Check for Leaks: Turn the water supply back on and test the faucet to ensure that the leak has been resolved. If you still notice any leaks, double-check your work and tighten any fittings as needed.
- Address Other Potential Issues: If the dripping persists, there may be other underlying issues causing the problem. Check for loose fittings, damaged valves, or issues with the water pressure. Addressing these issues may require more advanced plumbing knowledge or the assistance of a professional plumber.
Preventative Measures
Once you’ve successfully fixed the dripping sink, there are a few preventative measures you can take to avoid future issues:
- Regular Maintenance: Periodically inspect your faucets for signs of wear or damage and address any issues promptly.
- Replace Washers: Consider replacing faucet washers every couple of years to prevent leaks and dripping.
- Avoid Over-tightening: While it’s important to tighten fittings securely, over-tightening can cause damage and lead to leaks. Use caution when tightening fittings to avoid stripping threads or damaging components.
Conclusion: Finding Peace in a Drip-Free Zone
In the quest for a tranquil home environment, even the smallest annoyances can disrupt our sense of peace. The incessant drip of a leaking sink is one such annoyance, but with a little patience and know-how, it’s a problem that can be easily fixed.
By understanding the common causes of sink dripping noises and following the step-by-step fix outlined above, you can silence that pesky drip and restore harmony to your home. Remember to take preventative measures to avoid future issues, such as regular maintenance and timely replacement of worn components.
So next time you’re lying awake at night, no longer will you be tormented by the drip-drip-drip of a leaking faucet. Instead, you can drift off to sleep in the blissful silence of a drip-free zone, knowing that you’ve conquered yet another household nuisance.
 WOWOW Faucets


您好!Please sign in