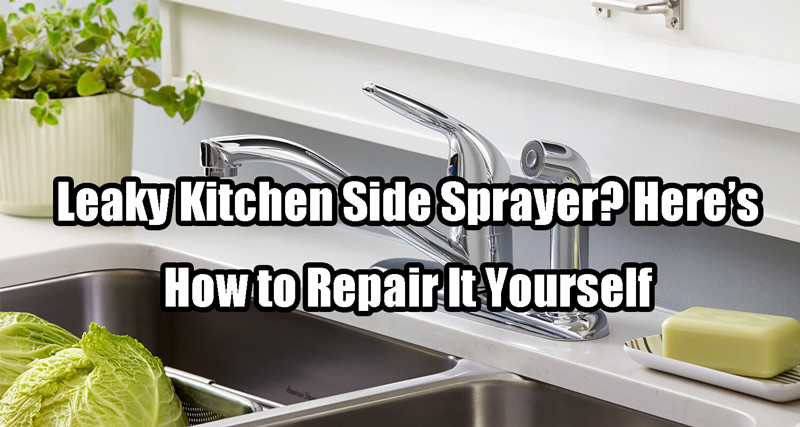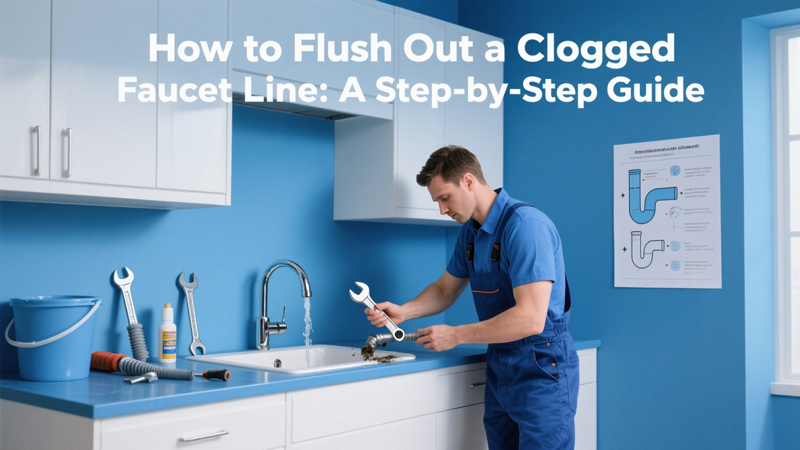
A kitchen side sprayer is a handy tool that makes rinsing dishes and cleaning the sink a breeze. However, over time, the sprayer can start to leak, causing water to dribble out when it’s not in use or spray in unintended directions. A leaky kitchen side sprayer is not only an inconvenience but can also lead to water waste and potential damage to your kitchen. The good news is that fixing a leaking kitchen side sprayer is a relatively simple task that you can tackle yourself with just a few basic tools. In this guide, we’ll walk you through the steps to identify and fix the problem of leaky kitchen side sprayer.
Tools and Materials You’ll Need:
- Adjustable wrench
- Screwdriver (if needed)
- Plumber’s tape (Teflon tape)
- Replacement parts (such as O-rings or a new side sprayer kit)
- Bucket or large bowl
- Towels or rags
Steps of fixing a leaky kitchen side sprayer
Step 1: Identify the Source of the Leak
Before you start disassembling the side sprayer, it’s essential to identify where the leak is coming from. There are a few common places where leaks occur:
- The Hose: Leaks can develop along the length of the hose, especially if it’s old or damaged.
- The Connection Point: The connection where the hose meets the faucet or the side sprayer itself can loosen over time, leading to leaks.
- The Sprayer Head: The most common area for leaks is the sprayer head, where water might dribble out even when it’s not being used.
Turn on the water and observe closely to determine the exact location of the leak. If the leak is coming from the sprayer head, the issue is often a worn-out washer or O-ring. If it’s coming from the connection point, the hose might be loose, or the connection may need to be resealed.
Step 2: Turn Off the Water Supply
Before you begin any repair work, make sure to turn off the water supply to the kitchen faucet. Locate the shutoff valves under the sink and turn them clockwise until they’re fully closed. If your sink doesn’t have individual shutoff valves, you’ll need to turn off the main water supply to your home. Once the water is off, turn on the faucet to relieve any remaining pressure in the lines.
Step 3: Remove the Side Sprayer and Hose
Place a bucket or large bowl under the sink to catch any water that may spill out during the repair process. Using an adjustable wrench, carefully loosen the nut that connects the side sprayer hose to the faucet. Once the nut is loose, you should be able to remove the hose and sprayer head easily. If your side sprayer has a clip or other fastener holding it in place, use a screwdriver to remove it.
Step 4: Inspect and Replace the O-Ring or Washer
With the side sprayer and hose detached, take a close look at the O-ring or washer inside the sprayer head. These small rubber components are often the culprit behind leaks. Over time, they can become brittle, cracked, or worn out, allowing water to seep through.
To replace the O-ring or washer:
- Remove the old O-ring or washer using a small flathead screwdriver or a similar tool.
- Take the old part to a hardware store to find an exact replacement, or use a kitchen faucet repair kit that includes multiple sizes of O-rings and washers.
- Apply a small amount of plumber’s grease to the new O-ring or washer to ensure a watertight seal.
- Install the new O-ring or washer by pressing it firmly into place inside the sprayer head.
Step 5: Check the Hose for Damage
While the side sprayer is disassembled, it’s a good idea to inspect the hose for any signs of damage, such as cracks, kinks, or wear. If the hose appears to be in good condition, you can skip this step. However, if you notice any damage, it’s best to replace the entire hose to prevent future leaks.
To replace the hose:
- Purchase a replacement hose that matches the specifications of your existing one.
- Attach the new hose to the faucet by threading the nut onto the faucet’s connection point.
- Tighten the nut securely with an adjustable wrench, but be careful not to overtighten, as this can damage the connection.
Step 6: Reassemble the Side Sprayer
Once you’ve replaced the O-ring, washer, or hose, it’s time to reassemble the side sprayer. Begin by reattaching the hose to the sprayer head. Thread the hose through the sink’s mounting hole and connect it to the faucet’s diverter valve. Tighten the nut with an adjustable wrench until it’s snug, but again, be careful not to overtighten.
If your side sprayer had a clip or fastener, reattach it according to the manufacturer’s instructions. Ensure that the hose moves freely and isn’t kinked or twisted.
Step 7: Turn the Water Supply Back On
With the side sprayer reassembled and securely attached, turn the water supply back on by opening the shutoff valves under the sink. Slowly turn on the faucet to check for any leaks. Test the side sprayer by activating it and observing whether water flows smoothly without any drips or leaks. If everything is functioning correctly, you’ve successfully fixed your leaking side sprayer!
Step 8: Additional Tips and Troubleshooting
If you’ve followed these steps and the side sprayer is still leaking, there may be a deeper issue, such as a faulty diverter valve inside the faucet. The diverter valve controls the flow of water between the faucet and the side sprayer, and if it’s malfunctioning, it can cause leaks or reduce water pressure.
In such cases, you may need to disassemble the faucet to access the diverter valve and replace it. Alternatively, if the side sprayer itself is old or heavily damaged, consider replacing the entire unit. Modern side sprayers are relatively inexpensive and come in a variety of styles to match your kitchen’s aesthetic.
Conclusion
Fixing a leaking kitchen side sprayer is a straightforward task that can save you money on water bills and prevent potential water damage. By following these steps and taking the time to inspect and replace worn-out components, you can restore your side sprayer to its full functionality and enjoy a leak-free kitchen once again.
 WOWOW Faucets


