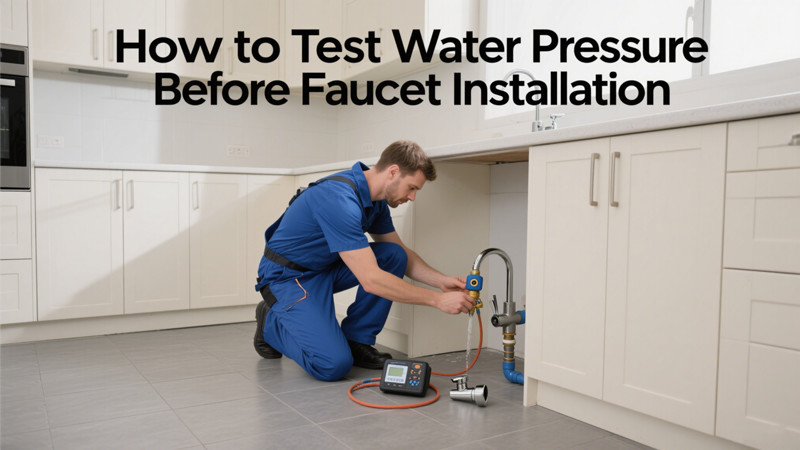
Installing a new faucet can instantly upgrade the functionality and aesthetics of your kitchen or bathroom. But before you get out your tools and start the process, there’s a critical step many homeowners overlook: testing the water pressure. Ensuring proper water pressure before faucet installation isn’t just a good practice—it can help you avoid leaks, poor flow, or even long-term damage to your plumbing system.
In this post, we’ll walk you through why testing water pressure is important, the tools you need, and a step-by-step guide to getting it done right.
Why Water Pressure Matters
Water pressure, measured in pounds per square inch (PSI), is the force that pushes water through your pipes and out of your faucet. The ideal water pressure for most homes is between 40 and 60 PSI.
If your pressure is too low, you may experience:
- Weak water flow
- Trouble filling pots or washing dishes
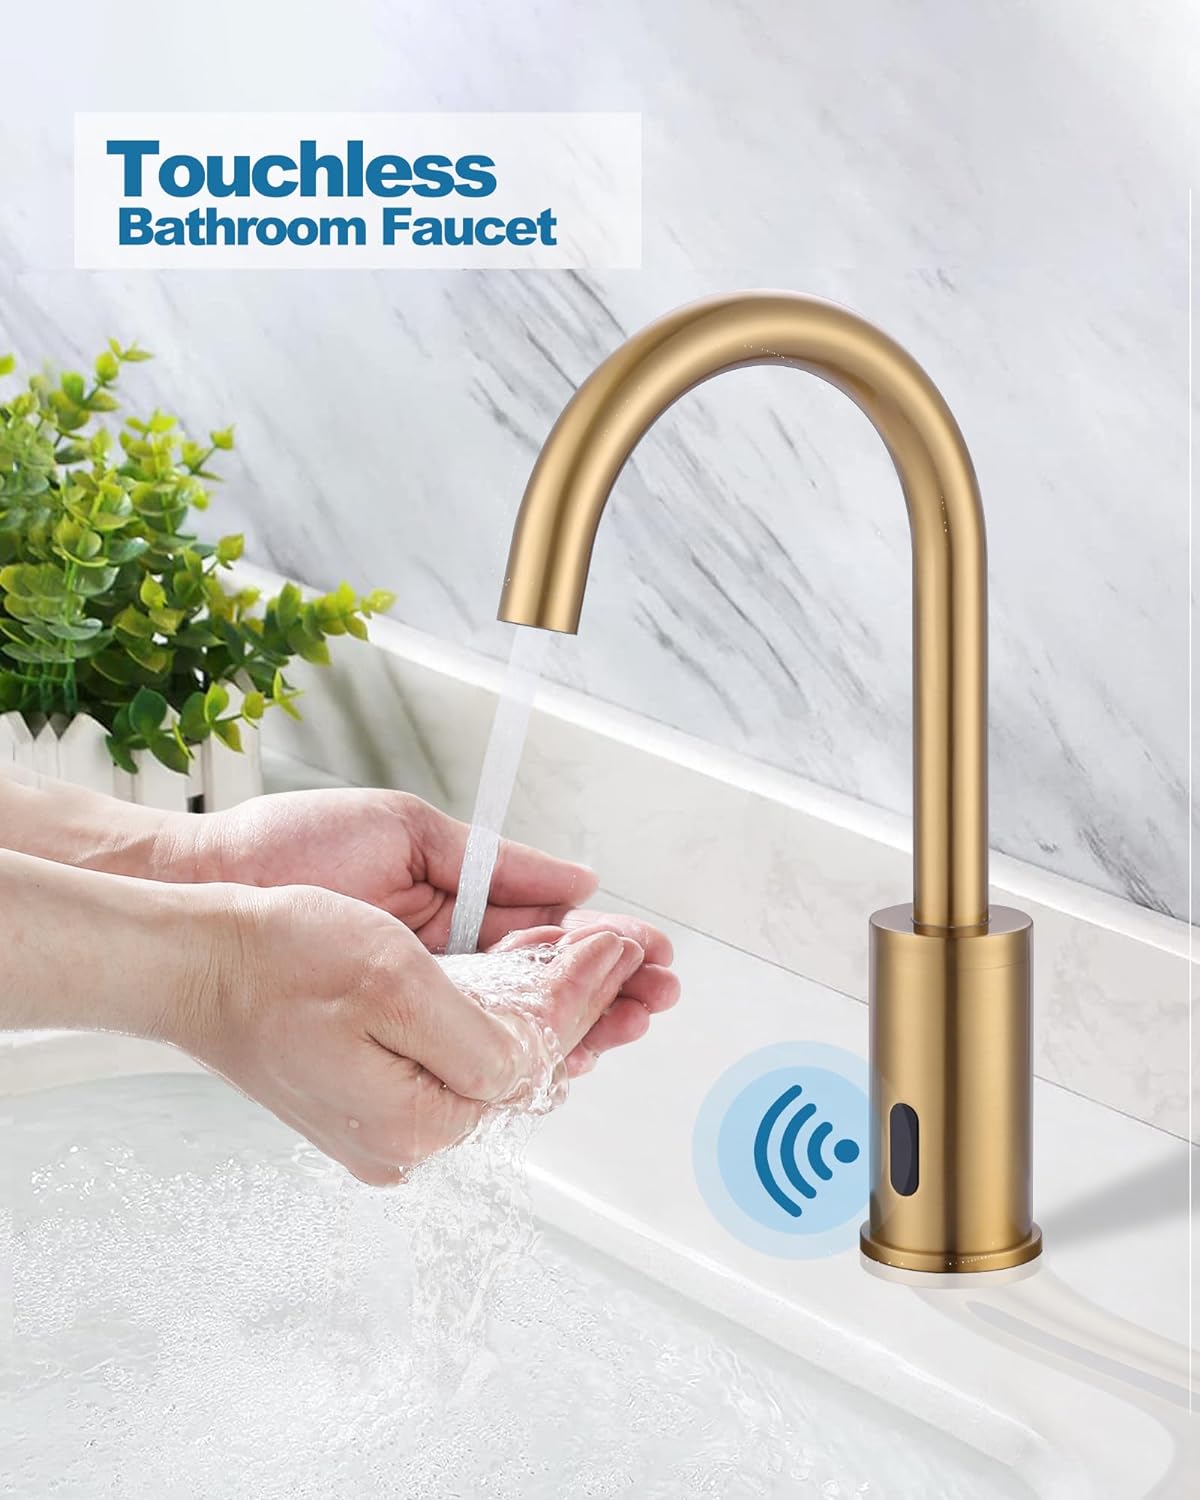
- Faucet sensors (in touchless models) malfunctioning
If your pressure is too high, it can lead to:
- Pipe and fixture damage
- Faucet leaks
- Premature wear and tear
Testing before installation ensures that your new faucet will function as expected, preventing frustrating issues after it’s mounted.
Tools You’ll Need
Testing water pressure is simple and requires only a few items:
- Water pressure gauge (inexpensive, found at hardware stores or online)
- Teflon tape (optional, for sealing)
- Accessible hose bib or laundry faucet (for testing)
- Pen and notepad (to record readings)
You can also use a faucet test adapter if you’re checking an indoor faucet connection instead of an outdoor spigot.
Step-by-Step: How to Test Water Pressure
Step 1: Find a Suitable Test Location
The easiest place to test water pressure is usually an outdoor hose spigot, ideally close to where the main water line enters your home. If that’s not available, you can also test using a laundry sink faucet or basement utility faucet.
💡 Tip: Avoid testing on fixtures with pressure regulators or filters, as these can give you inaccurate readings.
Step 2: Turn Off Running Water Inside
Before testing, make sure no other water is being used in the house. Running a dishwasher, flushing a toilet, or even using a washing machine can skew your pressure reading.
Step 3: Attach the Pressure Gauge
Screw the water pressure gauge directly onto the faucet or spigot. Hand-tighten it securely to prevent leaks. If you notice any dripping, use Teflon tape to seal the threads.
Step 4: Turn On the Faucet
Slowly open the faucet to full capacity and observe the gauge. The needle will rise and settle at a number—this is your static water pressure (no other fixtures running).
Step 5: Record the Pressure
Take note of the pressure reading:
- Below 40 PSI = low water pressure
- 40–60 PSI = ideal range
- Above 60 PSI = potentially high
- Above 80 PSI = too high; code violations in some areas
If your reading falls within the 40–60 PSI range, you’re good to proceed with installation.
Step 6: Test Dynamic Pressure (Optional)
If you’re curious about how pressure holds up during usage (especially important for homes with multiple fixtures in use), have someone turn on a faucet or shower inside the home while you monitor the gauge.
The pressure will drop slightly. A drop of more than 10–15 PSI during usage may indicate plumbing restrictions or the need for a pressure booster.
What If the Pressure Is Too Low?
If you discover that your water pressure is too low, consider these potential causes:
- Clogged pipes or partially closed shutoff valves
- Old pressure-reducing valve (PRV) malfunctioning
- Sediment buildup in older pipes
- Municipal supply issues
Solutions:
- Contact a plumber to inspect the PRV or main shutoff valve.
- Install a booster pump for consistent water flow.
- Consider repiping if your home has outdated galvanized pipes.
What If the Pressure Is Too High?
High water pressure may not seem like a problem at first—strong showers and quick-fill sinks sound great. However, excessive pressure strains your plumbing system and shortens the lifespan of appliances and faucets.
Solutions:
- Install or replace the pressure-reducing valve (PRV) at the main water line.
- Add faucet-specific flow restrictors or aerators to minimize impact.
- Have a plumber inspect for any issues in the municipal feed or building system.
Pro Tips Before Installing Your Faucet
- Check pressure at the install point (e.g., under-sink valve) if you suspect localized issues.
- Clean or replace old supply lines to ensure a fresh connection.
- Make sure angle stops (shutoff valves) are fully open and in good condition.
- For touchless faucets, confirm your pressure supports the electronic sensor functionality.
Final Thoughts
Testing your water pressure before installing a new faucet is a small but crucial step that can save you time, money, and frustration. With just a simple gauge and a few minutes, you’ll gain insight into your home’s plumbing health—and ensure your faucet performs at its best.
Whether you’re a seasoned DIYer or a first-time home improver, this check is worth your while. And if anything seems out of the ordinary, don’t hesitate to consult a professional plumber. A little preparation today can prevent a plumbing headache tomorrow.
Have more plumbing projects coming up? Stay tuned for guides on choosing the right faucet, fixing leaks, and upgrading your kitchen or bath like a pro!
 WOWOW Faucets