A smooth and functional faucet is essential in any home, ensuring a steady supply of clean water for various tasks. However, over time, faucet components can wear out, leading to issues like leaks, reduced water flow, and erratic temperature control. One crucial component that often needs attention is the faucet cartridge. In this post, we’ll tell you how to tell if a faucet cartridge is bad and guide you through the steps to diagnose and replace it, ensuring your faucet functions like new.
What Is a Faucet Cartridge?
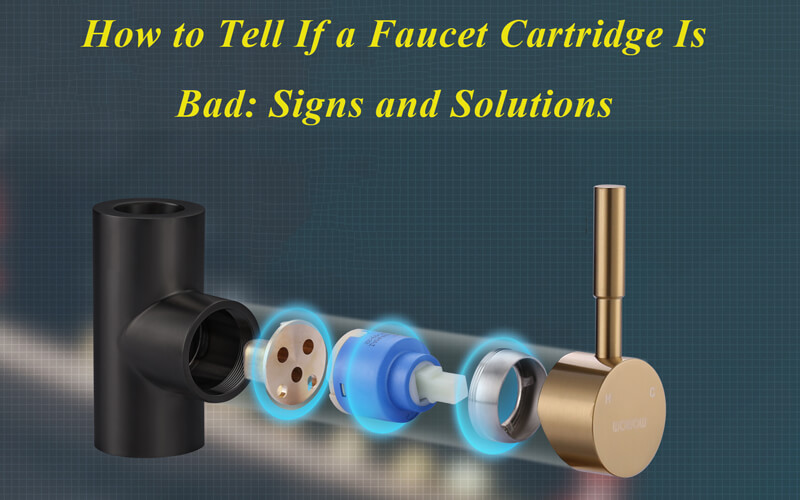
Before diving into the signs of a bad faucet cartridge, let’s understand what it is. A faucet cartridge is a critical component found in most modern faucets. It serves as the control valve for regulating the flow of both hot and cold water. Cartridges come in various types, including single-handle and double-handle cartridges, and they can be made from different materials like ceramic, brass, or plastic. The type of cartridge you have depends on the faucet model.
Can A Bad Faucet Cartridge Cause Low Water Pressure
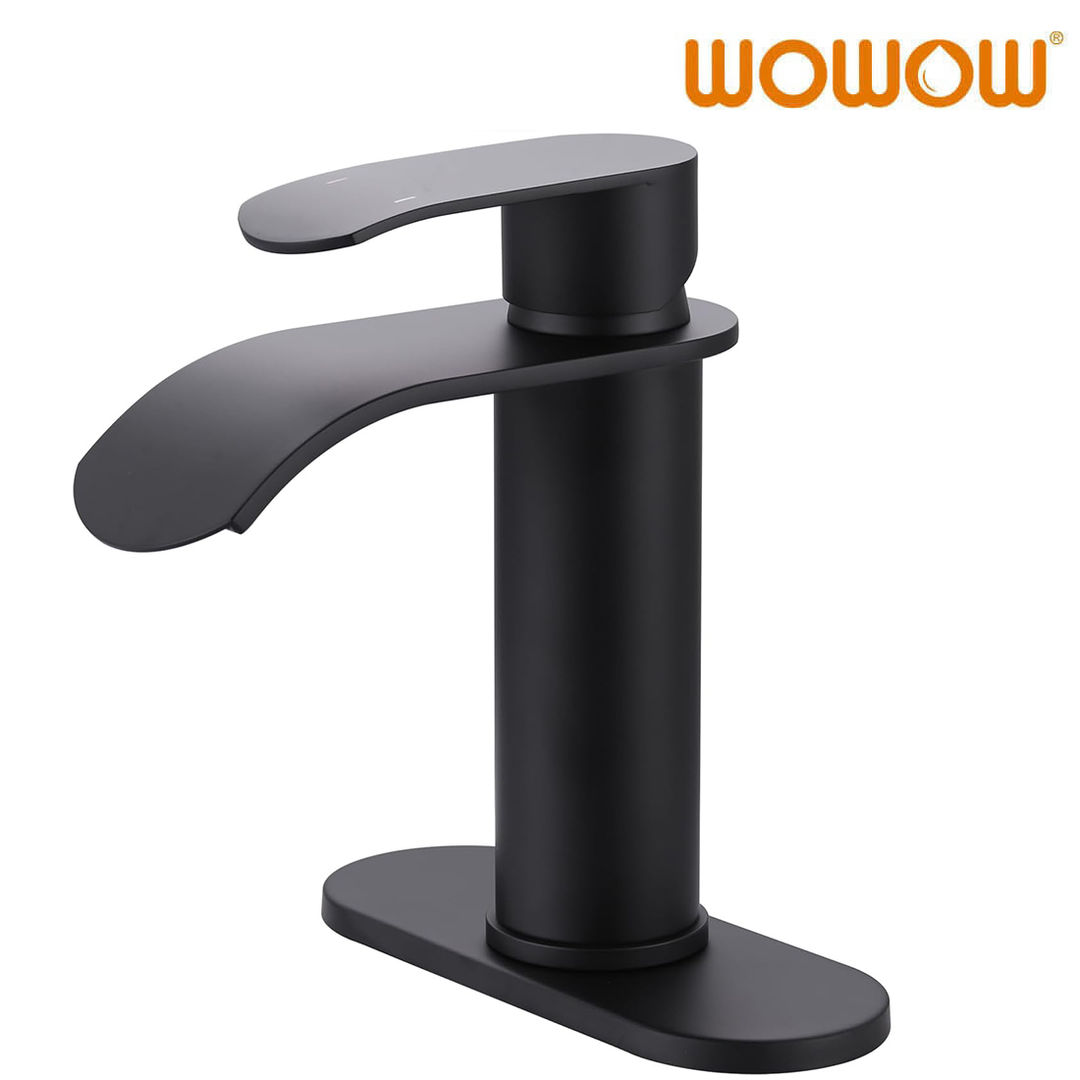
Yes! A bad faucet cartridge can indeed cause low water pressure in your faucet. The cartridge plays a crucial role in regulating the flow of water through your faucet. If the cartridge becomes worn, damaged, or clogged, it can restrict the flow of water, leading to reduced water pressure.
Here’s how a bad faucet cartridge can contribute to low water pressure:
- Clogged Cartridge: Sediment, mineral deposits, or debris can accumulate within the cartridge over time. This accumulation can partially block the openings within the cartridge, hindering the free flow of water. As a result, water pressure is reduced, and you may experience a weaker stream from the faucet.
- Worn-out Seals: The cartridge typically contains rubber or silicone seals that prevent water from leaking when the faucet is in the off position. If these seals deteriorate or develop cracks, water can escape, even when the faucet is supposed to be closed. This not only leads to leaks but also contributes to low water pressure because some of the water is diverted away from the spout.
- Cartridge Damage: If the cartridge itself is damaged, such as having a cracked housing or worn-out internal components, it may not allow water to flow freely as it should. This can result in decreased water pressure.
In such cases, cleaning the cartridge or replacing it with a new one can often resolve the low water pressure issue. Regular maintenance of your faucet, including checking and cleaning the cartridge, can help ensure consistent water pressure and prevent potential problems down the line.
How to Tell If a Faucet Cartridge Is Bad
Now that you’ve identified the signs of a bad faucet cartridge, let’s discuss how to diagnose and replace it:
Step 1: Gather Tools and Materials:
- Adjustable wrench or pliers
- Screwdriver
- Replacement cartridge (ensure it matches your faucet model)
Step 2: Turn Off the Water Supply:
Before you begin any work, shut off the water supply to the faucet. Usually, you’ll find shutoff valves under the sink. Turn them clockwise to close the water supply.
Step 3: Remove the Faucet Handle:
- For a single-handle faucet, you may need to remove a decorative cap or cover to access the handle screw. Remove the screw and gently lift off the handle.
- For a double-handle faucet, locate the set screw on the handle, typically concealed under a decorative cap. Remove the screw and take off the handle.
Step 4: Access the Cartridge:
- Depending on your faucet model, you may need to remove a retaining nut or clip to access the cartridge.
- Carefully remove any additional parts to expose the cartridge.
Step 5: Remove the Cartridge:
- Use an adjustable wrench or pliers to grip the cartridge stem.
- Turn the cartridge counterclockwise to unscrew it from the faucet body.
- If the cartridge is stuck, use a cartridge puller tool for extra leverage.
Step 6: Inspect and Replace:
- Examine the old cartridge for visible damage, wear, or debris.
- If the cartridge is in poor condition, replace it with a new one.
- Apply lubricant to the new cartridge’s o-rings to ensure a smooth installation.
Step 7: Reassemble:
- Carefully insert the new cartridge into the faucet body and turn it clockwise to secure it in place.
- Reattach any removed parts, such as retaining nuts or clips.
- Reinstall the faucet handle(s) and secure them with the appropriate screws.
Step 8: Turn On the Water Supply:
- Slowly turn on the water supply and check for leaks.
- Test the faucet for proper operation, including temperature control and water pressure.
Conclusion
A bad faucet cartridge can lead to various issues, including leaks, erratic temperature control, low water pressure, and more. By recognizing the signs of a faulty cartridge and following the steps to diagnose and replace it, you can ensure your faucet operates smoothly and efficiently. Regular maintenance and prompt cartridge replacement will not only save you from the hassle of a malfunctioning faucet but also extend the lifespan of your plumbing fixtures.
 WOWOW Faucets