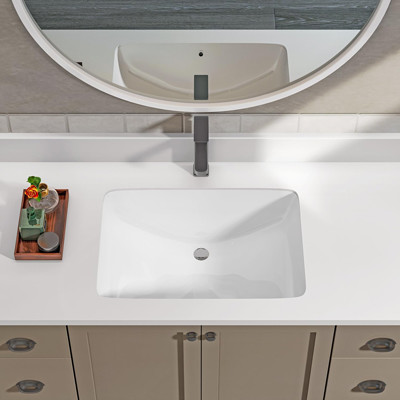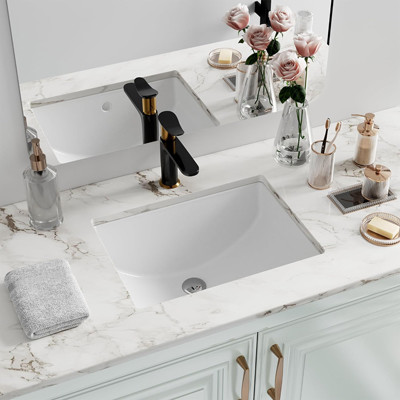
Upgrading your bathroom with a sleek and modern undermount sink can add both style and functionality to your space. While traditional installation methods often involve clips to secure the sink in place, there is an alternative approach that offers a seamless and clean look at how to install undermount bathroom sink to granite without clips. In this guide, we’ll walk you through the steps to achieve a professional and clip-free installation.
Materials Needed:
- Undermount bathroom sink
- Clear silicone adhesive
- Painter’s tape
- Denatured alcohol
- Disposable gloves
- Putty knife
- 2×4 or similar support
- Heavy objects (books, bricks, etc.)
- Damp cloth
How To Install Undermount Bathroom Sink To Granite

Step 1: Choose the Right Sink and Position
Before starting the installation, ensure that you have the correct undermount sink for your bathroom and that it complements the granite countertop. Once you have the sink, position it upside down on the countertop to mark the placement. Use painter’s tape to outline the sink’s perimeter, providing a clear guide for the installation.
Step 2: Clean and Prepare the Surfaces
Proper preparation is crucial for a successful installation. Clean both the underside of the sink and the granite countertop with denatured alcohol to remove any dirt, grease, or residues that may hinder the bonding process. Wearing disposable gloves during this step is recommended to prevent any transfer of oils from your skin to the surfaces.
Step 3: Apply Silicone Adhesive
Clear silicone adhesive is the key to securing the undermount sink to the granite without the need for clips. Apply a generous and continuous bead of silicone around the entire perimeter of the sink. Make sure the bead is uniform and about 1/4 to 1/2 inch away from the edge to allow for the adhesive to spread evenly.
Step 4: Position the Sink
Carefully flip the sink over and align it with the taped outline on the granite countertop. Take your time to ensure accurate placement, as the adhesive will bond quickly. Once positioned, press the sink firmly onto the countertop, allowing the silicone adhesive to spread and create a strong bond.
Step 5: Support the Sink
To ensure a secure and even bond, support the sink from below during the curing process. Place a 2×4 or a similar support structure underneath the sink, spanning its width. This support will help distribute the weight evenly and prevent any sagging or uneven settling. Adjust the support as needed to provide optimal balance.
Step 6: Add Weight for Compression
To enhance the bonding process, add weight on top of the sink. Heavy objects such as books or bricks can be strategically placed on the sink, concentrating on the outer edges. This will create a compression effect, helping the silicone adhesive adhere firmly to both the sink and the granite countertop.
Step 7: Allow Adequate Curing Time
Curing time is crucial for a durable and long-lasting installation. Check the silicone adhesive manufacturer’s instructions for the recommended curing time, which typically ranges from 24 to 48 hours. Avoid using the sink during this period to allow the adhesive to fully set and create a strong bond.
Step 8: Remove Excess Silicone
Once the silicone has cured, carefully remove any excess adhesive using a putty knife. Be gentle to avoid scratching the sink or countertop. Wipe away any remaining residue with a damp cloth to achieve a clean and polished look.
Tips and Tricks for a Flawless Undermount Sink Installation on Granite Without Clips:

- Choose the Right Silicone Adhesive: Not all silicone adhesives are created equal. Opt for a high-quality, clear silicone adhesive designed for bathroom and kitchen applications. Ensure that the adhesive is waterproof and resistant to mold and mildew, providing longevity to your installation.
- Test Fit Before Applying Adhesive: Before applying the silicone adhesive, perform a dry fit by placing the sink upside down on the countertop and checking the alignment. This step helps you catch any potential issues and ensures a smooth installation process.
- Precision in Tape Placement: When using painter’s tape to outline the sink’s position, be precise in your measurements. A well-placed tape guide not only aids in aligning the sink but also makes the cleanup process more manageable.
- Controlled Bead Application: Apply the silicone adhesive in a controlled manner, ensuring a continuous and uniform bead. A caulking gun can help you regulate the flow of the adhesive, preventing excess application and creating a neat finish.
- Smooth Silicone Joints: After applying the silicone adhesive, use a moistened finger or a tool to smooth the joints. This not only enhances the appearance but also ensures that there are no gaps where water or debris could accumulate.
Conclusion:
Installing an undermount bathroom sink to granite without clips is a straightforward process that can elevate the aesthetics of your bathroom. By following these steps, you can achieve a seamless and secure installation that not only enhances the visual appeal of your space but also ensures a durable and long-lasting fixture. Enjoy your newly upgraded bathroom with its stylish and clip-free undermount sink!
 WOWOW Faucets


