 WOWOW Faucets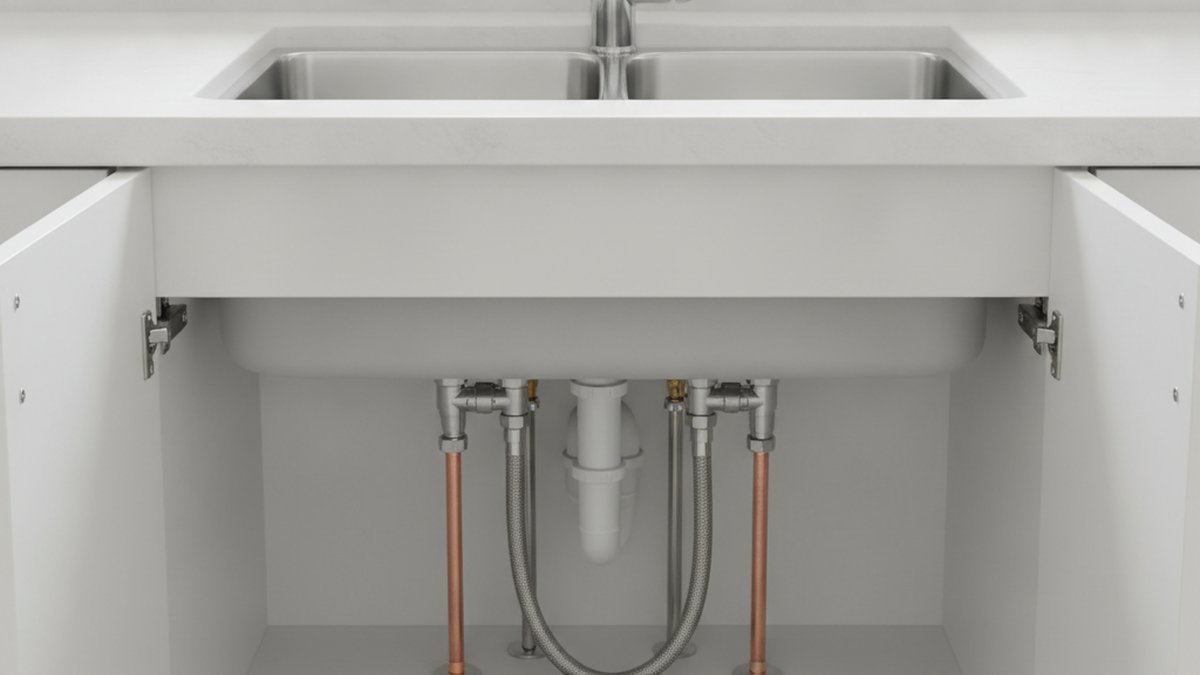
Learning how to install a kitchen mixer tap UK homes are plumbed for is genuinely a beginner-friendly job — the UK standard of two separate 15mm supplies feeding a single monobloc tap makes it more predictable than you’d expect. If you can turn a spanner and follow the water, you can do this. Below is the exact order of operations, the tools you actually need, the British quirks (isolation valves, low-pressure gravity systems, that awful backnut in a cramped cabinet), and how to know when you should stop and ring a plumber instead.
What tools and parts do you need to fit a kitchen mixer tap in the UK?
You need a basin (tap) wrench, an adjustable spanner, PTFE tape, a bucket and cloth, and — ideally — two 15mm isolation valves if your pipes don’t already have them. That’s the core kit. Everything else is a nice-to-have.
Here’s the honest shopping list before you start, because nothing kills momentum like discovering mid-job that you’re missing a fitting:
- Basin wrench (crowsfoot wrench): the single most useful tool here — it reaches the backnut and supply nuts hidden up behind the sink where a normal spanner won’t fit.
- Adjustable spanner or 8/10mm spanners: for the isolation valves and supply-tail connections.
- PTFE tape (plumber’s tape): for threaded connections; wrap 4–6 turns clockwise.
- Two isolation valves (15mm): let you shut off just this tap in future without draining the house.
- Flexible tap connectors / tails: most modern UK mixer taps come with these pre-fitted, usually 300mm long with a 1/2″ BSP or M10 connection.
- Bucket, old towels, and a head torch: the cabinet under the sink is dark, wet, and cramped — plan for it.
Check what thread your tails have. Most UK monobloc mixers use flexible braided tails ending in a 15mm push-fit or a 1/2″ BSP female nut that screws straight onto an isolation valve. If your supply pipes are the older 15mm copper with compression fittings, an isolation valve bridges the two neatly.
How do you remove the old kitchen tap first?
Turn off the water, disconnect both supply tails, undo the backnut holding the tap down, and lift the old tap out from the top. The removal is usually harder than the install because old backnuts corrode and seize.
Step by step:
- Shut off the water. If you have isolation valves under the sink, turn the slotted screw a quarter-turn so the slot sits across the pipe (that’s closed). No isolation valves? Turn off your main stopcock (usually under the sink or where the mains enters the house).
- Open the old tap to release pressure and drain residual water into your bucket.
- Disconnect the supply tails from the isolation valves or supply pipes with your spanner. Have the bucket ready — there’s always a cupful of trapped water.
- Undo the backnut. This is the fixing nut under the sink that clamps the tap to the worktop. Use the basin wrench. If it’s seized with limescale, a squirt of penetrating oil and ten minutes’ patience beats brute force.
- Lift the old tap out from above and wipe the sink deck clean of old sealant and grime so the new tap seats flat.
If the old tap has been in for 15+ years, budget extra time — corroded backnuts are the number-one reason a “quick swap” turns into an afternoon. A junior hacksaw to cut through a truly seized backnut is a legitimate last resort.
How do you actually fit and connect the new mixer tap?
Feed the tap’s tails and threaded stud down through the sink hole, secure it from underneath with the washer and backnut, then screw the flexible tails onto the cold (blue) and hot (red) isolation valves. That’s the whole install in one sentence — the rest is doing it carefully.
The full sequence:
- Fit the base seal. Most quality mixer taps include a rubber or foam gasket for the base. Sit it on the tap so no water can track under the tap into the cupboard. If yours didn’t include one, a thin bead of clear silicone under the base works.
- Thread the tails through. Gently feed the two flexible tails (and the central fixing stud) through the single tap hole. Don’t kink the braided tails — a sharp bend weakens them.
- Secure from below. Slip on the horseshoe/top-hat washer and metal plate, then thread on the backnut and tighten by hand, then a final firm turn with the basin wrench. The tap should not twist when you wiggle the spout.
- Connect the water. Screw the blue-marked tail to the cold supply and the red-marked tail to the hot. Braided tails usually have a rubber sealing washer inside the nut, so you often don’t need PTFE on those — but you do need PTFE on the isolation valve’s male thread if it’s a straight thread. Hand-tighten, then a quarter to half-turn with the spanner. Over-tightening cracks the fitting.
- Restore the water slowly. Open the isolation valves gradually and watch every joint.
One UK-specific point: on a single-lever monobloc mixer, both supplies feed one cartridge that blends the water. Getting hot and cold reversed is a common, harmless-but-annoying mistake — the lever just works backwards. Double-check before you tighten everything. If you want the deeper background on tap types, hole configurations and what suits your kitchen, our guide on how to choose a kitchen faucet by fit, features and installation is worth a read before you buy.
Single-hole vs multi-hole: which mixer tap suits your sink?
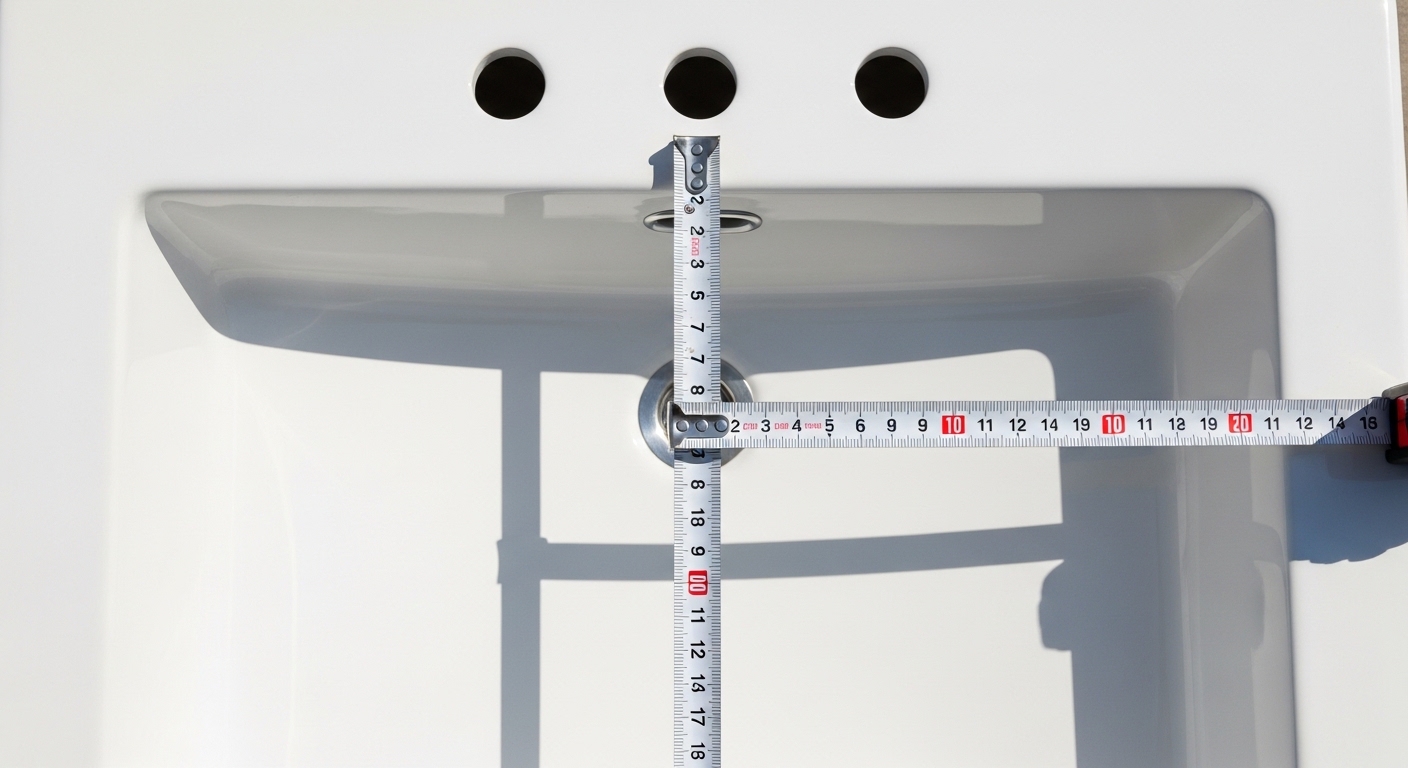
For a UK monobloc mixer you need a single tap hole; if your sink has two or more holes from an old-style pillar tap setup, you’ll need a base plate to cover the extra holes or a multi-hole tap. Here’s how the common setups compare:
| Setup | Holes needed | Best for | Install difficulty |
|---|---|---|---|
| Single-lever monobloc mixer | 1 | Most modern UK kitchens | Easy (45–60 min) |
| Twin-lever monobloc mixer | 1 | Traditional look, one hole | Easy–moderate |
| 3-hole / bridge mixer | 3 | Belfast/farmhouse styling | Moderate |
| 4-hole (with pull-out spray/soap) | 4 | Feature-rich big kitchens | Moderate–hard |
| Pull-out / pull-down spray | 1 | Deep sinks, rinsing pans | Moderate (extra hose/weight) |
If you’re moving from a two-hole arrangement to a single monobloc, measure before you buy. And if you’re weighing up a bigger multi-hole feature tap, our complete 4-hole kitchen faucets buying guide walks through the spacing and accessory holes so you don’t get caught out.
Do you need isolation valves and will low pressure be a problem?
Isolation valves aren’t legally required but they’re strongly recommended — they let you service the tap later without draining the whole system. Low water pressure only matters if you have a gravity-fed (tank-in-the-loft) system, in which case you must buy a tap rated for low pressure (0.1–0.5 bar).
This is the part UK installers get wrong most often, so let’s be specific:
- Combi boiler / mains-pressure system: you have high, balanced pressure (typically 1–3 bar) on both hot and cold. Almost any mixer tap works. This covers most modern UK homes.
- Gravity-fed / vented system (cold from mains, hot from a loft tank): your hot pressure is low and unbalanced. You need a tap specified as suitable for low pressure — check the box for a minimum bar rating of 0.1–0.2 bar. Fitting a high-pressure-only tap here gives you a feeble hot trickle.
- Unbalanced supplies: a single-lever mixer with a ceramic cartridge handles minor imbalance well, but big imbalances can push cold into the hot line. A check valve or pressure-balanced tap solves it.
Fit isolation valves on both the hot and cold before the flexible tails. It’s a five-minute job during the install and saves you from turning off the whole house next time a cartridge wears out. Speaking of which — if you ever notice the flow weakening after a year or two, it’s usually limescale, not the plumbing; our piece on what to do when your kitchen faucet has low water flow covers the quick fixes before you assume the worst.
How do you test the tap and stop leaks after installing?
Open the isolation valves slowly, run both hot and cold for a full minute, then dry every joint with kitchen roll and watch for fresh moisture — a dry joint after five minutes of running water means you’re done. A weeping joint almost always means an under-tightened nut or a missing/twisted washer, not a cracked pipe.
Your leak-check routine:
- Turn water on gradually. A sudden surge can pop a loose fitting.
- Run cold, then hot, checking that the lever direction and temperature are correct (swap the tails if hot/cold are reversed).
- Feel every connection — isolation valve joints, the tail-to-valve nuts, and the tap base — with a dry finger or tissue.
- If a nut weeps, nip it up another quarter-turn. Still weeping? Undo it, check the rubber washer is seated flat and undamaged, add PTFE if it’s a threaded (not washered) joint, and reassemble.
- Check the base seal from above by pouring a little water around the tap and looking underneath for drips into the cupboard.
Give it 24 hours and check once more. Braided tails and ceramic-disc cartridges are extremely reliable, but the first day is when any assembly error shows itself.
When should you stop and call a plumber?
Call a plumber if you can’t locate a working stopcock, if the supply pipes are lead, if you have to alter pipework (not just connect to existing tails), or if you’re on a gravity system and unsure about pressure ratings. DIY is fine for a straight like-for-like swap; it’s not the moment to learn soldering.
Genuine red flags:
- Lead supply pipes (dull grey, soft, no visible seam) — these should be replaced by a professional for health and legal reasons.
- No isolation valve and a seized stopcock — if you can’t reliably turn the water off, don’t start.
- Corroded pipework that crumbles when you touch the fittings — you’ll need new sections.
- You’d need to move or extend pipes to reach the new tap — that’s soldering or push-fit pipework beyond a simple swap.
None of these mean you’ve failed — they mean the job grew beyond a tap swap, which is exactly when a pro is worth the call-out fee.
FAQ
Can I install a kitchen mixer tap myself in the UK, or is it illegal?
Yes, you can legally install your own kitchen mixer tap in the UK — swapping a tap on existing supplies is not notifiable work under Building Regulations and doesn’t require a registered plumber. You do need to comply with Water Regulations (for example, using check valves where required to prevent backflow), but a straightforward tap swap is well within DIY territory.
How long does it take to fit a kitchen mixer tap?
A confident DIYer replacing an existing tap on isolation valves typically takes 45–90 minutes. First-timers or anyone battling a seized backnut should allow up to two hours. Fitting a brand-new tap where none existed, or adding isolation valves from scratch, adds another 30–45 minutes.
Which flexible tail connects to hot and which to cold?
The tail marked red connects to the hot supply and the tail marked blue connects to the cold supply. On most single-lever mixers the tails are colour-coded or one is longer; if you connect them the wrong way round, the tap still works but the lever operates backwards — simply swap them at the isolation valves to fix it.
Do I need PTFE tape on braided flexible tap connectors?
Not on the tail’s own nut — braided flexi tails have a built-in rubber sealing washer, so PTFE there can actually prevent a good seal. You do use PTFE tape (4–6 clockwise wraps) on any straight male threads, such as where an isolation valve or a threaded adaptor screws into a fitting without a washer.
What size are UK kitchen tap connections?
UK kitchen supply pipes are 15mm copper, and mixer tap tails almost always terminate in a 1/2″ BSP or 15mm connection that mates to a standard 15mm isolation valve. Always check your specific tap’s spec sheet, but 15mm/½” is the near-universal standard, which is why most flexi tails and isolation valves are interchangeable.
Why is my new mixer tap dripping from the base after installation?
A drip at the base almost always means the base gasket or O-ring wasn’t seated correctly, or the backnut wasn’t tightened enough to compress the seal. Turn off the water, lift the tap slightly, check the rubber base seal is flat and undamaged (or add a thin bead of clear silicone), then re-tighten the backnut firmly from below.
A note on expertise, testing and warranty
Author note: This guide was written by the wowowfaucet product and installation team, drawing on hands-on fitting of monobloc and multi-hole mixer taps across UK combi and gravity-fed systems. We’ve swapped enough seized backnuts to know where the real snags hide.
Brand credibility: wowowfaucet designs and manufactures kitchen and bathroom faucets sold internationally, with a focus on ceramic-disc cartridges and lead-free, corrosion-resistant construction. Our kitchen mixer taps are pressure-tested and finish-tested before shipping, meet relevant international flow and safety standards, and are backed by a manufacturer’s warranty — so a correctly installed tap is covered if a component ever fails. For any UK installation, we also recommend confirming your tap’s pressure rating matches your system (mains vs gravity) before you buy, and keeping your proof of purchase for warranty claims.