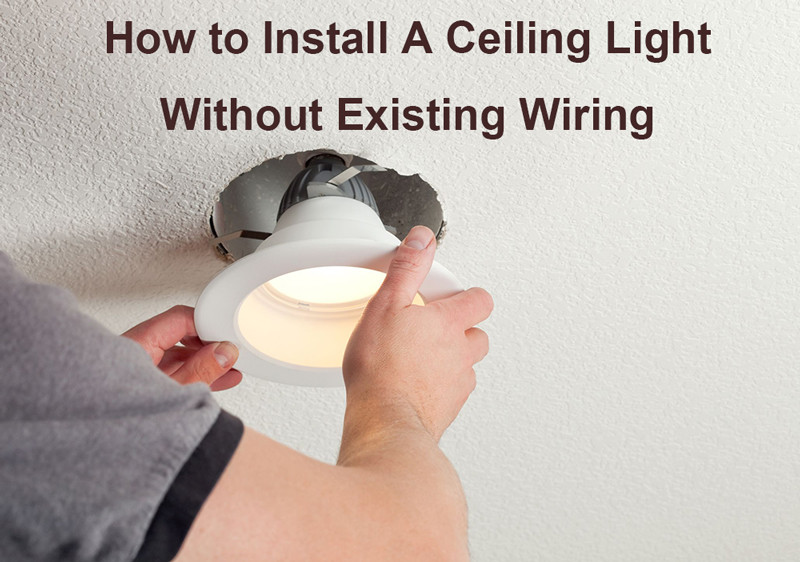
Adding a ceiling light to a room without existing wiring can seem like a daunting task, but with the right approach and tools, it’s a feasible DIY project that can enhance both thrwe aesthetics and functionality of your space. This guide will walk you through the steps to install a ceiling light without existing wiring, offering a comprehensive solution to brightening up any room in your home.
How to Install A Ceiling Light Without Existing Wiring
Step 1: Assess the Room and Plan Your Installation Before you begin, carefully assess the room where you intend to install the ceiling light. Determine the best location for the fixture, considering factors such as the room’s layout and the desired illumination. Additionally, identify the nearest power source, which could be an existing outlet or junction box.
Once you’ve chosen the location, create a detailed plan for the installation. Measure the distance from the power source to the chosen spot for the light fixture. This will help you determine the length of wire needed and plan the routing of the wiring.
Step 2: Gather Your Materials and Tools To install a ceiling light without existing wiring, you’ll need the following materials and tools:
- Ceiling light fixture
- Electrical wire
- Wire nuts
- Electrical tape
- Junction box (if required)
- Ceiling medallion (optional)
- Wire strippers
- Screwdriver
- Drill and drill bits
- Fish tape or wire snake (optional)
Ensure that you have all the necessary materials and tools before starting the installation process.
Step 3: Install the Junction Box (if Required) If your chosen location for the ceiling light does not have an existing junction box, you’ll need to install one. Use a stud finder to locate a ceiling joist where you can securely mount the junction box. Once you’ve identified a suitable location, use a drill to create pilot holes for the mounting screws. Then, attach the junction box to the ceiling joist using the provided screws.
Step 4: Run the Electrical Wire With the junction box in place, it’s time to run the electrical wire from the nearest power source to the location of the ceiling light fixture. If possible, run the wire through the ceiling cavity to conceal it from view. Use fish tape or a wire snake to guide the wire through the ceiling, following the planned route.
Once the wire is in position, secure it in place using cable staples to prevent it from sagging or coming into contact with any sharp objects. Leave enough slack at both ends of the wire to make connections later.
Step 5: Make Electrical Connections At the location of the ceiling light fixture, carefully strip the insulation from the ends of the electrical wire using wire strippers. Then, connect the wires from the fixture to the corresponding wires from the electrical wire using wire nuts. Typically, you’ll connect the black (hot) wire from the fixture to the black wire in the electrical wire, the white (neutral) wire from the fixture to the white wire, and the green or bare wire (ground) from the fixture to the bare or green wire.
Once the connections are made, secure them with electrical tape to ensure they remain insulated. Double-check that all connections are tight and secure before proceeding.
Step 6: Mount the Ceiling Light Fixture With the electrical connections complete, it’s time to mount the ceiling light fixture to the junction box. Follow the manufacturer’s instructions for attaching the fixture to the ceiling, using the provided mounting hardware.
If desired, you can enhance the aesthetic appeal of the fixture by installing a ceiling medallion around the base. This decorative element can add a touch of elegance to the finished installation.
Step 7: Test the Light Fixture Before finishing the installation, it’s essential to test the ceiling light fixture to ensure it’s functioning correctly. Restore power to the circuit and flip the switch to illuminate the fixture. Verify that the light turns on and off as expected and that there are no issues with the electrical connections.
If everything is working correctly, you can proceed with any finishing touches, such as securing the fixture’s canopy or adjusting the position of the light.
Conclusion
Installing a ceiling light without existing wiring is a rewarding DIY project that can transform the ambiance of any room in your home. By following these steps and exercising caution when working with electricity, you can successfully add a stylish and functional lighting fixture to your space. Enjoy the enhanced illumination and the sense of accomplishment that comes with completing this project on your own.
 WOWOW Faucets


您好!Please sign in