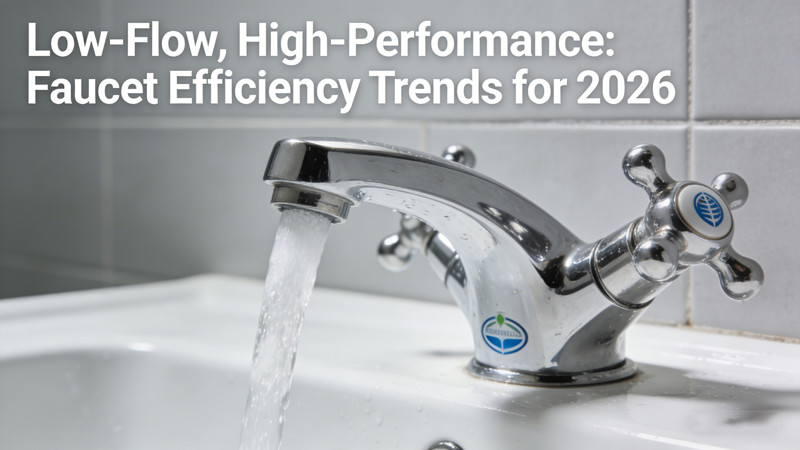
Bathrooms and kitchens are some of the most functional areas of a home, but they don’t always come with the versatility we want. Maybe you’ve moved into a space without a dedicated shower, or perhaps you want to convert a standard sink faucet into something more practical for rinsing hair, washing pets, or cleaning hard-to-reach corners. That’s where a shower attachment comes in.
Adding a shower attachment to a faucet is an affordable and practical upgrade that can instantly enhance usability. Whether you live in a rental and don’t want to make permanent modifications, or you simply want a flexible water source for convenience, this DIY project is accessible to most homeowners and renters. Below, we’ll walk through everything you need to know: the benefits, the tools required, the installation steps, and a few maintenance tips.
Why Add a Shower Attachment to a Faucet?
- Versatility: A faucet with a shower attachment can be used to wash hair, bathe small children, or even clean pets without struggling.
- Convenience in Small Spaces: In apartments, dorms, or older homes without showers, this provides an easy way to get shower-like functionality without major renovations.
- Cost-Effective Solution: Instead of replacing plumbing or hiring a contractor, an attachment can be installed for under $50 in most cases.
- Non-Permanent: Perfect for renters, since it can be removed and reattached without damaging existing fixtures.
- Eco-Friendly Benefits: Many attachments come with flow control or aerators, helping you conserve water.
Types of Shower Attachments for Faucets
Before you start shopping, it’s important to know which type of attachment will work best for your faucet. Here are the most common styles:
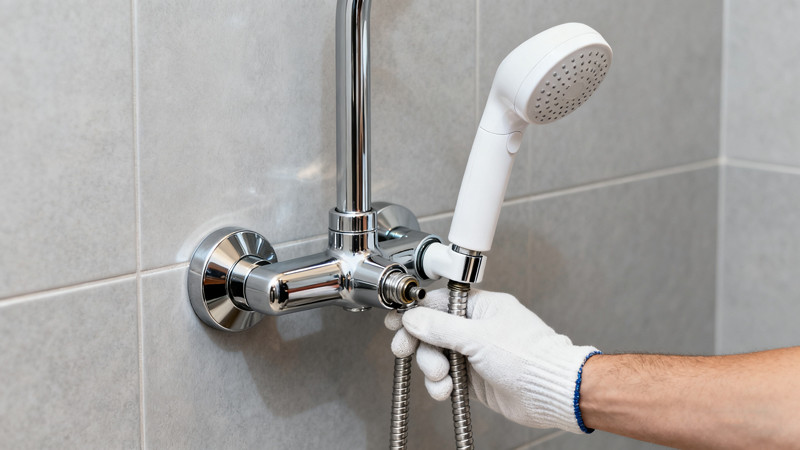
- Hose-and-Spray Attachments: These come with a flexible hose and handheld spray head that screws onto your faucet. Great for multi-purpose use.
- Detachable Shower Diverters: These allow you to switch between using the faucet normally and activating the shower spray.
- Universal Faucet Adapters: Some come with rubber fittings that tighten around your faucet head, making them compatible with a wide range of shapes.
- Specialty Attachments: Designed for pet grooming or baby baths, often with gentler spray modes.
What You’ll Need
- Shower attachment kit (includes hose and spray head)
- Faucet adapter (if required by your faucet type)
- Adjustable wrench or pliers
- Teflon tape (plumber’s tape)
- Small towel or cloth (to protect faucet finish while tightening)
Step-by-Step Guide to Installing a Shower Attachment
Step 1: Choose the Right Attachment
Not every attachment fits every faucet. Check whether your faucet has internal or external threading. Many bathroom and kitchen faucets have aerators (the small screen at the end) that can be unscrewed. Once removed, you can measure the thread size or use a universal adapter if you’re unsure.
Step 2: Remove the Aerator
Using your hand, or pliers wrapped in a cloth to prevent scratching, unscrew the aerator from the end of your faucet. Keep this piece safe in case you want to return the faucet to its original condition later.
Step 3: Prepare the Threads
Check the faucet threads for dirt or buildup and clean them with a cloth. Wrap a small amount of Teflon tape around the threads to ensure a watertight connection and prevent leaks.
Step 4: Attach the Adapter (If Needed)
If your faucet doesn’t directly match the attachment, screw on the provided adapter. Hand-tighten first, then secure with pliers, but don’t over-tighten—you don’t want to crack the fitting.
Step 5: Connect the Hose
Take the hose end of your shower attachment and screw it into the faucet or adapter. Again, hand-tighten, then finish with a gentle turn using pliers for a secure fit.
Step 6: Test the Connection
Turn on the faucet slowly to check for leaks. If water sprays out at the connection, turn off the faucet, dry the area, and reapply Teflon tape before re-tightening.
Step 7: Mount or Store the Spray Head
Some attachments come with wall brackets or suction cup holders to mount the shower head. If not, you can hang it on a hook nearby or simply keep it coiled for easy access.
Tips for a Smooth Installation
- Check Water Pressure: Some older plumbing systems may not provide strong enough pressure for a satisfying spray. Choose a shower head with multiple settings to adjust as needed.
- Mind the Length: A longer hose (60–80 inches) offers more flexibility for washing pets or cleaning, while shorter hoses (40–50 inches) are great for compact spaces.
- Use Gentle Force: Over-tightening fittings can damage both the faucet and the attachment. Always start with hand-tightening before using tools.
- Consider a Diverter: If you want to keep using the faucet normally without unscrewing the attachment, a diverter valve allows you to switch between the faucet stream and the shower spray instantly.
Common Problems and Fixes
- Leak at the Connection: Usually caused by missing Teflon tape or loose tightening. Reapply tape and secure the fitting.
- Low Water Flow: Check if your faucet screen is clogged or if the shower head has a built-in flow restrictor that can be adjusted or removed.
- Poor Fit: If the attachment doesn’t fit your faucet, try a universal adapter or a different style of attachment.
Maintenance and Care
To keep your new shower attachment working smoothly:
- Clean the Spray Head: Mineral deposits can clog nozzles. Soak the shower head in vinegar every few months to remove buildup.
- Inspect the Hose: Look for cracks or leaks along the hose, especially if it’s made of plastic. Replace if needed.
- Detach When Not in Use: If you’re in a rental and don’t want wear on the faucet, detach the hose when not needed and reattach only as necessary.
Final Thoughts
Adding a shower attachment to any faucet is one of the simplest and most rewarding DIY upgrades you can do at home. With minimal tools and just a few minutes, you can transform an ordinary sink faucet into a versatile water source that makes life easier—whether you’re washing your hair in the sink, bathing a child, rinsing off a muddy dog, or just giving your bathroom more flexibility.
This small investment saves you from costly renovations and brings modern convenience to almost any faucet setup. With the right attachment and a proper installation, you’ll wonder how you ever managed without it.
 WOWOW Faucets