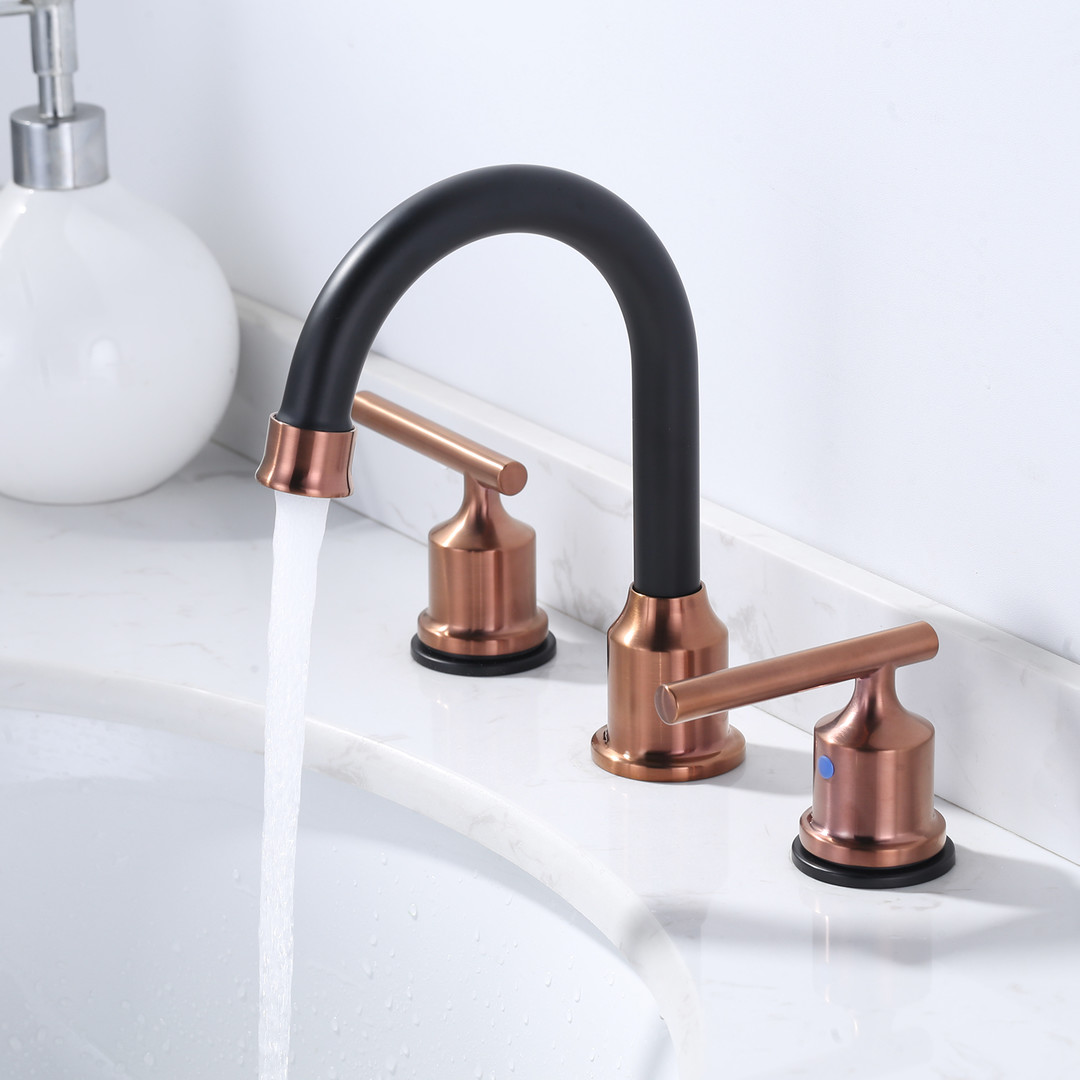
A slow or sputtering faucet can be a frustrating inconvenience in any home. If you’re experiencing reduced water flow, odd noises, or irregular water pressure from your tap, it might not be a plumbing catastrophe — the issue could simply be a clogged faucet line.
Over time, mineral buildup, debris, or sediment from the water supply can clog the lines leading to your faucet. The good news? You can often fix this yourself with a few tools and some patience. In this post, we’ll walk you through how to flush out a clogged faucet line safely and effectively.
Why Do Faucet Lines Get Clogged?
Before diving into the fix, it helps to understand the root cause. Common culprits of clogged faucet lines include:
- Hard Water Deposits: Mineral-rich water (especially with calcium and magnesium) can leave behind sediment.
- Debris in Water Supply: Construction, pipe corrosion, or municipal water system flushing can introduce particles into your lines.
- Old Pipes: Rust and corrosion can flake off and block the faucet’s internal components.
- Clogged Aerator: Sometimes, the issue is simply in the faucet tip where water exits.
Knowing what you’re dealing with helps you choose the right approach to clearing the blockage.
Tools and Materials You’ll Need
To flush a clogged faucet line, you’ll need a few basic tools:
- Adjustable wrench or pliers
- Bucket or container
- Old toothbrush or small scrub brush
- Towels or rags
- White vinegar (for dissolving mineral deposits)
- Safety gloves (optional)
Step-by-Step Instructions
Step 1: Turn Off the Water Supply
Before you begin any plumbing work, locate the water shutoff valves beneath the sink. There will typically be two: one for hot and one for cold. Turn both clockwise to shut them off.
If you don’t have shutoff valves under the sink, you may need to turn off the main water supply to your home.
Step 2: Open the Faucet to Drain Residual Water
Turn on the faucet to release any remaining water pressure. This step helps prevent messy spills when you disconnect the lines.
Step 3: Check and Clean the Aerator
Sometimes the problem is as simple as a clogged aerator — the small mesh screen at the faucet’s spout. Unscrew the aerator (you may need pliers) and inspect it for debris or mineral buildup.
- Soak the aerator in white vinegar for 15–30 minutes.
- Use an old toothbrush to scrub off any residue.
- Rinse and reattach.
After cleaning, turn the water back on briefly to test the flow. If the problem persists, move on to flushing the supply lines.
Step 4: Disconnect the Water Supply Lines
Using your adjustable wrench, loosen the nuts connecting the supply lines to the faucet under the sink. Place a bucket or container beneath to catch any remaining water.
Be gentle with the lines — overtightening or mishandling can damage older pipes or fittings.
Step 5: Flush the Faucet
With the supply lines disconnected, turn on the shutoff valves briefly to allow water to flush through the lines into the bucket. This step helps dislodge and remove any blockages within the line itself.
You can also blow air into the faucet inlet to help clear any clogs — a can of compressed air or a manual pump can assist with this.
Step 6: Inspect and Clean the Faucet Inlet
Look into the faucet’s inlets (where the supply lines attach). Mineral buildup can accumulate here as well. Use a brush or a toothpick to gently dislodge any visible debris.
For stubborn deposits, a vinegar soak can help:
- Soak a cloth in white vinegar and wrap it around the faucet base.
- Leave it for 15–30 minutes to help dissolve scale.
Step 7: Reconnect the Water Lines
Once the lines are flushed and cleaned, reconnect them securely to the faucet. Be careful not to overtighten — snug with a wrench is sufficient.
Step 8: Turn the Water Supply Back On
Slowly open both the hot and cold water shutoff valves. This helps prevent a sudden surge of pressure that could dislodge or damage internal components.
Check for any leaks around the connections. If you see drips, gently tighten the fittings just a bit more.
Step 9: Test the Faucet
Turn the faucet on and observe the flow. Is it steady and strong? Has the sputtering or low pressure been resolved?
If yes, great job — you’ve successfully flushed your clogged faucet line!
When to Call a Professional
If you’ve followed these steps and still notice:
- Extremely low or no water flow
- Persistent knocking or gurgling sounds
- Water leaking from under the sink
- Corroded or broken plumbing
…it’s time to call a licensed plumber. The issue may be deeper in your plumbing system, such as a blocked pipe or deteriorating supply line.
Preventing Future Clogs
Here are a few tips to help you avoid future clogs in your faucet lines:
- Install a water filter to capture debris before it enters your plumbing.
- Use a water softener if you have hard water.
- Clean your aerators every few months as part of regular maintenance.
- Flush your plumbing system occasionally, especially after municipal work or if you notice discolored water.
Final Thoughts
A clogged faucet line may seem like a major inconvenience, but with a little time and the right tools, it’s a manageable DIY fix. Regular maintenance and quick responses to pressure changes can keep your faucet flowing freely and your plumbing in good shape.
If you’re ever unsure or uncomfortable doing this yourself, don’t hesitate to reach out to a plumbing professional. Your home’s water system is essential — and worth taking care of.
 WOWOW Faucets


