If you’re installing or repairing a faucet, one essential tool in your plumbing kit should be plumber’s putty. This soft, pliable sealing compound has been a plumber’s best friend for generations—and for good reason. It’s easy to work with, provides a watertight seal, and is ideal for a range of non-pressurized applications like faucet bases, sink strainers, and other fixtures.
In this guide, we’ll walk you through what plumber’s putty is, when and where to use it on faucets, and exactly how to apply it correctly—even if you’ve never done it before.
What Is Plumber’s Putty?
Plumber’s putty is a moldable, clay-like substance that doesn’t harden completely, allowing it to remain flexible and maintain a watertight seal for years. It’s designed to prevent leaks around faucet bases, sink drains, and other fixtures that aren’t under pressure.
Unlike caulk or silicone, which dries hard and requires time to cure, plumber’s putty is quick and easy to use—and removable if needed.
When Should You Use Plumber’s Putty?
Plumber’s putty is perfect for:
- Sealing faucet bases to the sink or countertop
- Installing sink basket strainers
- Sealing around pop-up drain assemblies
But here’s where NOT to use it:
- On threaded pipe connections (use Teflon tape instead)
- On porous materials like marble or granite (use silicone to avoid staining)
- In pressurized joints or water lines
Tools & Materials You’ll Need
Before you begin, gather these items:
- Plumber’s putty
- Clean rag or paper towels
- Faucet or fixture
- Putty knife (optional)
- Bucket or towel (for clean workspace)
Step-by-Step: How to Apply Plumber’s Putty to a Faucet
Step 1: Clean the Surface
Begin by thoroughly cleaning the sink or countertop surface where the faucet will sit. Remove old putty or debris using a putty knife and wipe it down with a damp cloth. A clean surface ensures the new putty seals effectively.
Step 2: Roll the Putty
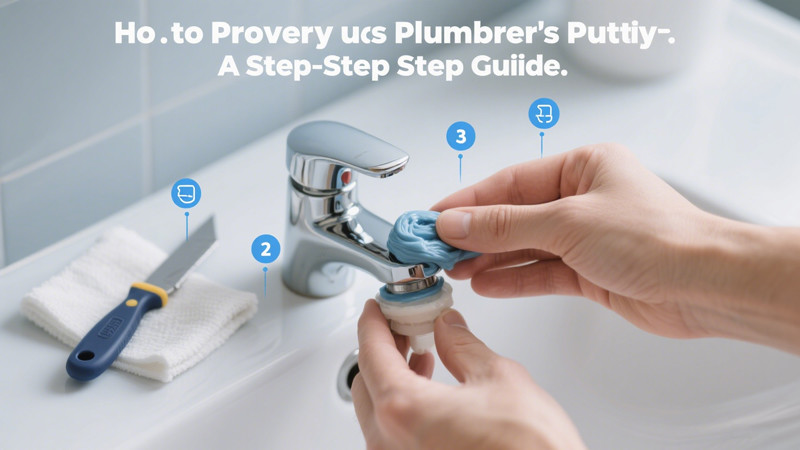
Take a small amount of plumber’s putty from the container and knead it in your hands until it’s soft and pliable. Roll it between your palms to form a long, snake-like rope about 1/4 inch thick.
Pro tip: If the rope breaks or cracks as you roll it, knead it more until it’s smooth and consistent.
Step 3: Apply the Putty to the Faucet Base
Flip the faucet upside down. Lay the rope of putty around the underside of the faucet base or the area that will contact the sink. Make sure it forms a complete circle—no gaps or breaks.
Important: The putty should be positioned just inside the edge of the faucet base. This way, when you press the faucet down, the putty will spread slightly and create an even seal.
Step 4: Position and Install the Faucet
Carefully place the faucet into its mounting holes on the sink or countertop. Press down firmly to compress the putty. As you do this, you’ll notice some excess putty oozing out around the base—this is completely normal.
Secure the faucet underneath with the mounting nuts or brackets, tightening them evenly. Check to make sure the faucet remains level and aligned correctly.
Step 5: Clean Up Excess Putty
Once the faucet is firmly in place, take a putty knife or your finger and gently scrape off any excess putty that has squeezed out around the edges. Wipe the area clean with a damp cloth.
If needed, run a small bead of silicone caulk around the outside edge for additional waterproofing, especially on high-splash surfaces.
Step 6: Test for Leaks
Turn the faucet on and let water run for a minute. Pay attention to the base of the faucet and the area underneath the sink. If no water leaks out, congratulations—you’ve successfully installed your faucet with plumber’s putty!
FAQs About Using Plumber’s Putty
Can plumber’s putty dry out or crack?
Over a very long period, it can harden slightly, but it remains pliable much longer than other sealants. That’s why it’s ideal for applications where future removal might be needed.
What if I used too much putty?
No problem. Simply remove the excess that squeezes out during installation. Using a little too much is better than too little.
Can I use plumber’s putty on granite or marble?
Standard putty may stain porous surfaces like granite or marble. Use a non-staining plumber’s putty specifically labeled as safe for stone surfaces.
Is plumber’s putty waterproof?
Yes—but it is not designed to withstand water pressure. It creates a watertight seal in low-pressure areas like under a faucet base or drain flange.
Final Thoughts
Using plumber’s putty properly on faucets is a simple but crucial part of any successful installation. It helps protect your cabinetry from water damage and extends the life of your faucet by preventing unwanted leaks.
While it might seem like a small detail, applying putty correctly makes a big difference. With just a bit of effort, you can achieve a professional-grade, watertight installation that lasts for years.
So next time you’re installing or replacing a faucet, don’t skip the plumber’s putty—it’s your first line of defense against leaks.
 WOWOW Faucets


