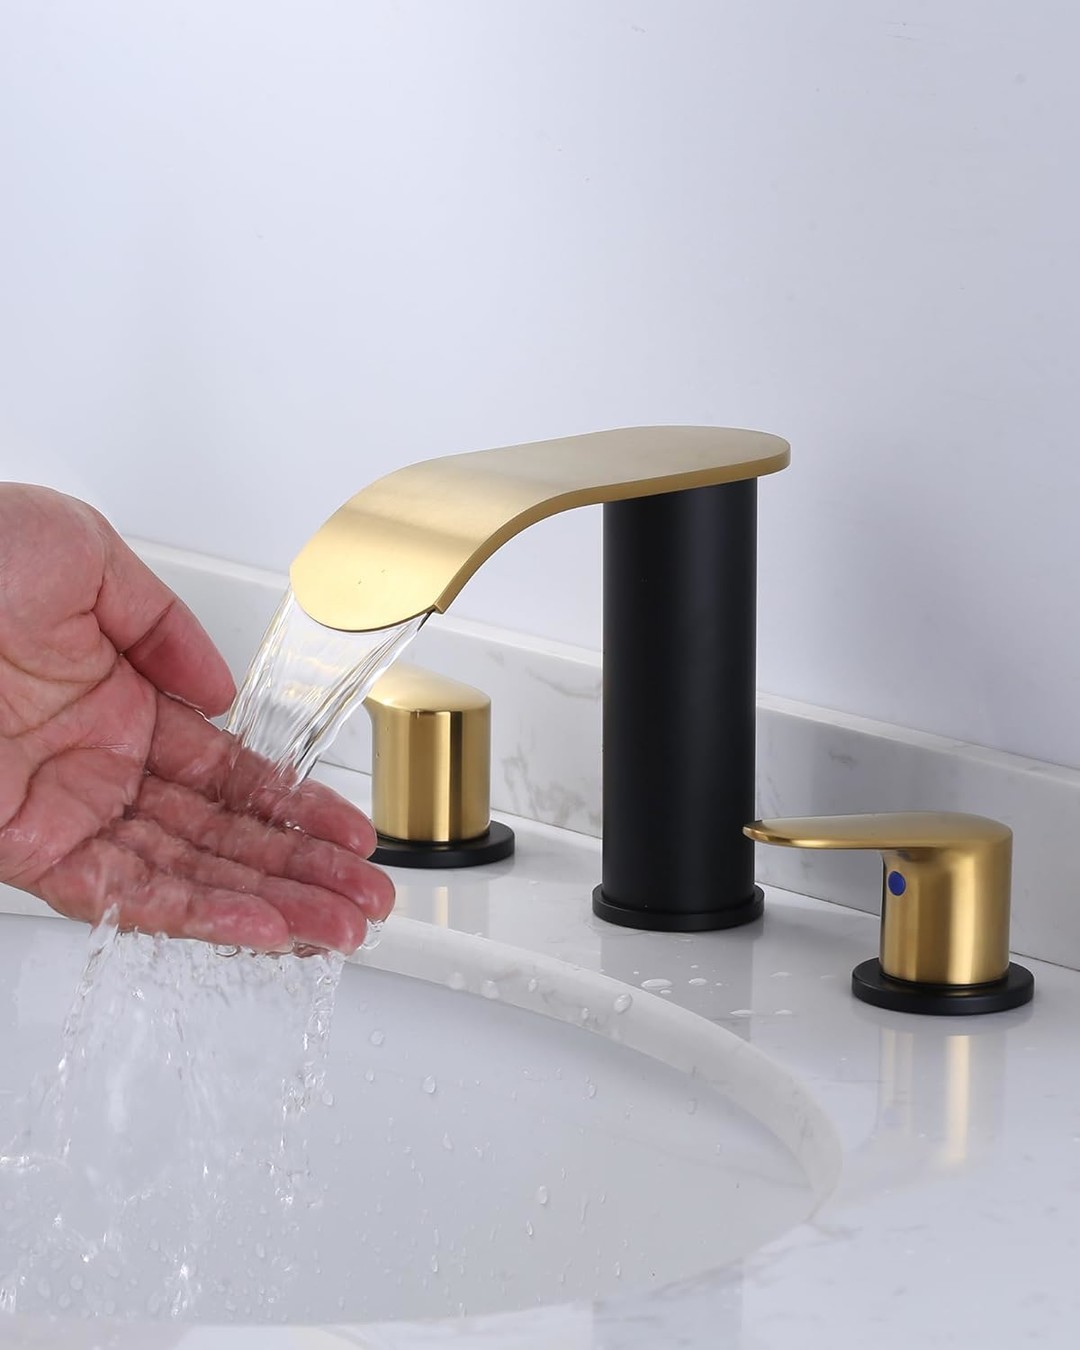
A misaligned faucet might seem like a small issue, but it can cause a host of problems — from uneven water flow and splashback to long-term wear on your sink or countertop. Whether you’re installing a new faucet or correcting an existing one, proper alignment ensures both functionality and aesthetic appeal. Fortunately, aligning a faucet isn’t as complex as it may sound. With a few tools, some patience, and a clear understanding of the process, you can ensure your faucet is perfectly aligned in no time.
Why Faucet Alignment Matters
Before diving into the how-to, it’s worth understanding why faucet alignment is important:
- Water Flow Efficiency: A centered faucet ensures water flows directly into the drain, preventing splashing and minimizing mess.
- Preventing Leaks: Misalignment can stress water connections and gaskets, leading to leaks over time.
- Aesthetic Appeal: A crooked faucet disrupts the symmetry of your sink area, especially in modern or minimalist bathrooms and kitchens.
- User Comfort: A well-aligned faucet is easier to use and keeps handles within comfortable reach.
Whether you’re dealing with a kitchen sink, bathroom vanity, or even a utility sink, the same basic principles apply.
Tools and Materials You’ll Need
- Adjustable wrench
- Basin wrench
- Plumber’s tape (Teflon tape)
- Silicone sealant or plumber’s putty
- Flashlight or headlamp (for tight spaces)
- Level (preferably a torpedo level)
- Screwdriver
- Towels or rags (to clean up water or drips)
- Bucket or bowl (optional, to catch residual water)
Step-by-Step Instructions
Step 1: Turn Off the Water Supply
Before doing anything, shut off the water valves under the sink. Open the faucet to release any remaining water pressure. Place a towel or bucket under the sink to catch any drips when disconnecting supply lines.
Step 2: Loosen and Remove the Faucet (If Necessary)
If you’re correcting an already installed but crooked faucet, you’ll likely need to loosen or remove the faucet to realign it:
- Use a basin wrench to loosen the nuts securing the faucet underneath the sink.
- Once loosened, gently lift the faucet from its mounting holes.
- Clean the area around the mounting holes with a cloth, especially if you’re dealing with old plumber’s putty or mineral deposits.
Step 3: Apply Sealant (If Reinstalling)
Before reinstalling or repositioning, apply a thin bead of silicone sealant or plumber’s putty around the base of the faucet. This helps to secure it and prevent leaks. Some faucets come with rubber or plastic gaskets — follow the manufacturer’s recommendations.
Step 4: Align the Faucet Visually
Insert the faucet into the mounting holes and visually align it:
- Ensure the spout is centered over the sink basin or drain.
- Check the orientation of the handles if you’re using a widespread or dual-handle faucet.
- If the faucet has a single handle, make sure it has enough room to rotate fully without hitting the backsplash or wall.
Once it looks right, hold it in place and proceed to secure it from below.
Step 5: Secure the Faucet from Underneath
With the faucet held steady, tighten the mounting nuts underneath the sink:
- Use a basin wrench or adjustable wrench, depending on the available space.
- Tighten gradually and evenly. Don’t overtighten, as this can crack the sink or damage the faucet base.
- As you tighten, have someone above the counter check to ensure the faucet remains straight and aligned.
Step 6: Use a Level to Confirm
To ensure a perfect alignment:
- Place a torpedo level across the faucet base or top.
- Adjust if needed before fully tightening the mounting nuts.
- You can also use a level to confirm vertical alignment if you’re installing a wall-mounted faucet.
Step 7: Reconnect Water Supply Lines
Once the faucet is secure and aligned:
- Wrap the threads of the faucet’s inlet valves with plumber’s tape.
- Reconnect the hot and cold water supply lines, making sure not to mix them up.
- Use a wrench to tighten the nuts firmly, but avoid over-tightening.
Step 8: Turn the Water Back On and Test
Slowly turn the water supply valves back on. Open the faucet and check:
- Water flow from both hot and cold sides
- No leaks under the sink or around the faucet base
- Proper handle movement without obstruction
- Center alignment of the spout over the sink
If everything looks and functions well, you’ve successfully aligned your faucet.
Pro Tips for a Flawless Installation
- Have a helper: It’s much easier to align and secure the faucet when one person holds it in place while the other tightens from underneath.
- Don’t skip the level: Even a visually “straight” faucet can be slightly off. A level confirms perfect placement.
- Take your time: Rushing often leads to misalignment or leaks. Double-check each step.
- Know your countertop: For granite or stone surfaces, ensure you’re using a sealant suitable for those materials.
Conclusion
Properly aligning your faucet isn’t just about looks — it’s about functionality, comfort, and longevity. Whether you’re doing a fresh install or correcting a poorly placed faucet, the process is entirely doable with some basic tools and careful attention to detail. Taking the time to do it right will pay off every time you turn on the tap.
If you’re still unsure, consider consulting a plumber — especially for high-end fixtures or challenging installations. But with this guide, you’re already well on your way to faucet perfection.
 WOWOW Faucets


